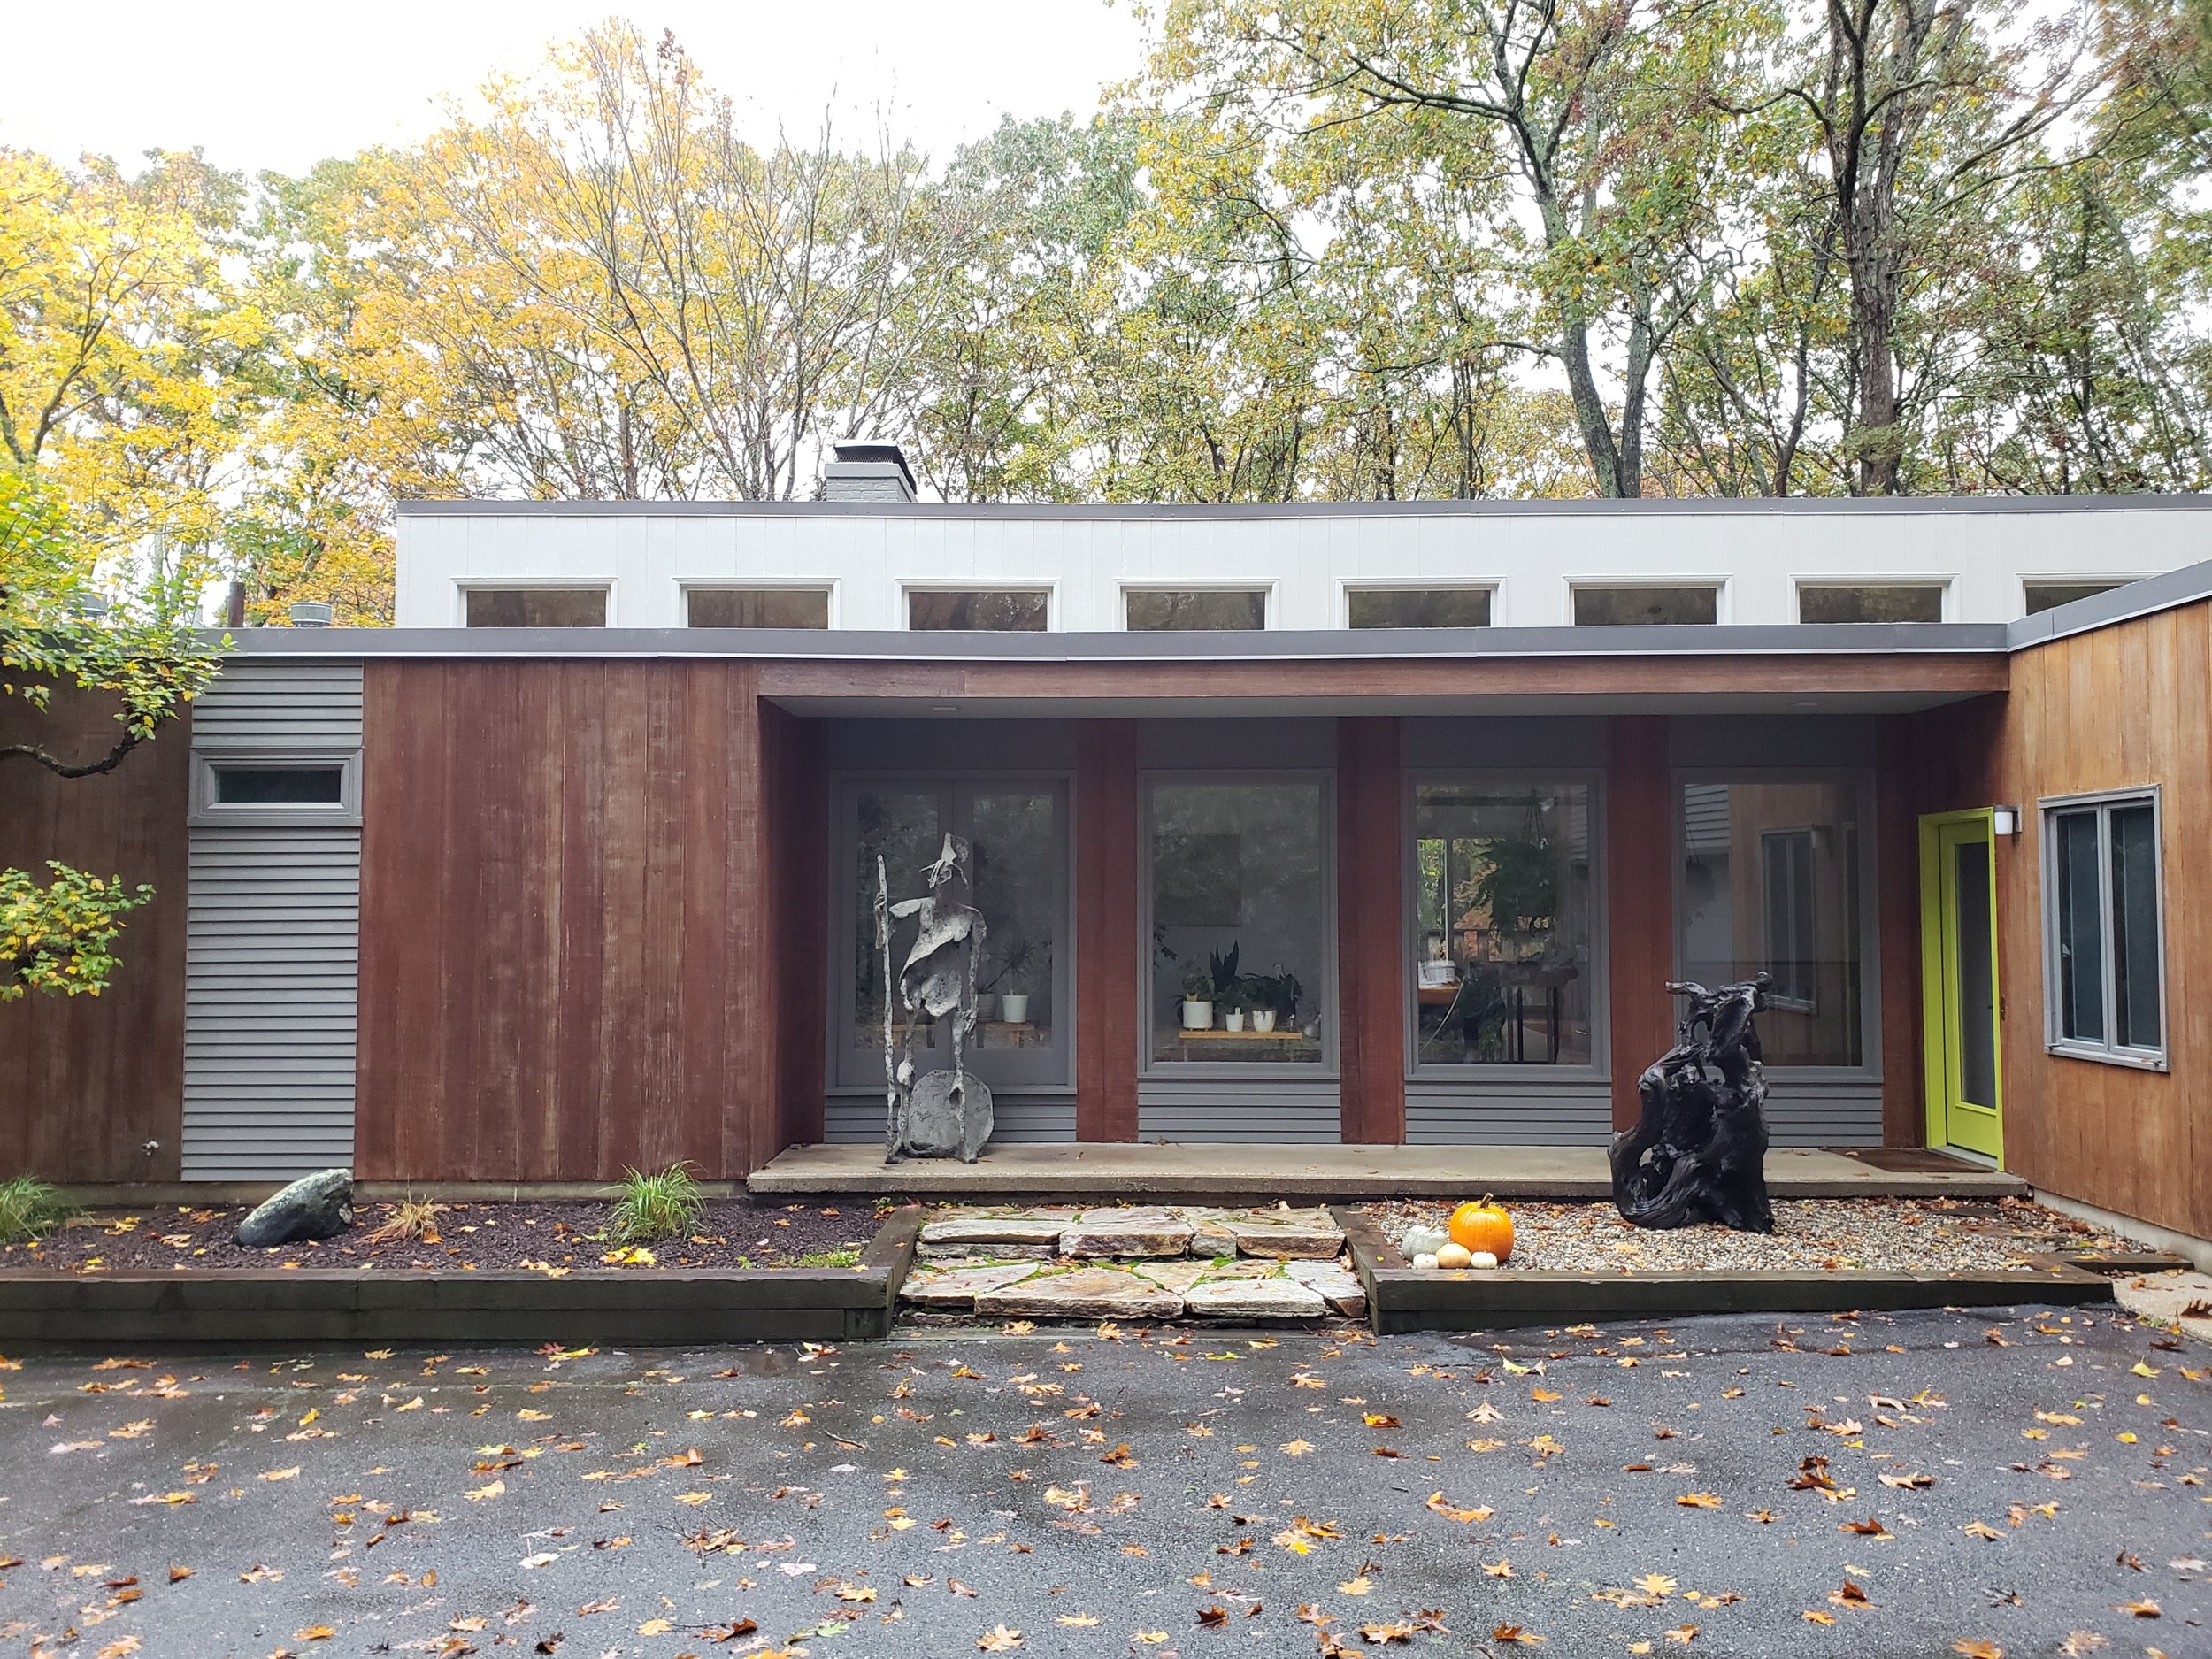
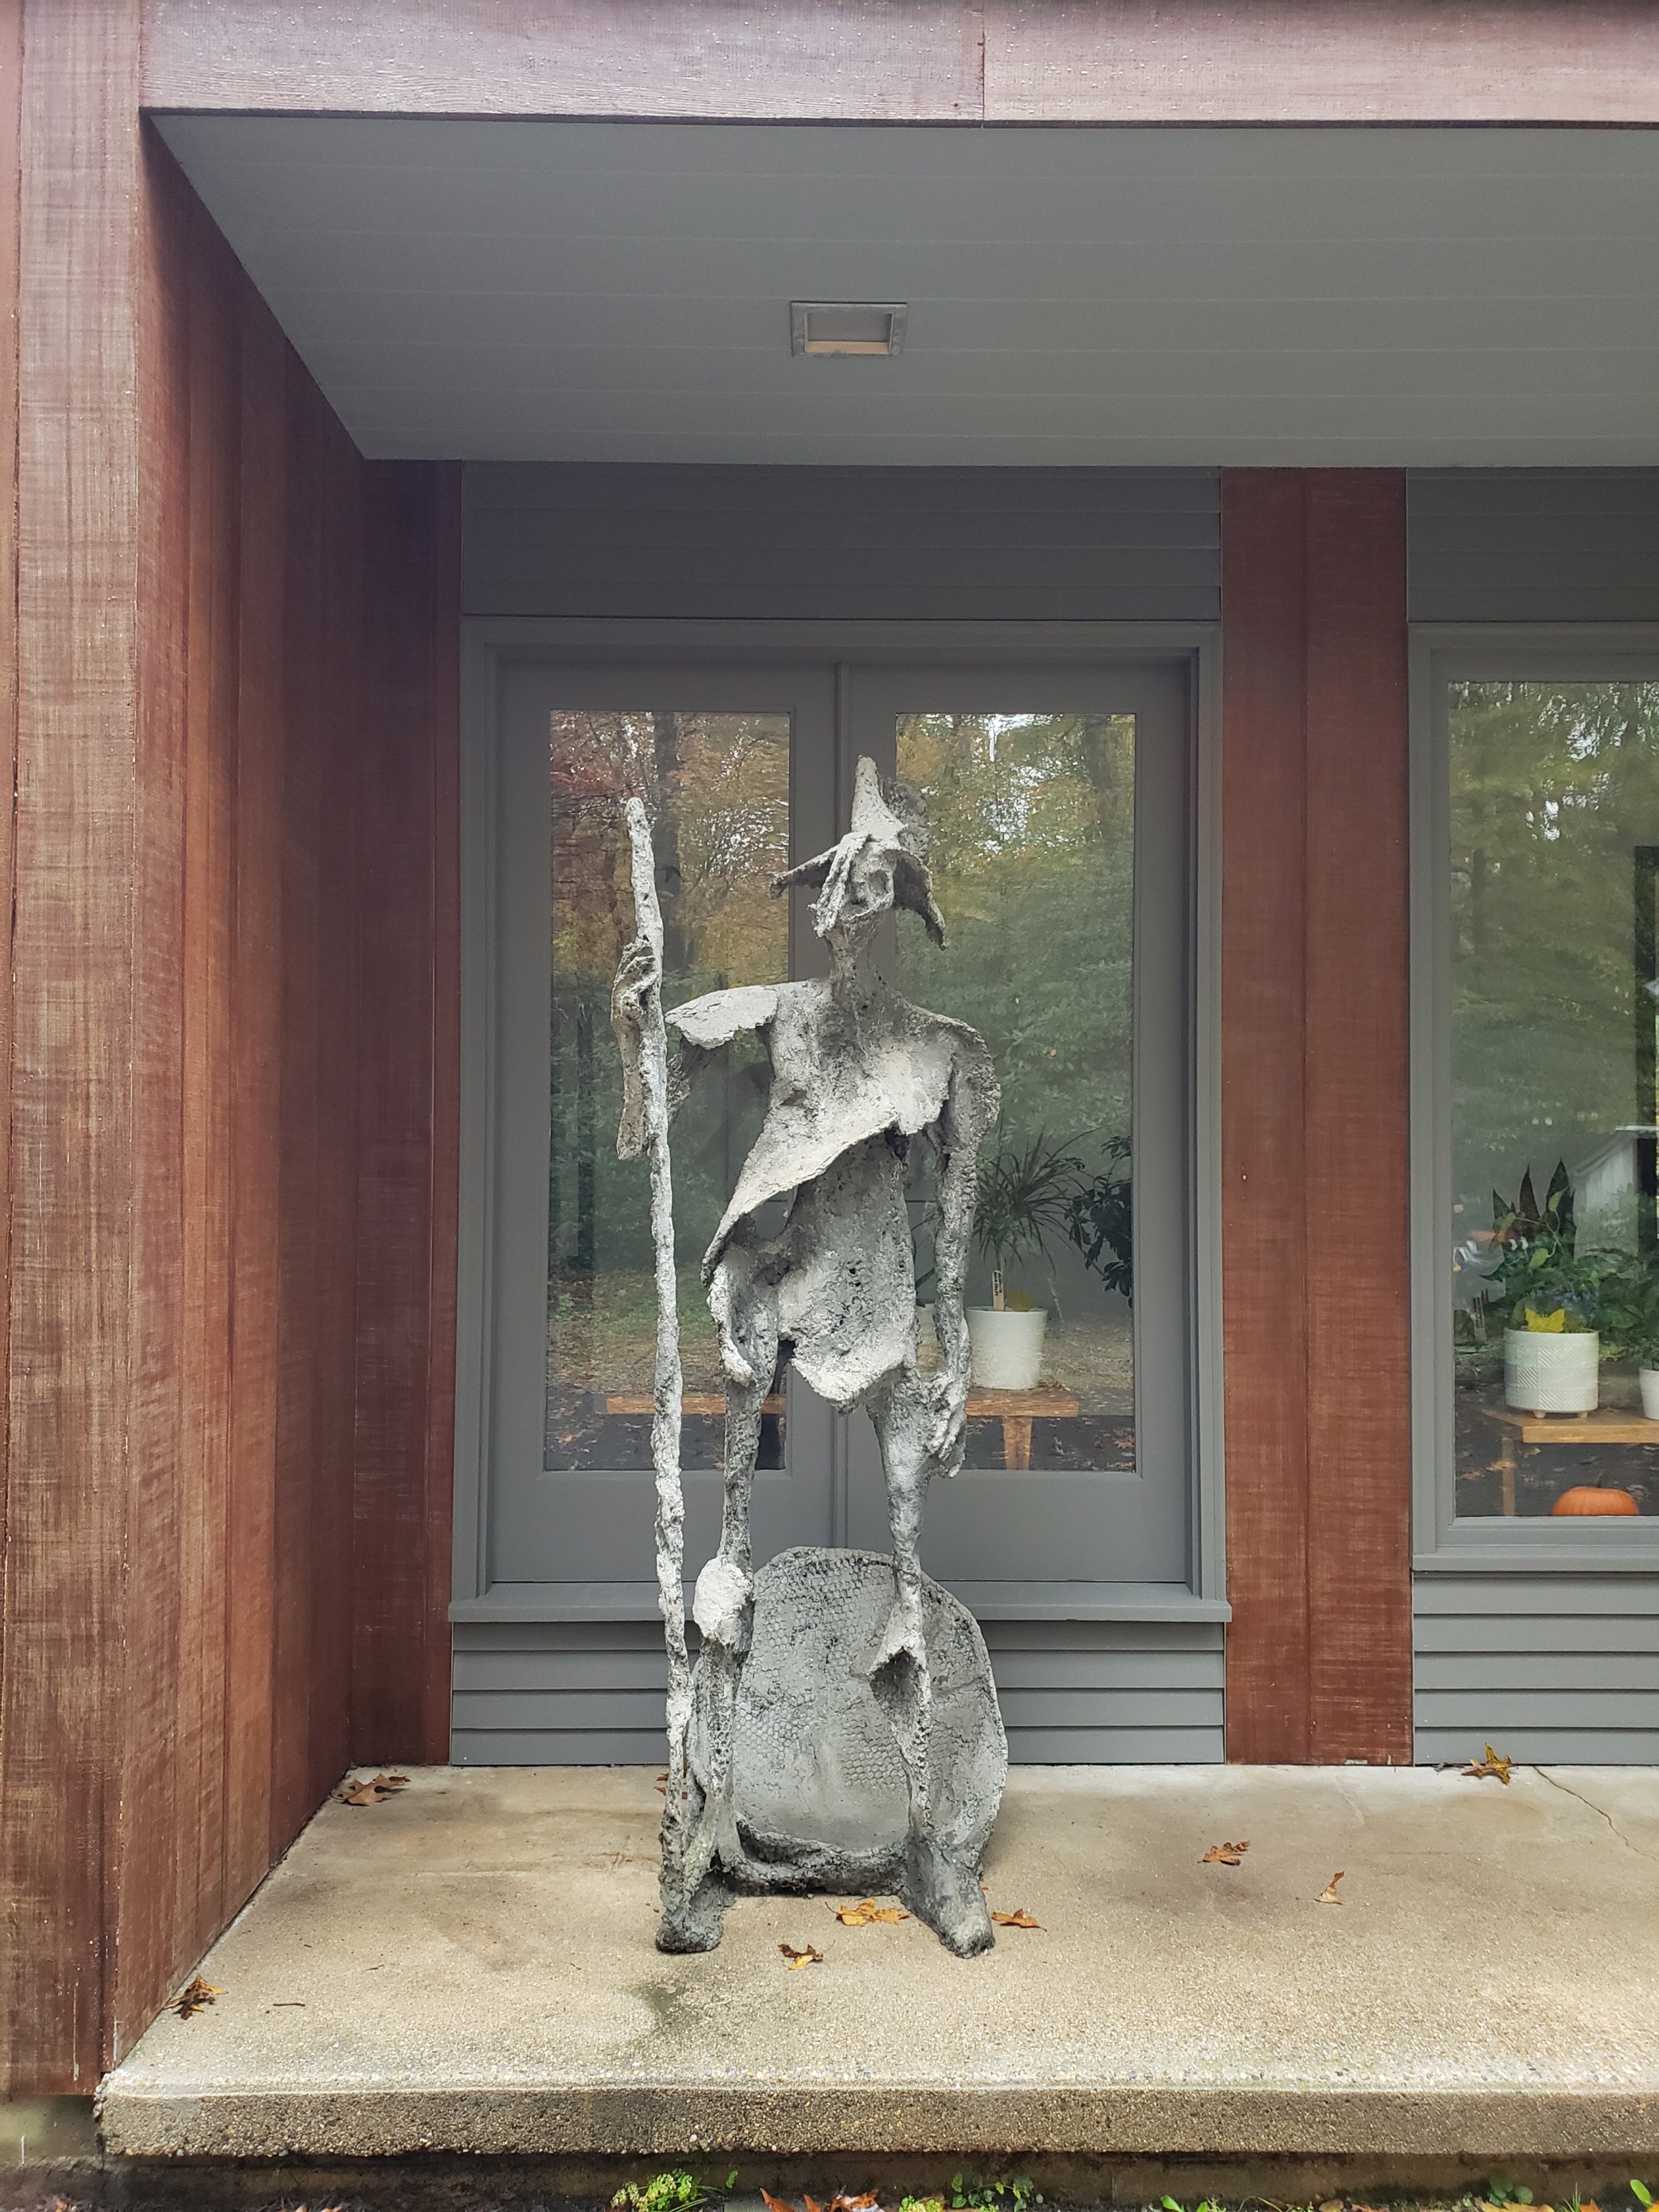
A QUICK RECAP - As discussed in our last blog post, we have moved into an amazing mid-century modern (MCM) property in the quiet corner of Connecticut and are undertaking the stewardship of bringing the home back to (or beyond!) its original luster with a few MCM-appropriate enhancements and a handful of behind-the-scenes modern advancements to increase efficiencies.
Windows
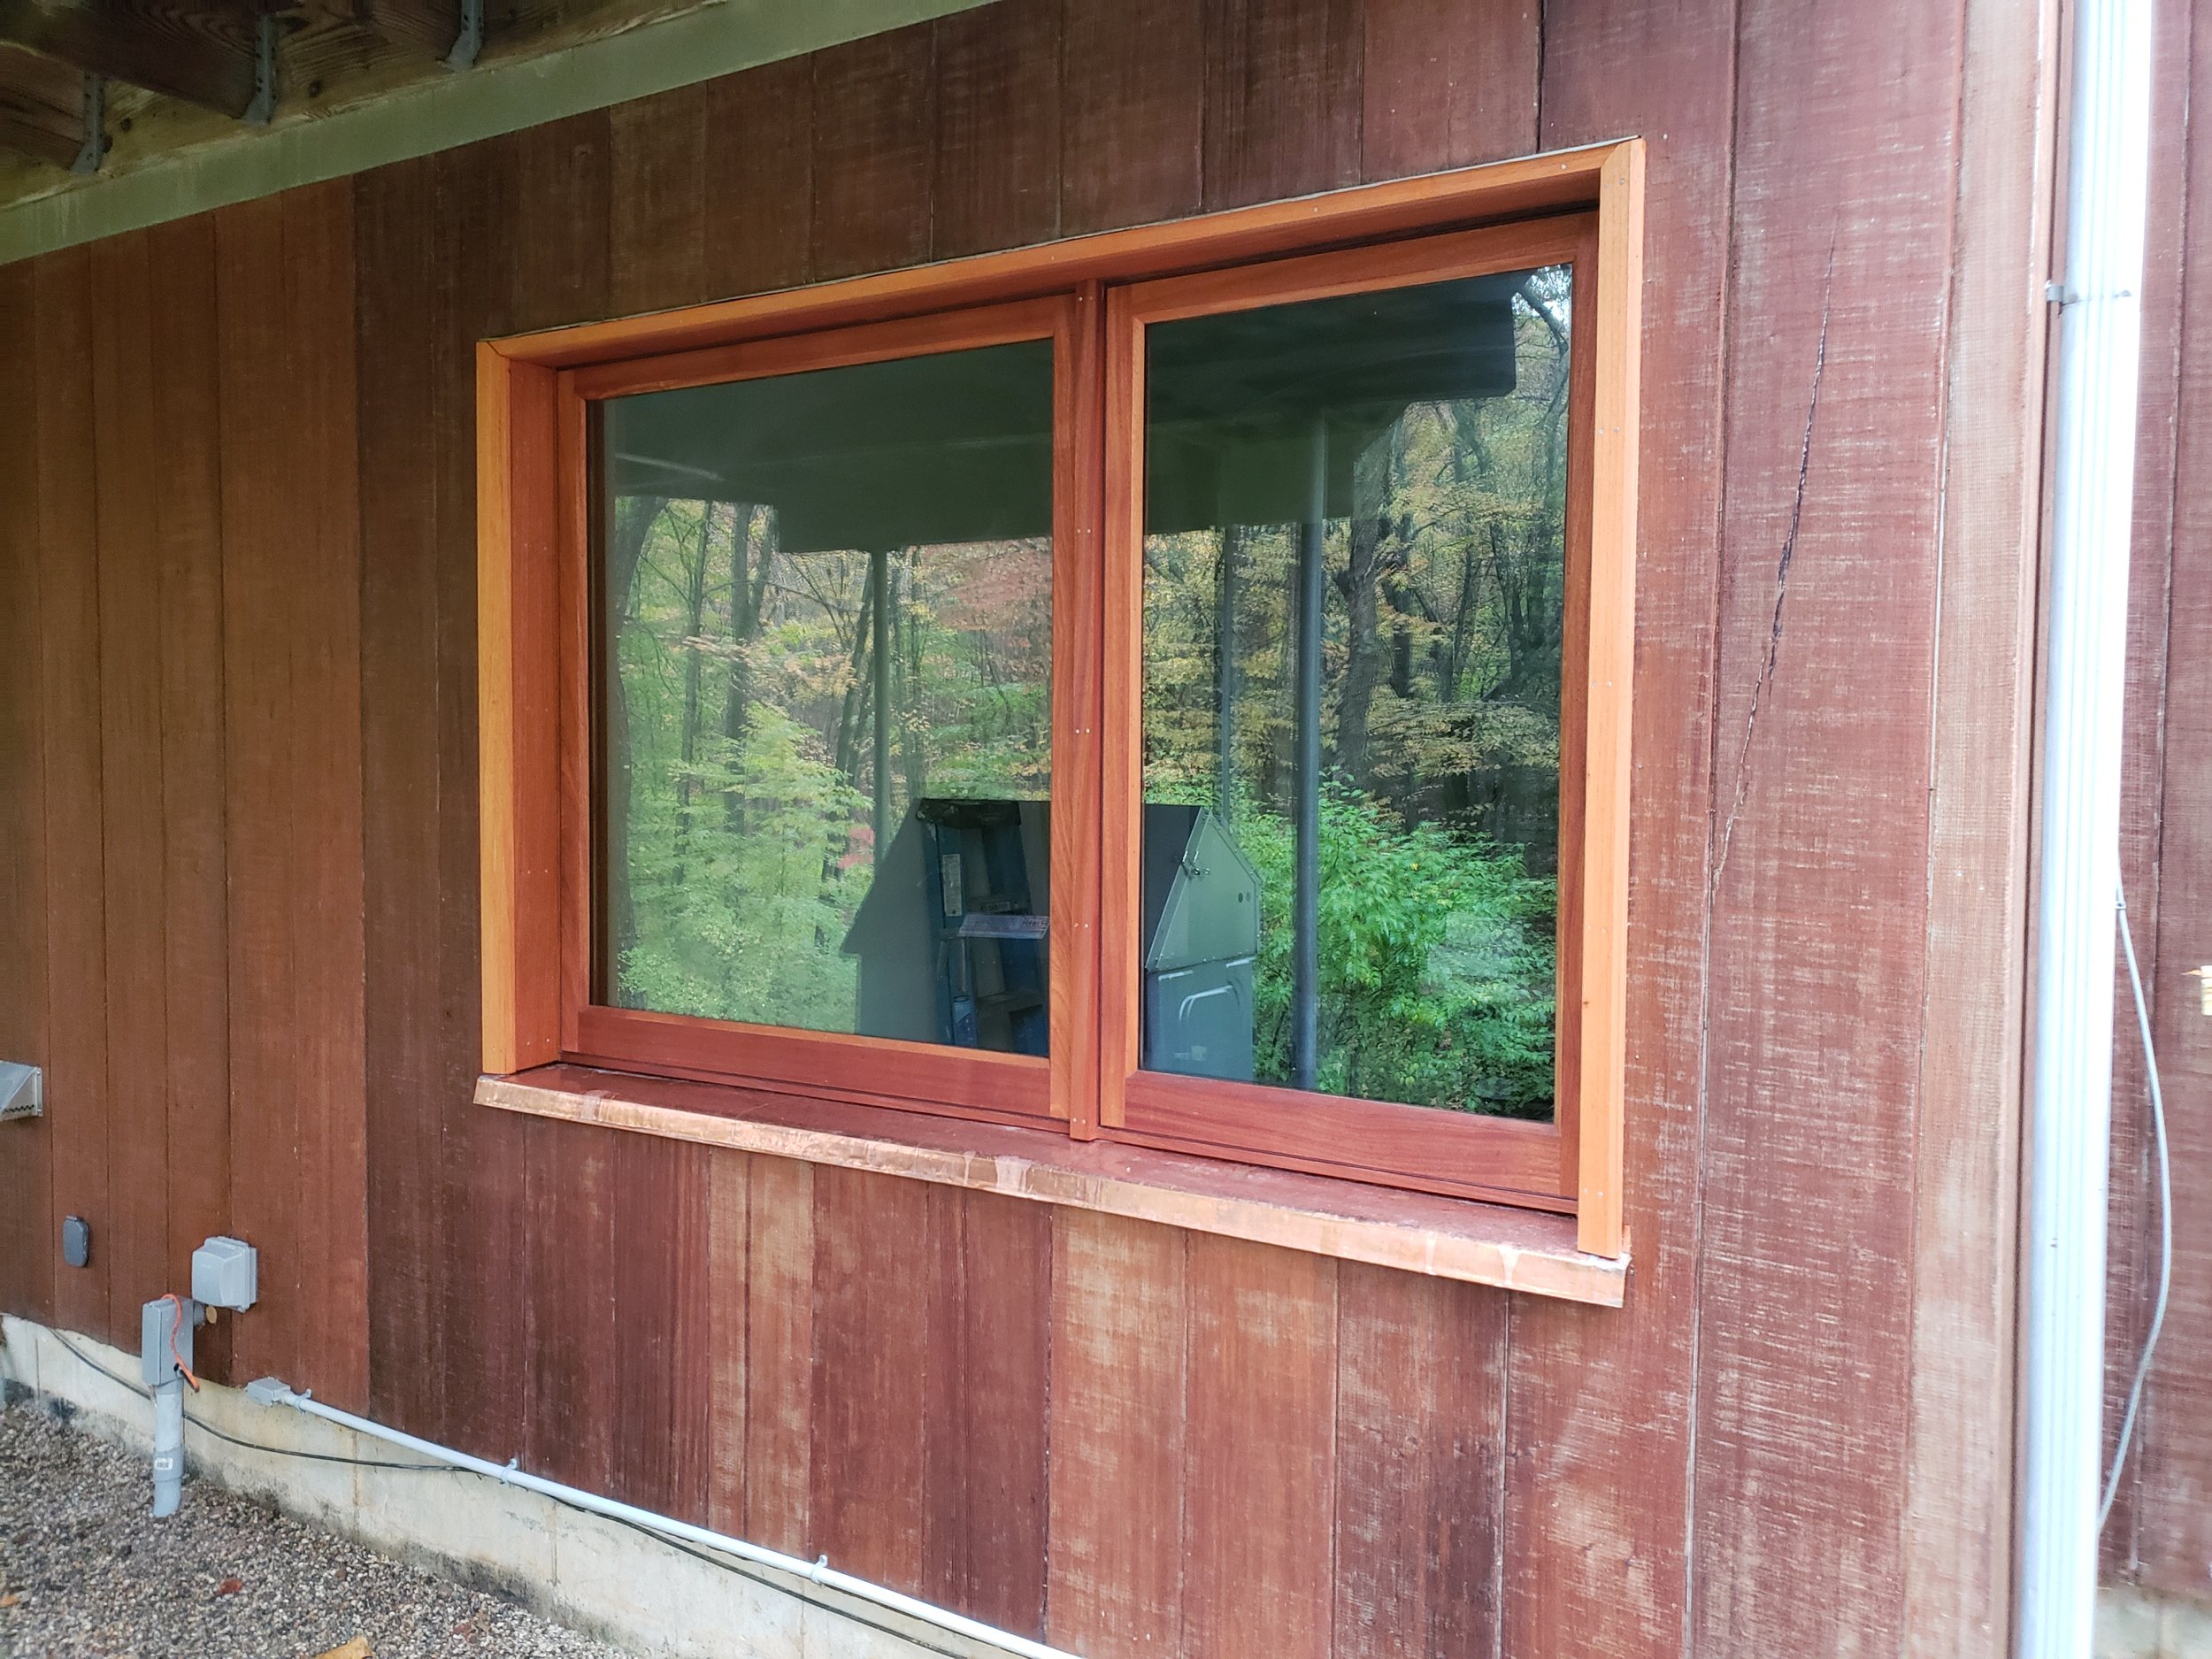
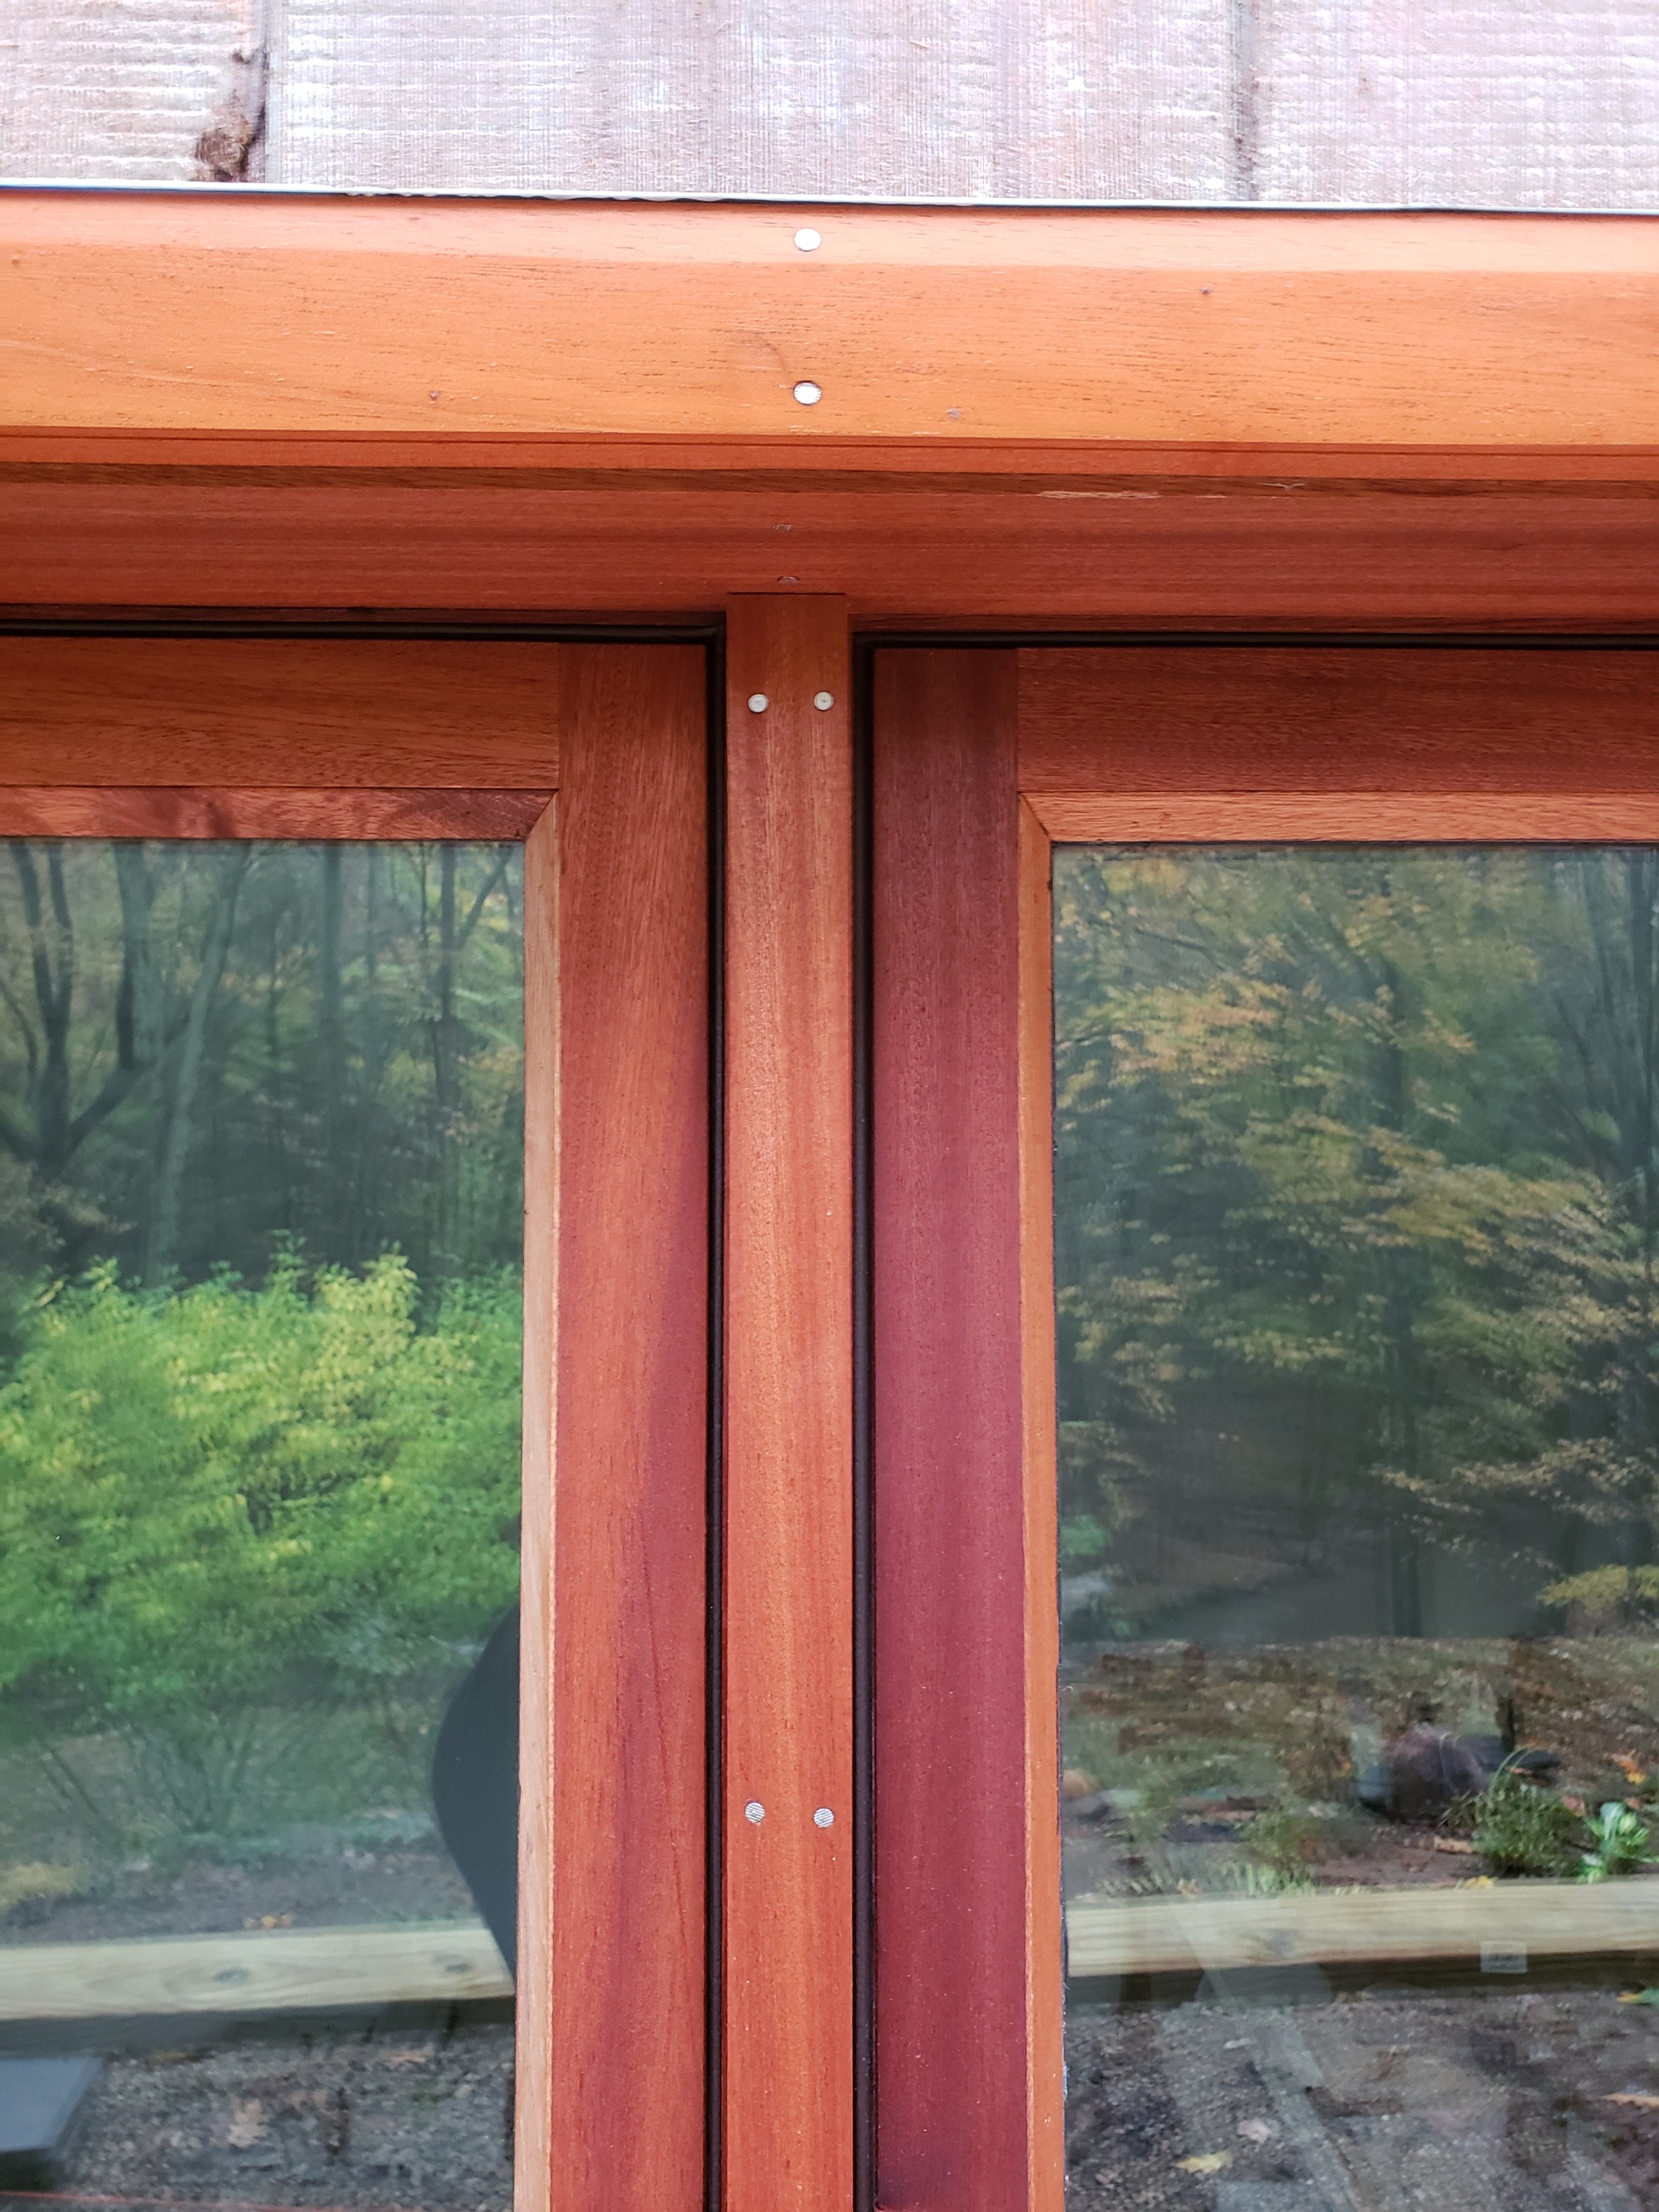
ACTION - After deepening the walls in the lower level and garage in order to increase the insulation value as described in our last post, the next thing on the to-do list was to begin to replace the windows, starting with the one furthest gone - in the garage. This window in particular had some significant rot, cracked glass, and failed hardware; making it the best candidate for first replacement. This also gave us a good opportunity to test out some techniques that we hope to employ throughout the rest of the window replacements in the house, including some wood trim details and custom sill pans.
OUR OPTIONS - Windows are not cheap, but no one ever said, “wow, am I glad I bought those cheaper windows!”. We approached two or three window manufacturers that were within our target price range. We spent time with each of them talking about different options, size constraints, and material choices. In the end, we opted to move forward with a solid wood window. For this house, we felt like it was holding true to the era and overall look. We made sure the manufacturer was only using solid materials as we would be sealing the window both inside and out. We also upgraded to have the windows made out of Sapele, as this house has virtually no overhangs. The thought was to gain some longevity by both the wood species and also the fact we are insetting the windows into the inner stud wall. So here we go…

OUR FIRST TASK
Remove the existing window down to the rough opening. Here you see the old Andersen casement window and the new added studs structurally screwed into the existing 2x frame, thus doubling the thickness of the wall. The black horizontal striping is air sealing over the plywood seams - you can read more about this in our last post.

PREP IS EVERYTHING
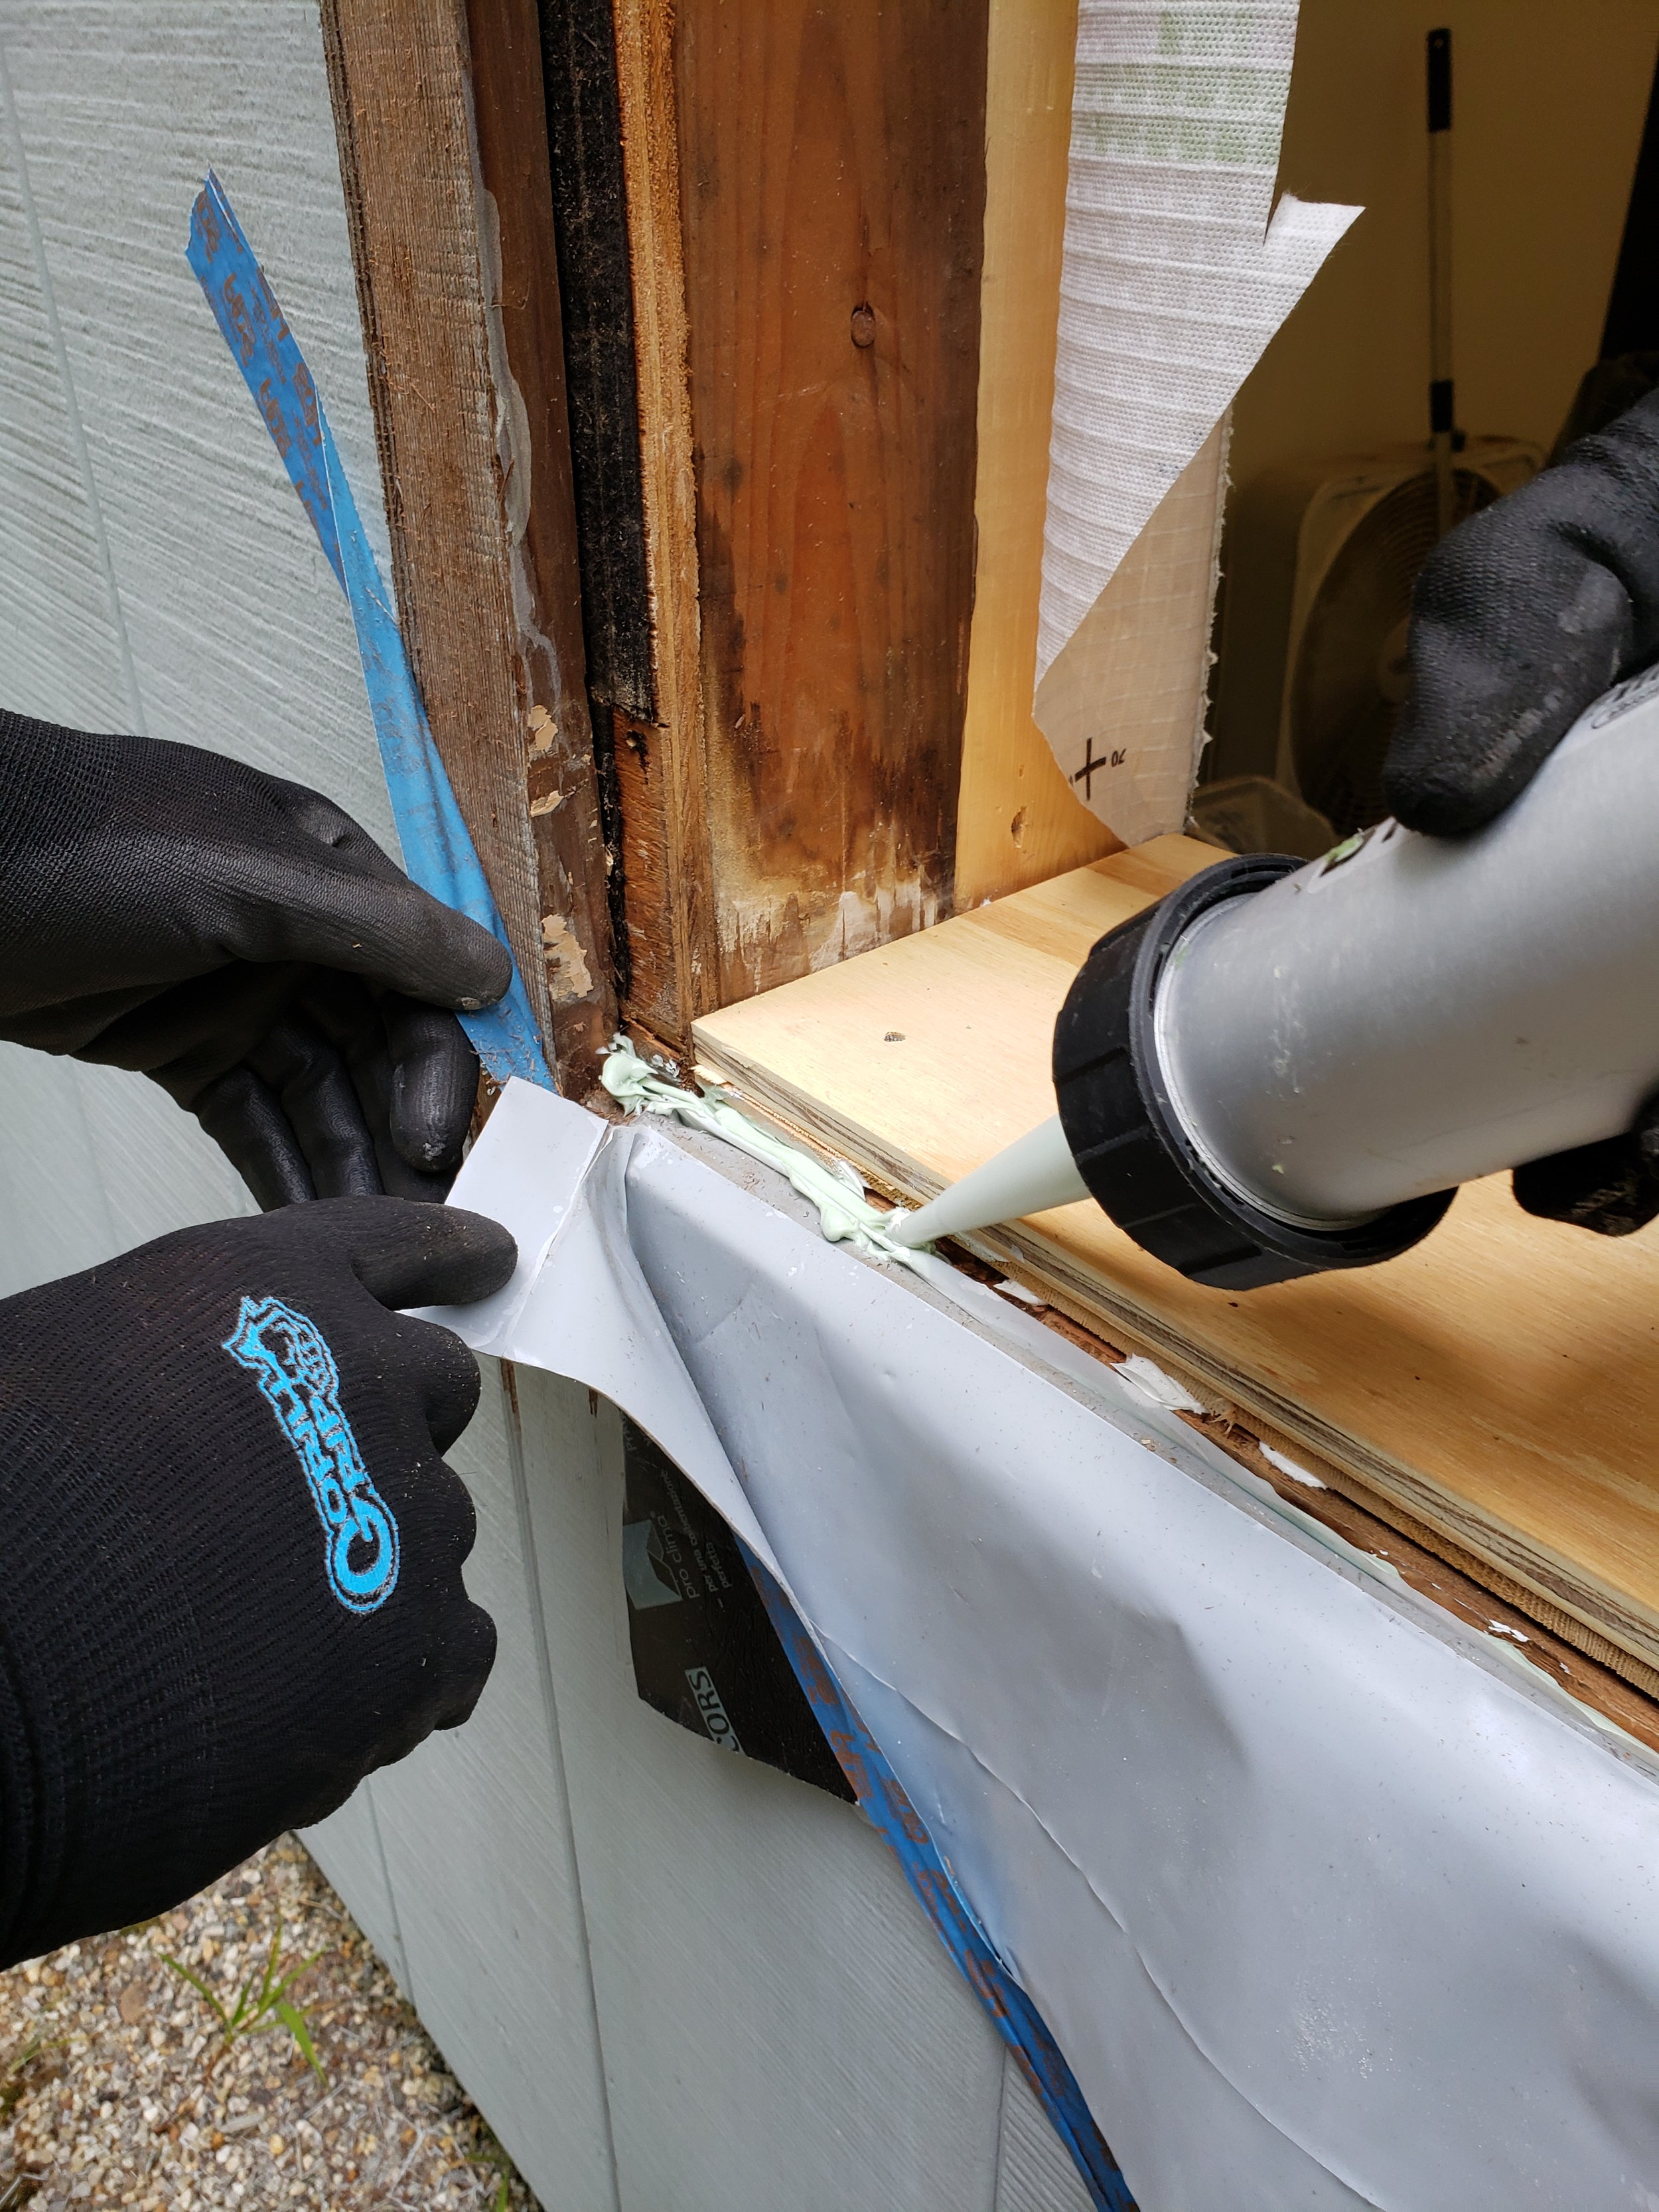
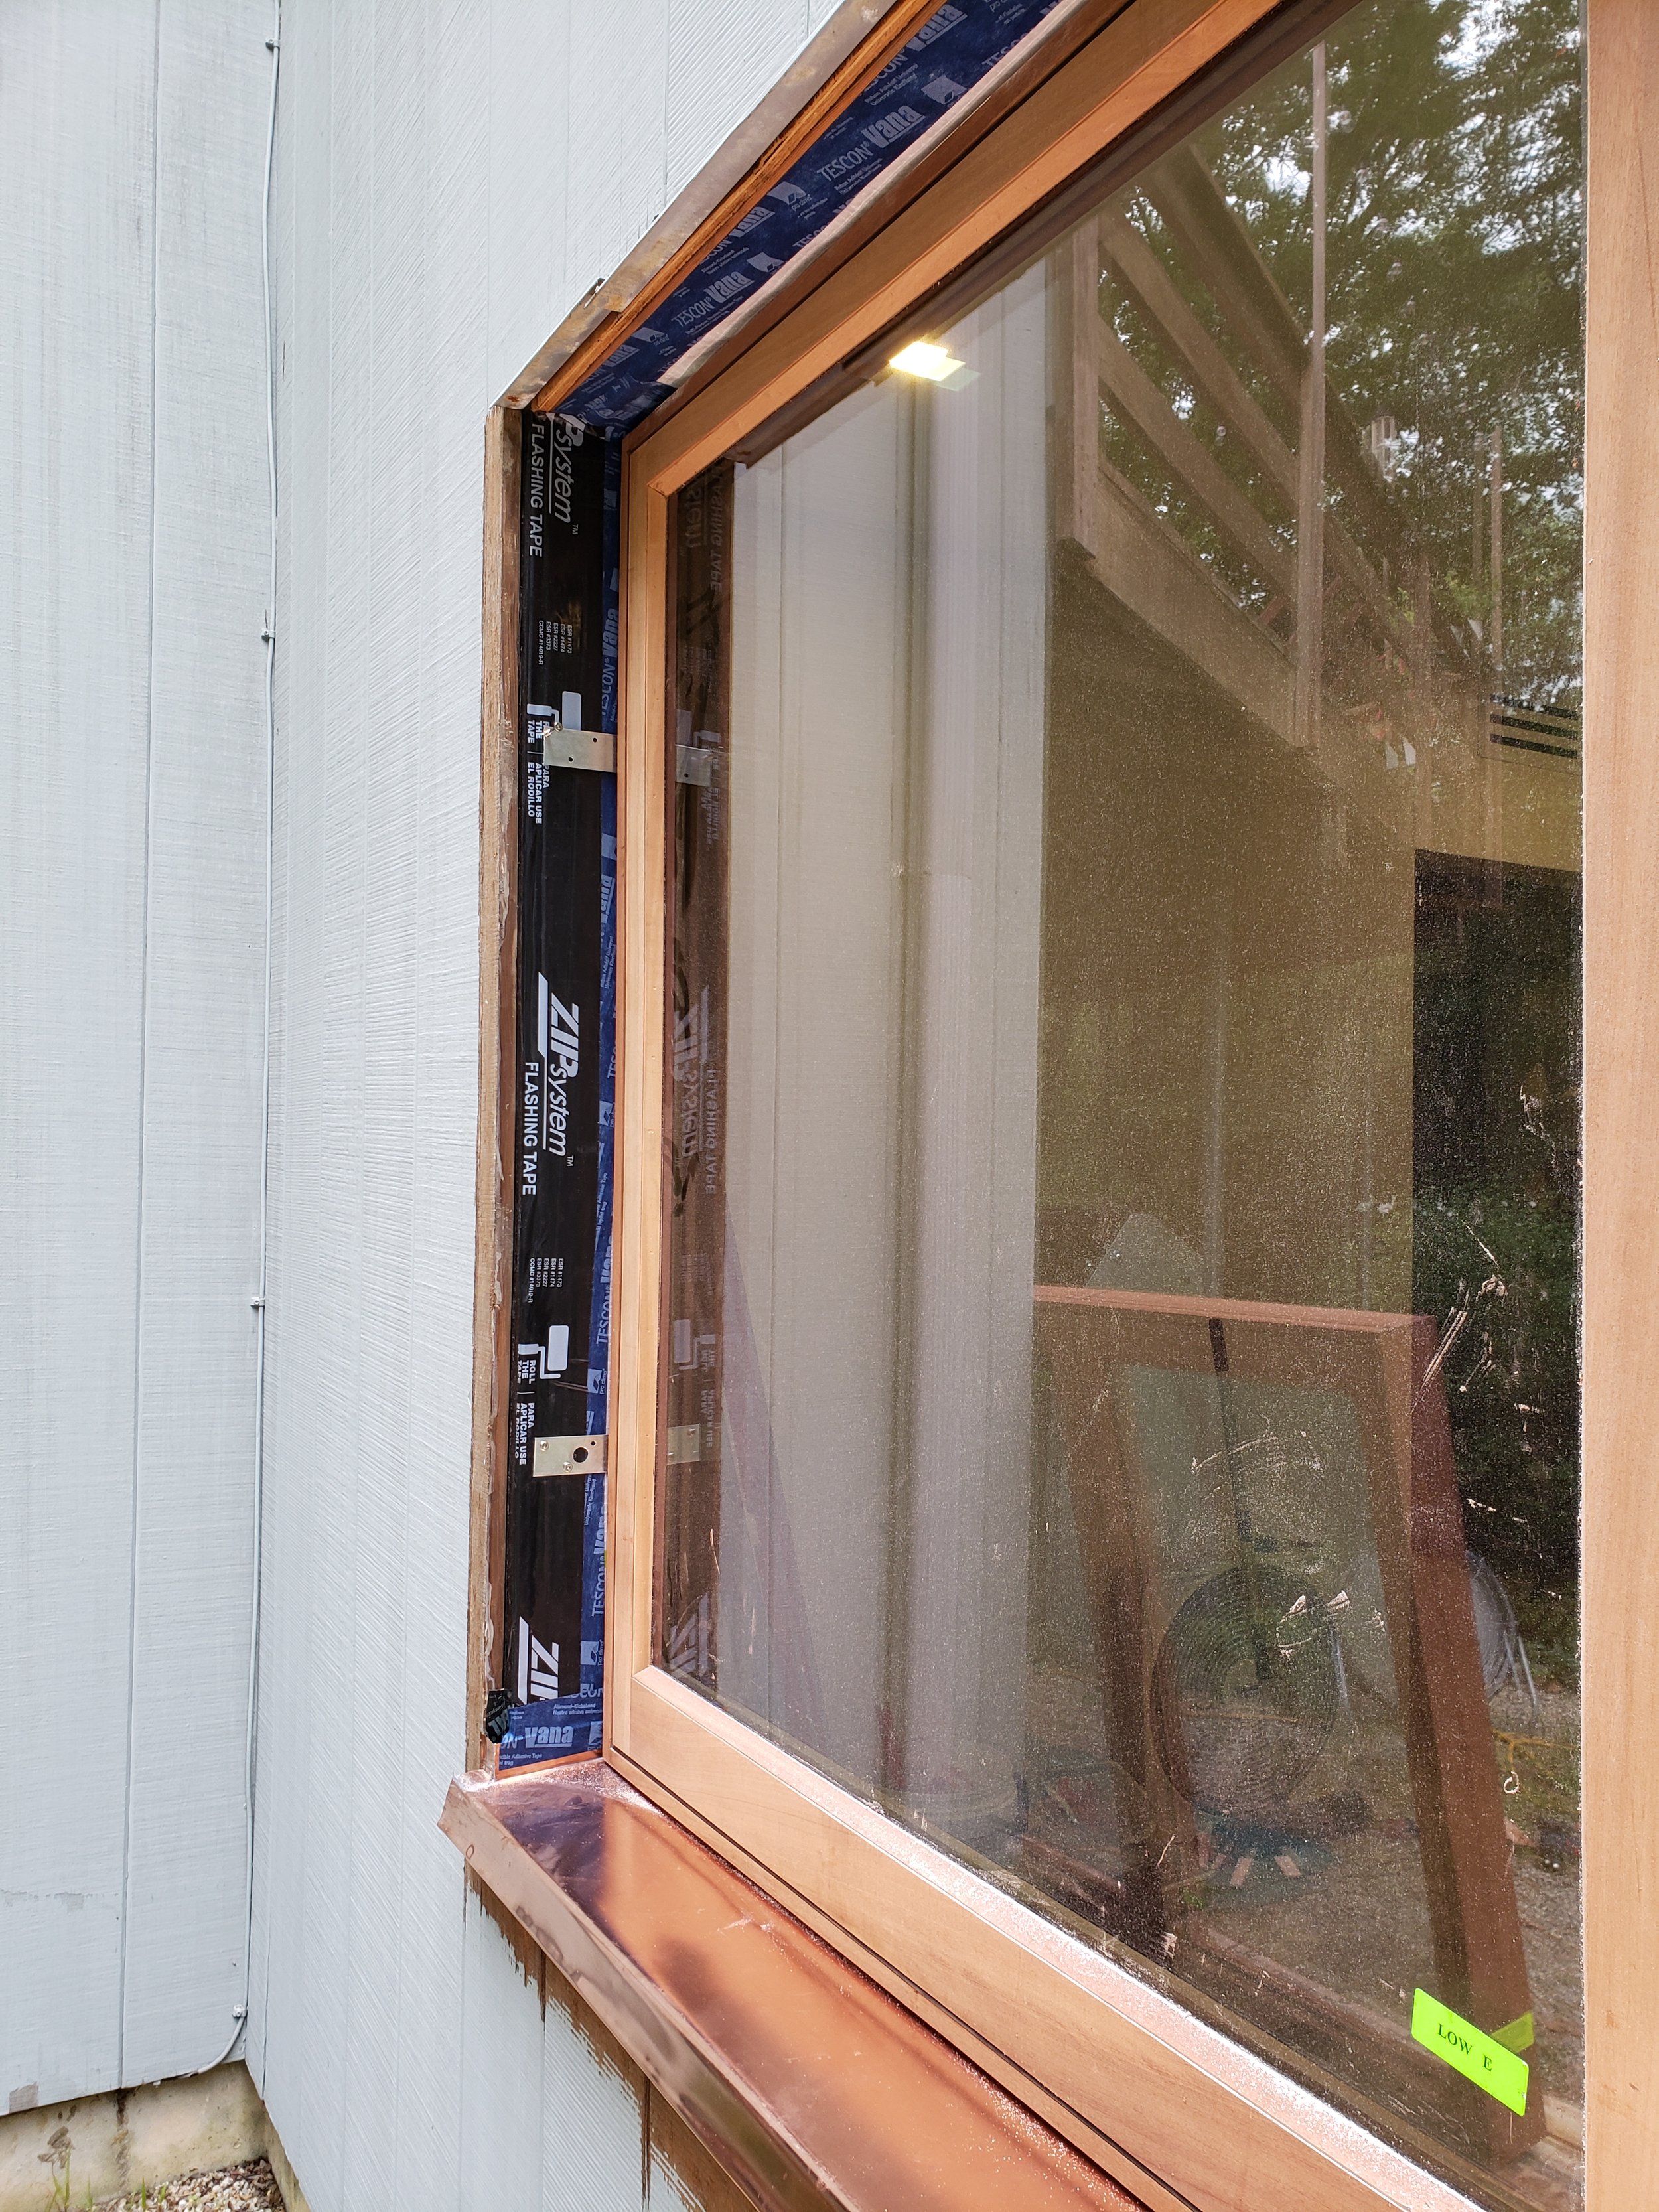
We worked on turning and folding and taping our ProClima products from 475 Building Supply from the interior smart vapor barrier into the window opening. Remember, we are not removing our exterior siding (yet… keep reading), so we need to lift the siding enough to make our vapor-open tape connection to our existing weather-resistant barrier (WRB). This is only effectively done with a split back product.
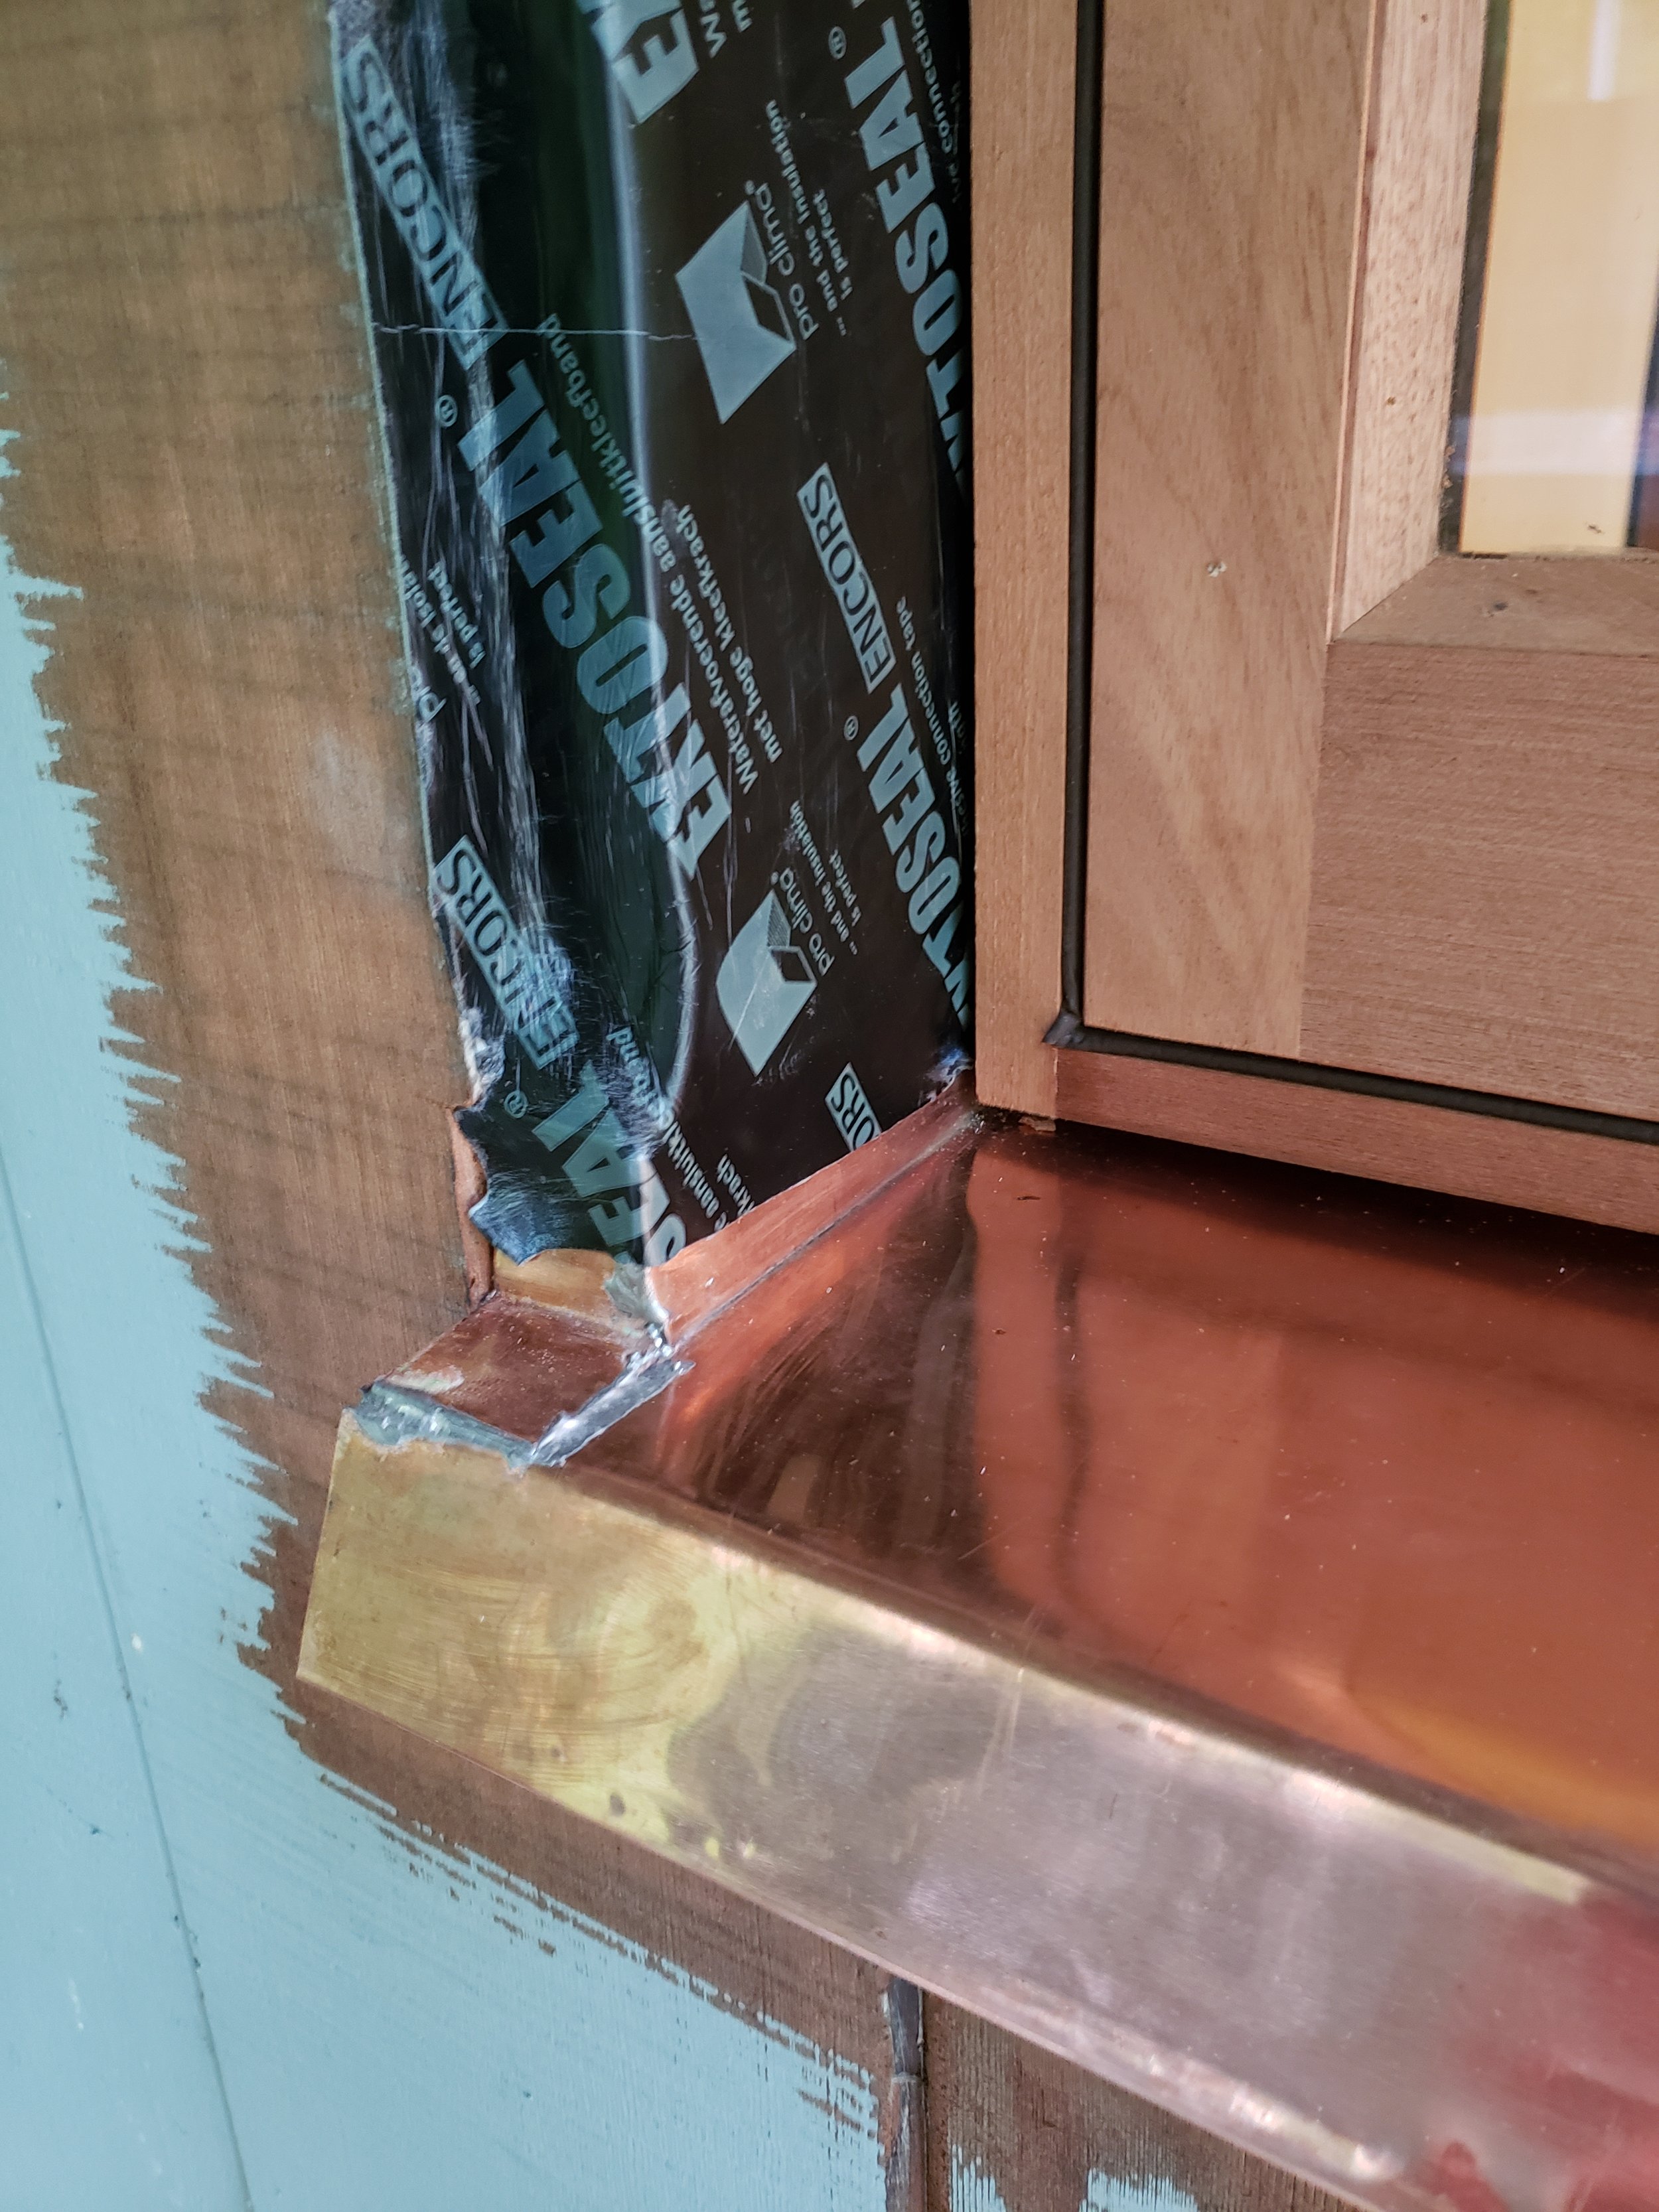
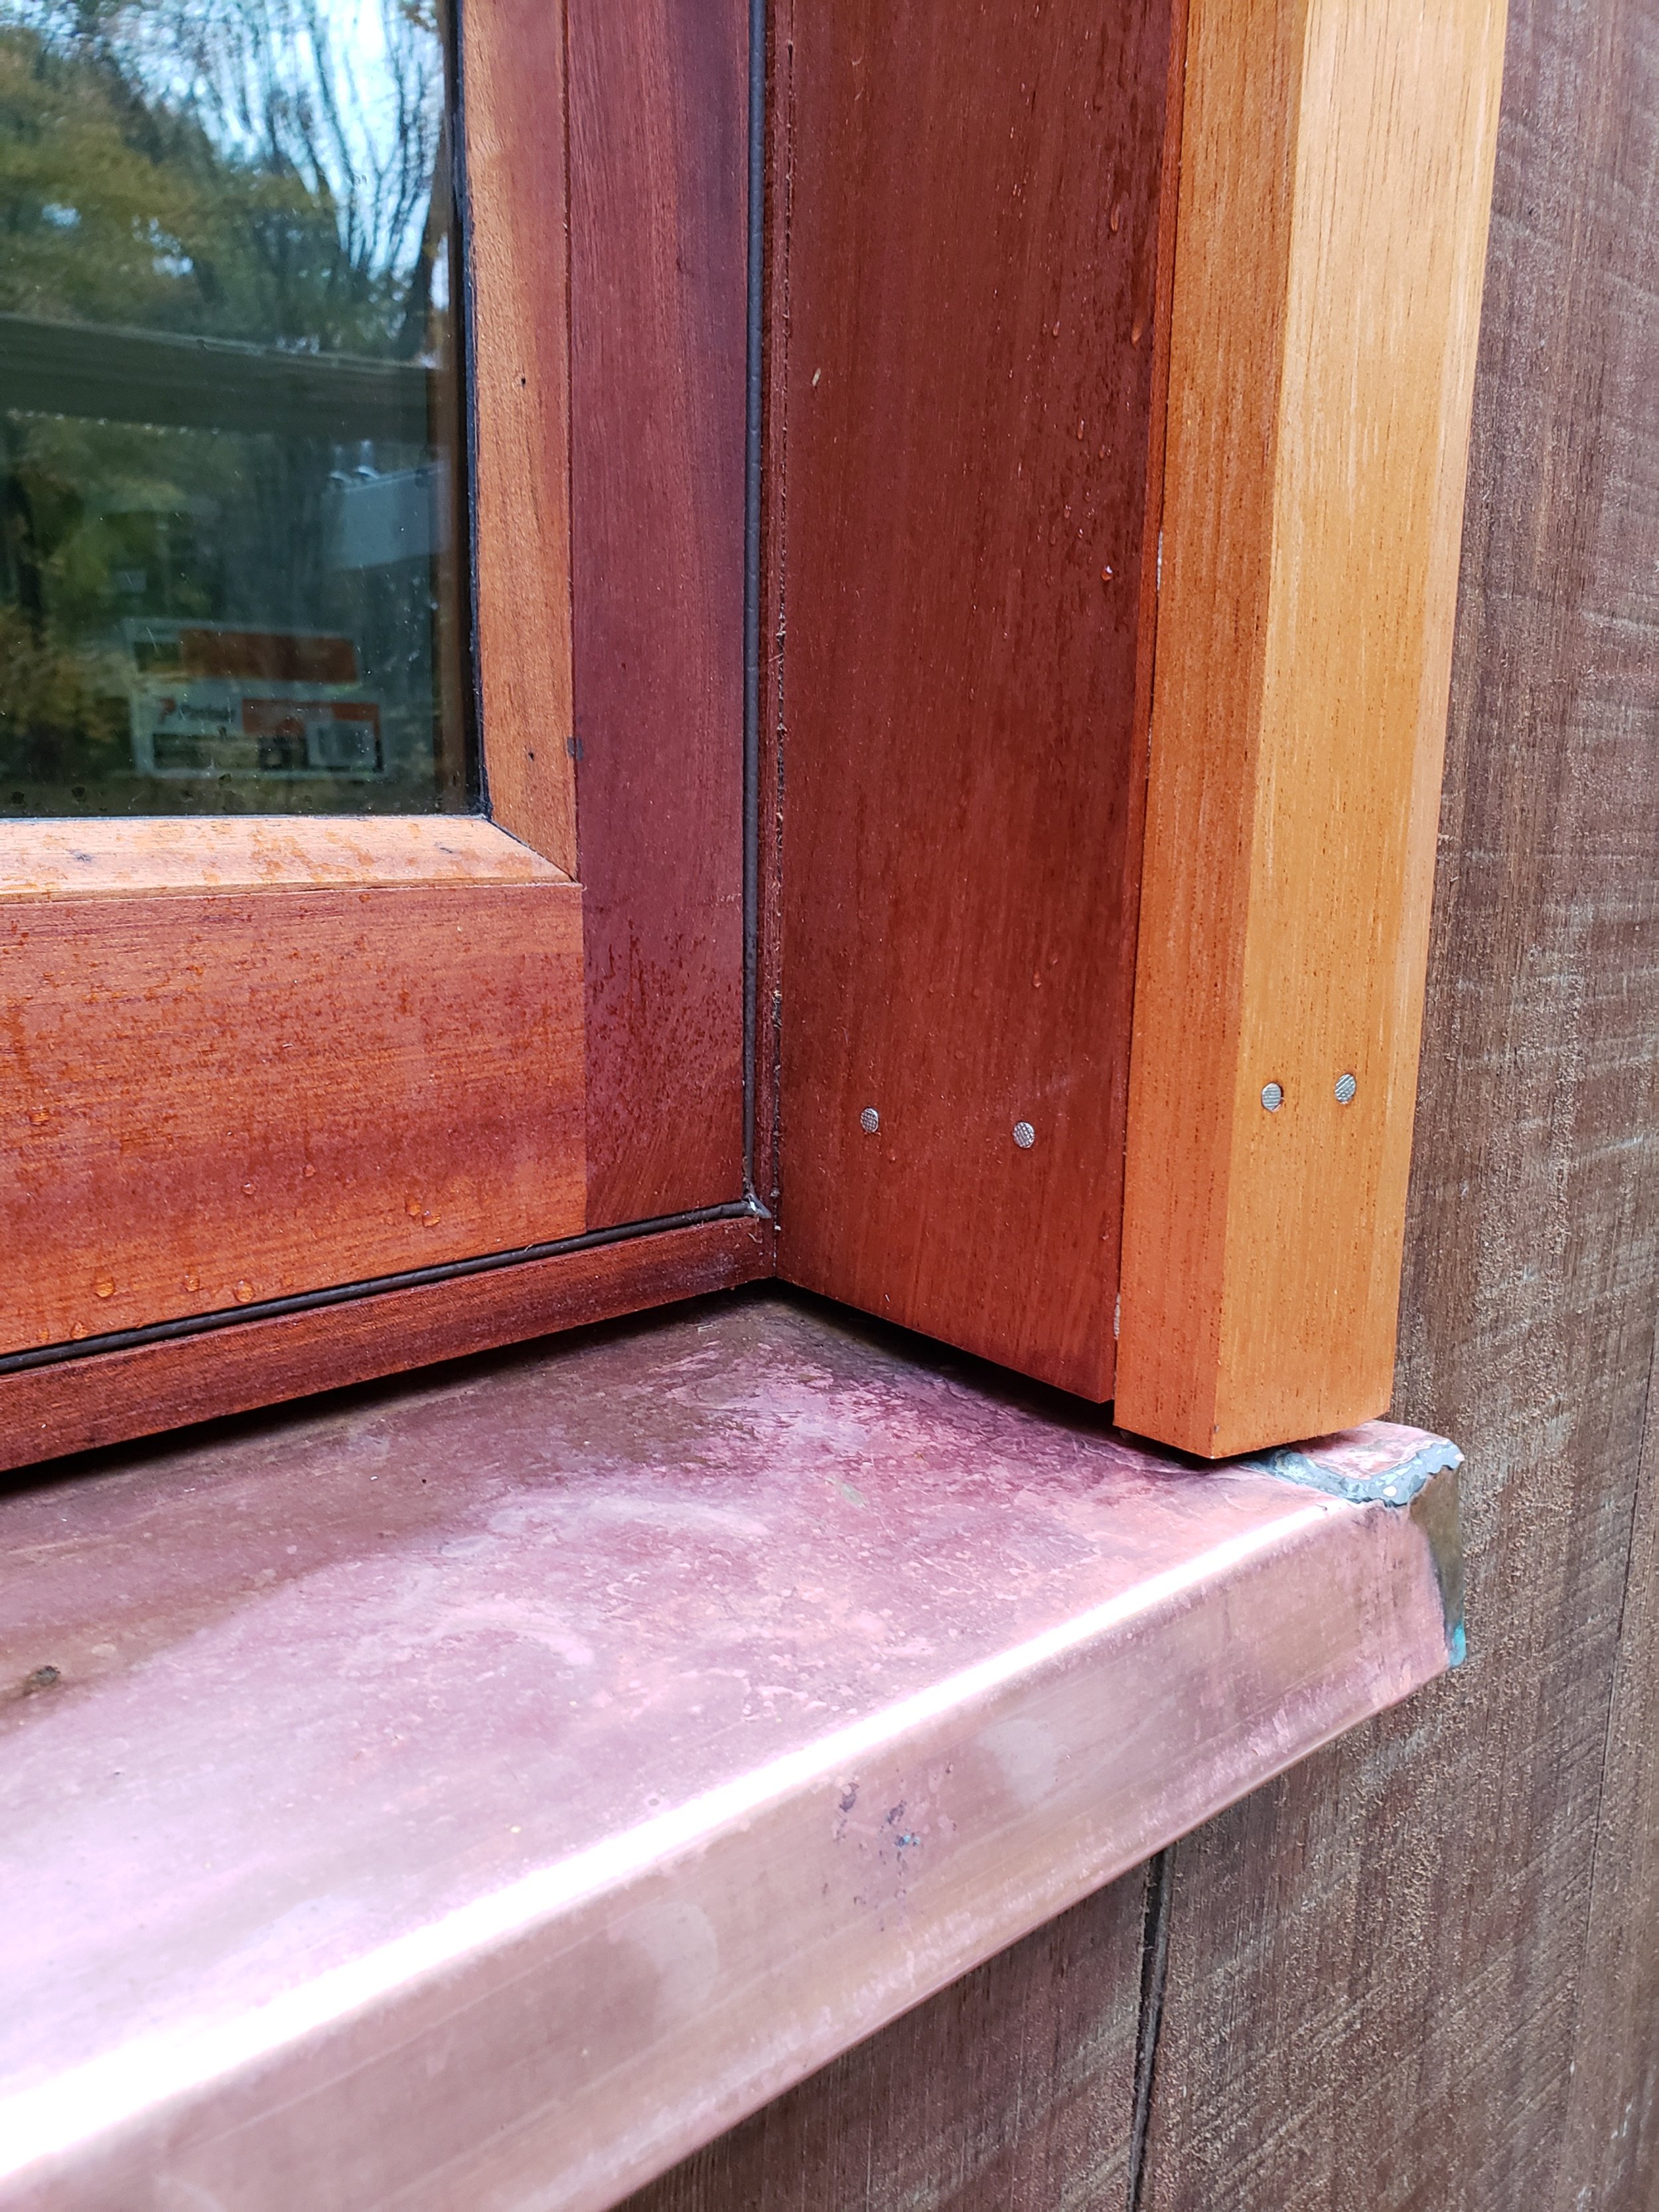
AFTER THAT - We worked on test-fitting the copper pan, trimming the turn up leg and making a field modification so that the pan did not extend past the glass line. This required making a small kerf cut into the bottom of the window. We moved on to final installation of the copper pan once we had things fitted correctly. Our seams are soldered and the nail fasteners are copper. Remember dis-similar metals from Chemistry class?
AND THEN - We test fitted the window. The window does not have a nailing fin, so our solution was to use Simpson Strong Tie galvanized metal straps with stainless steel pan head screws. We made sure the straps were offset based on our rough opening and that they face out so we could cover them with our air sealing materials.


AND IT’S DONE…
And, just like that, we have a window. (Hardly.) We learned a lot from this first installation. This was the smallest window, is on its own in the garage, and is pretty inconspicuous in case we messed up, but needless to say, everything worked out just fine.
So what are the key take-aways that we learned from this part of the project?
Windows are more expensive than you think and you get what you pay for.
Opting for traditional, natural, and timeless materials only make the installation that much more integrated and attractive.
Consult your resources and ask for help when you need it. We spoke with our 475 rep (Nick) multiple times and it was always worth it.
Be prepared to look at all your other windows and say…wow, those look like crap.
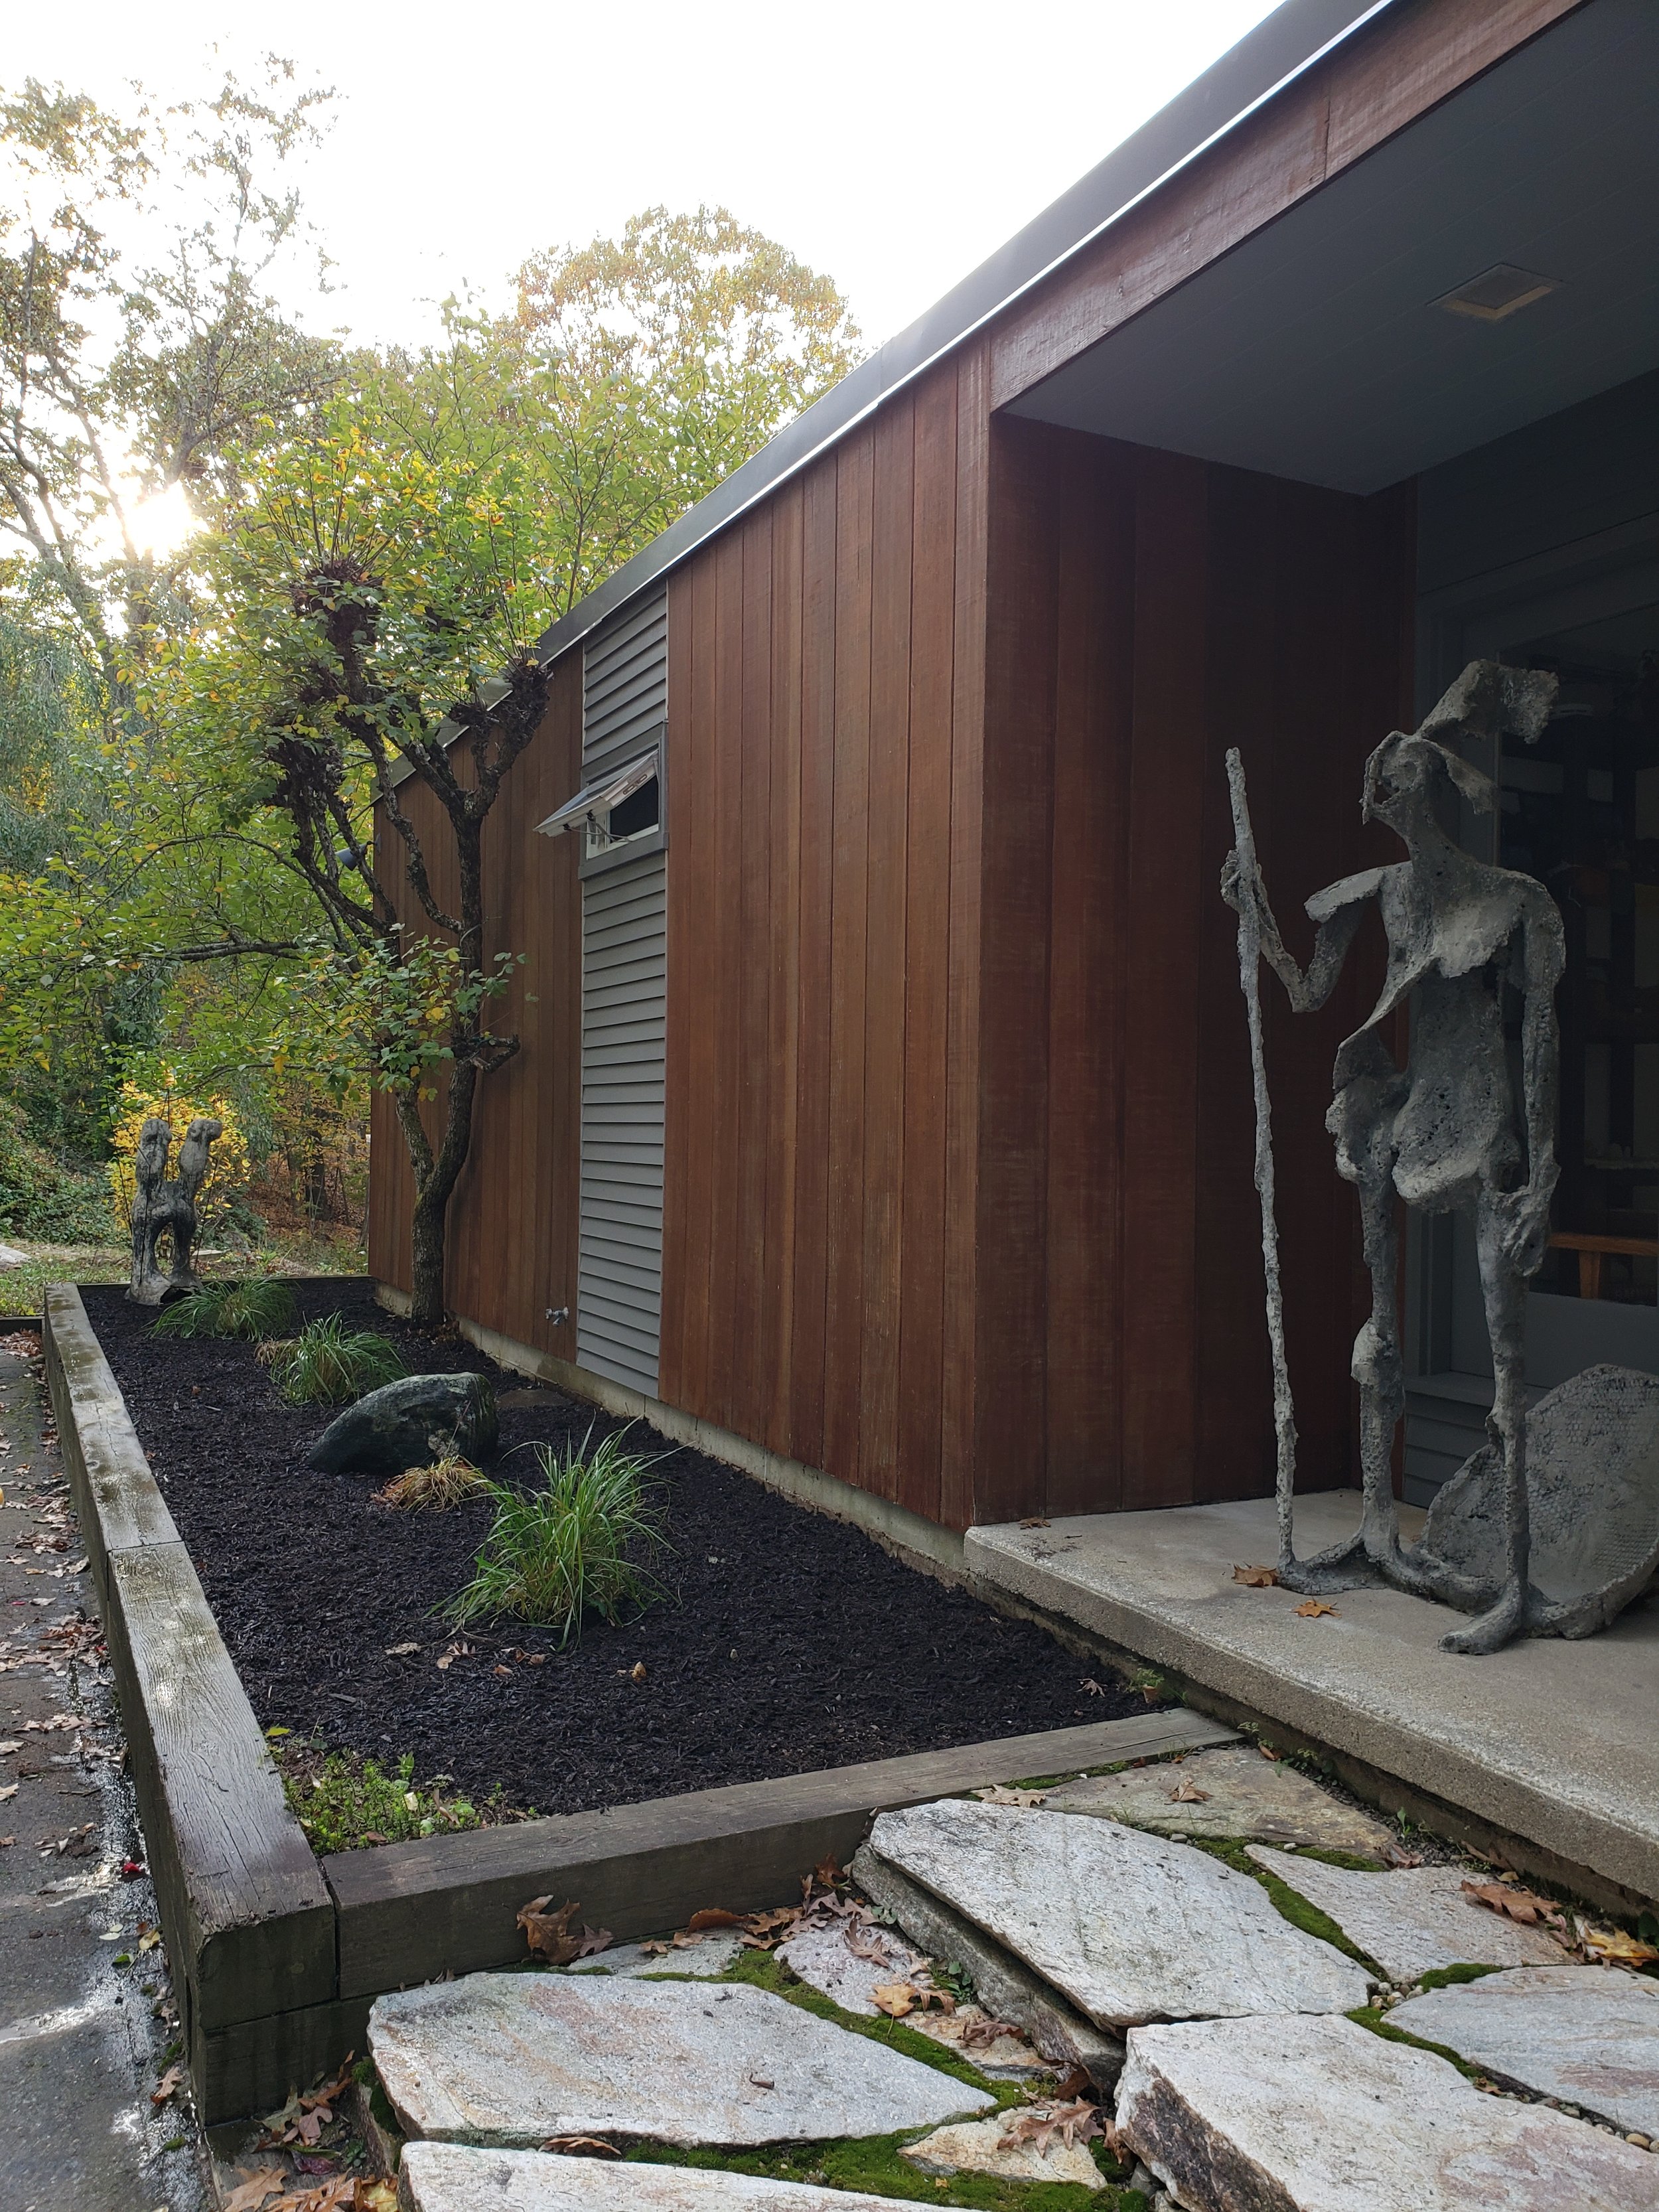
Siding
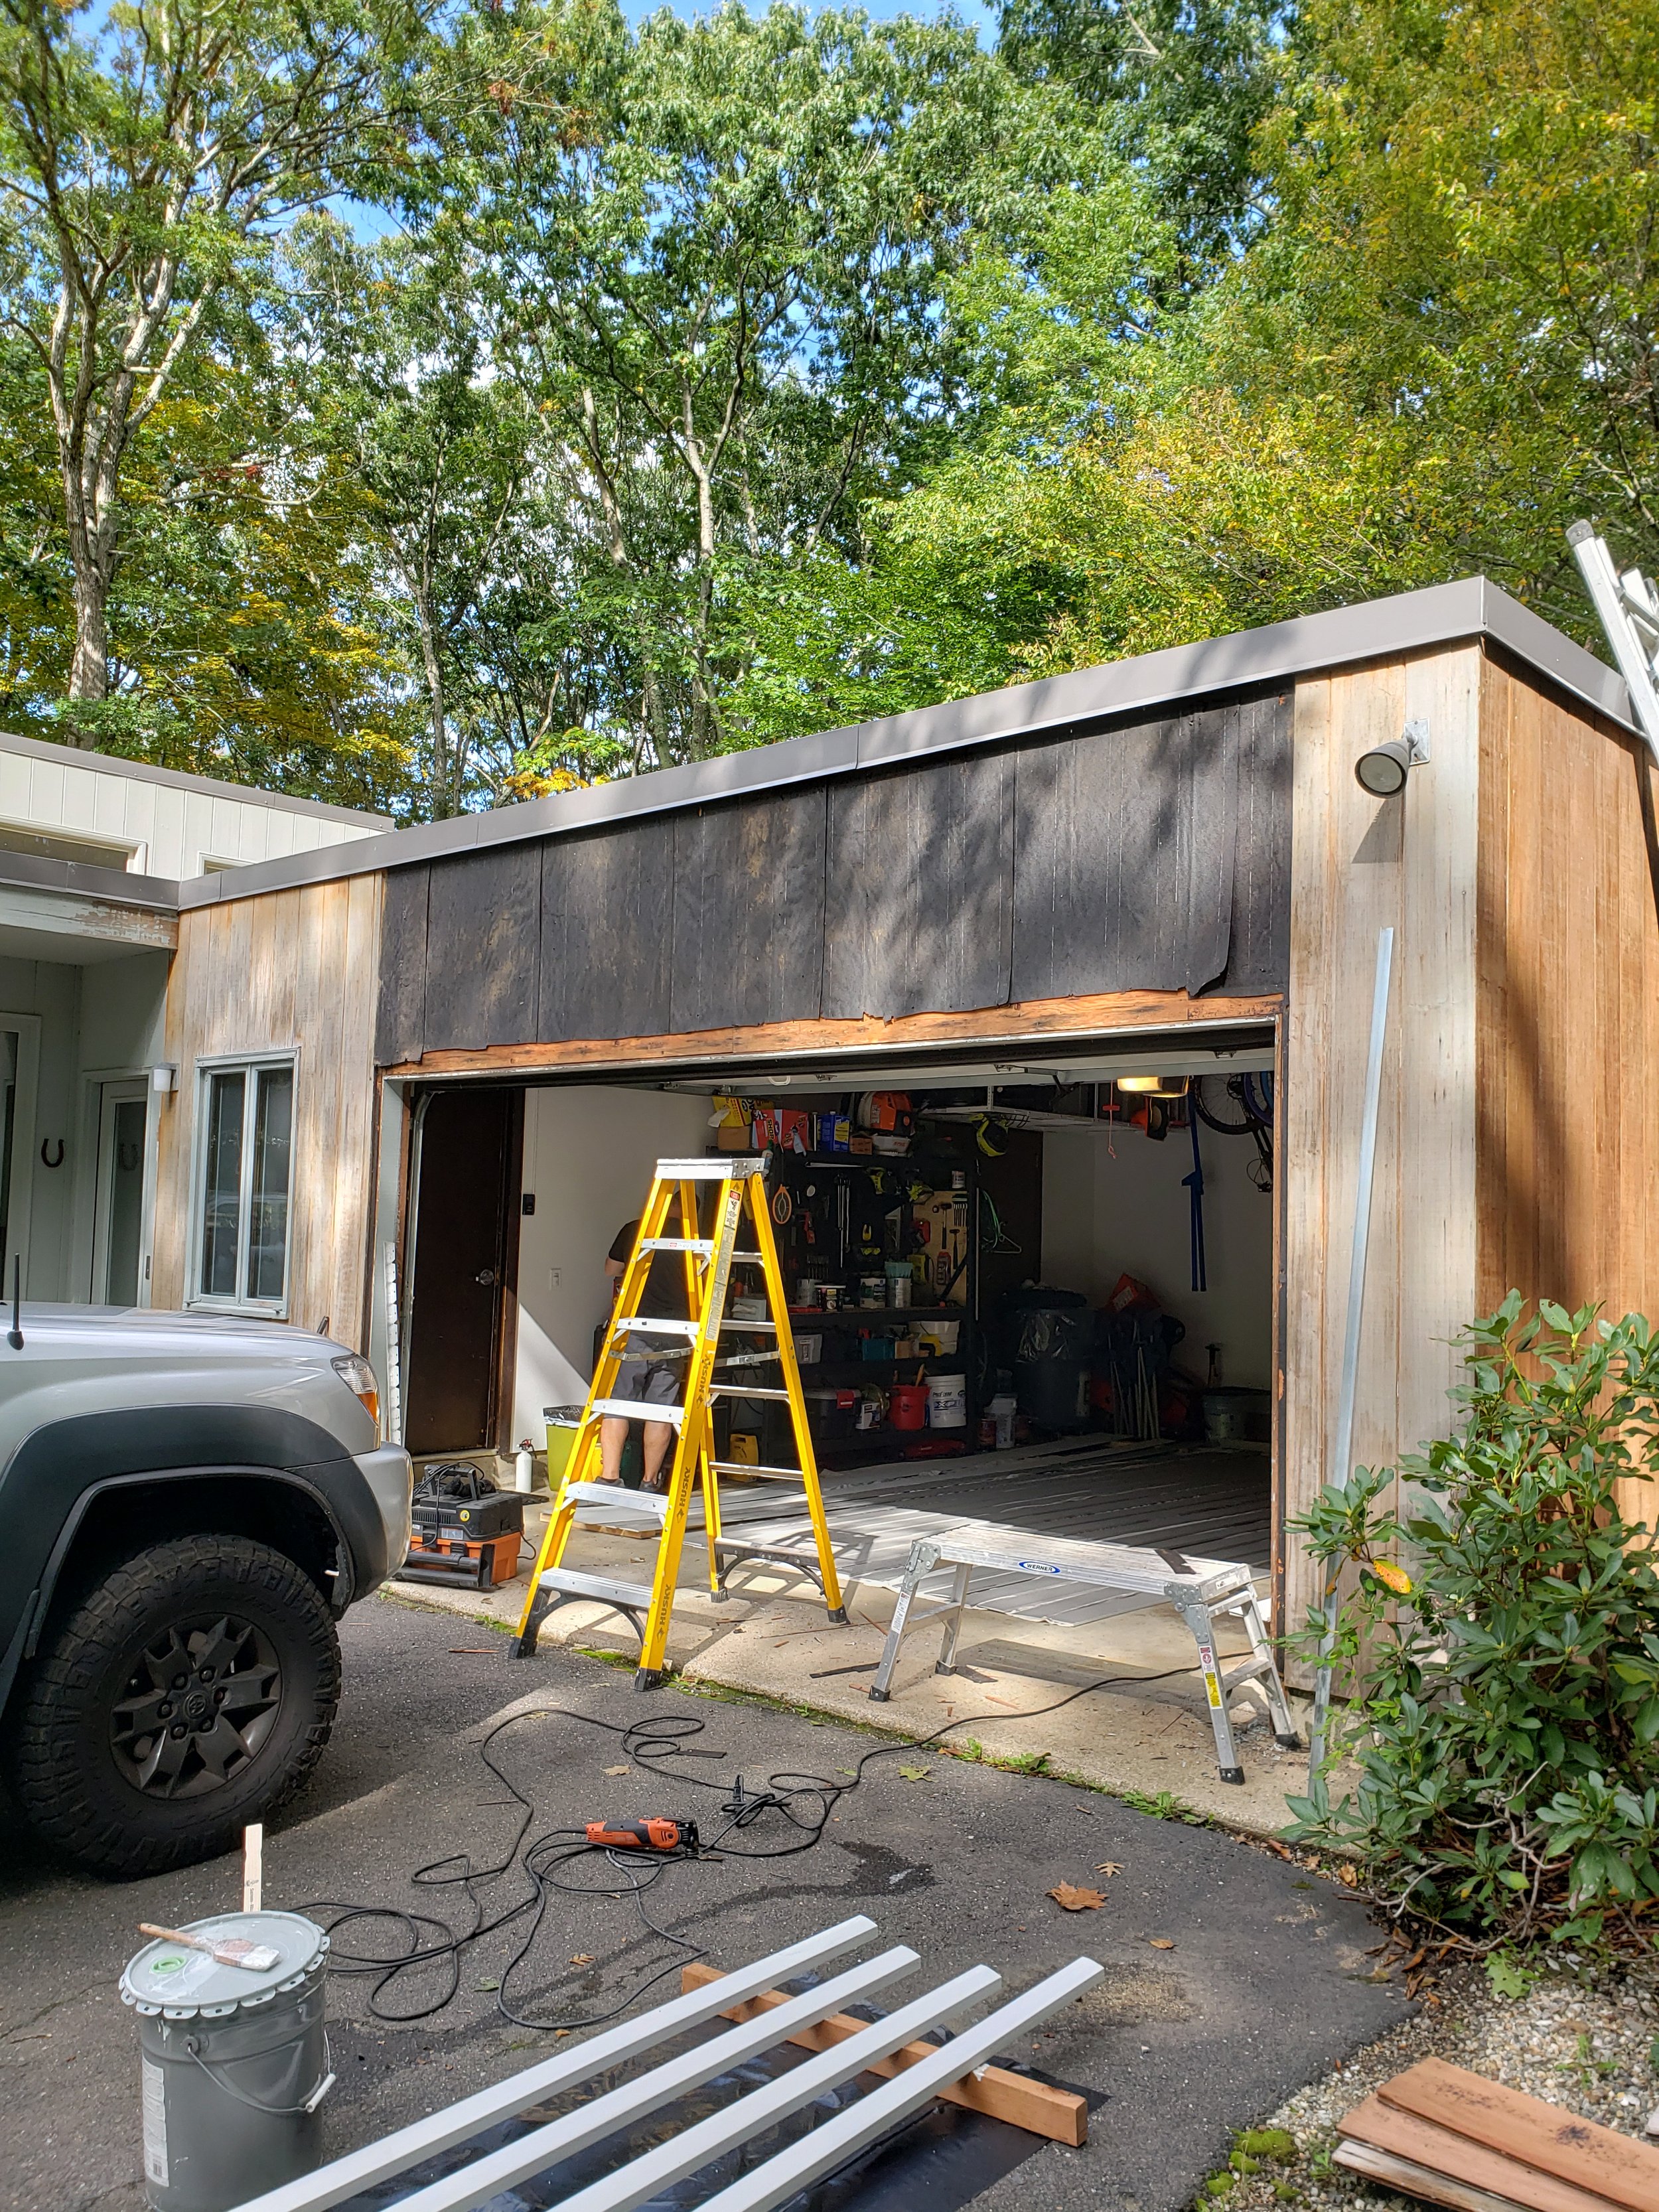
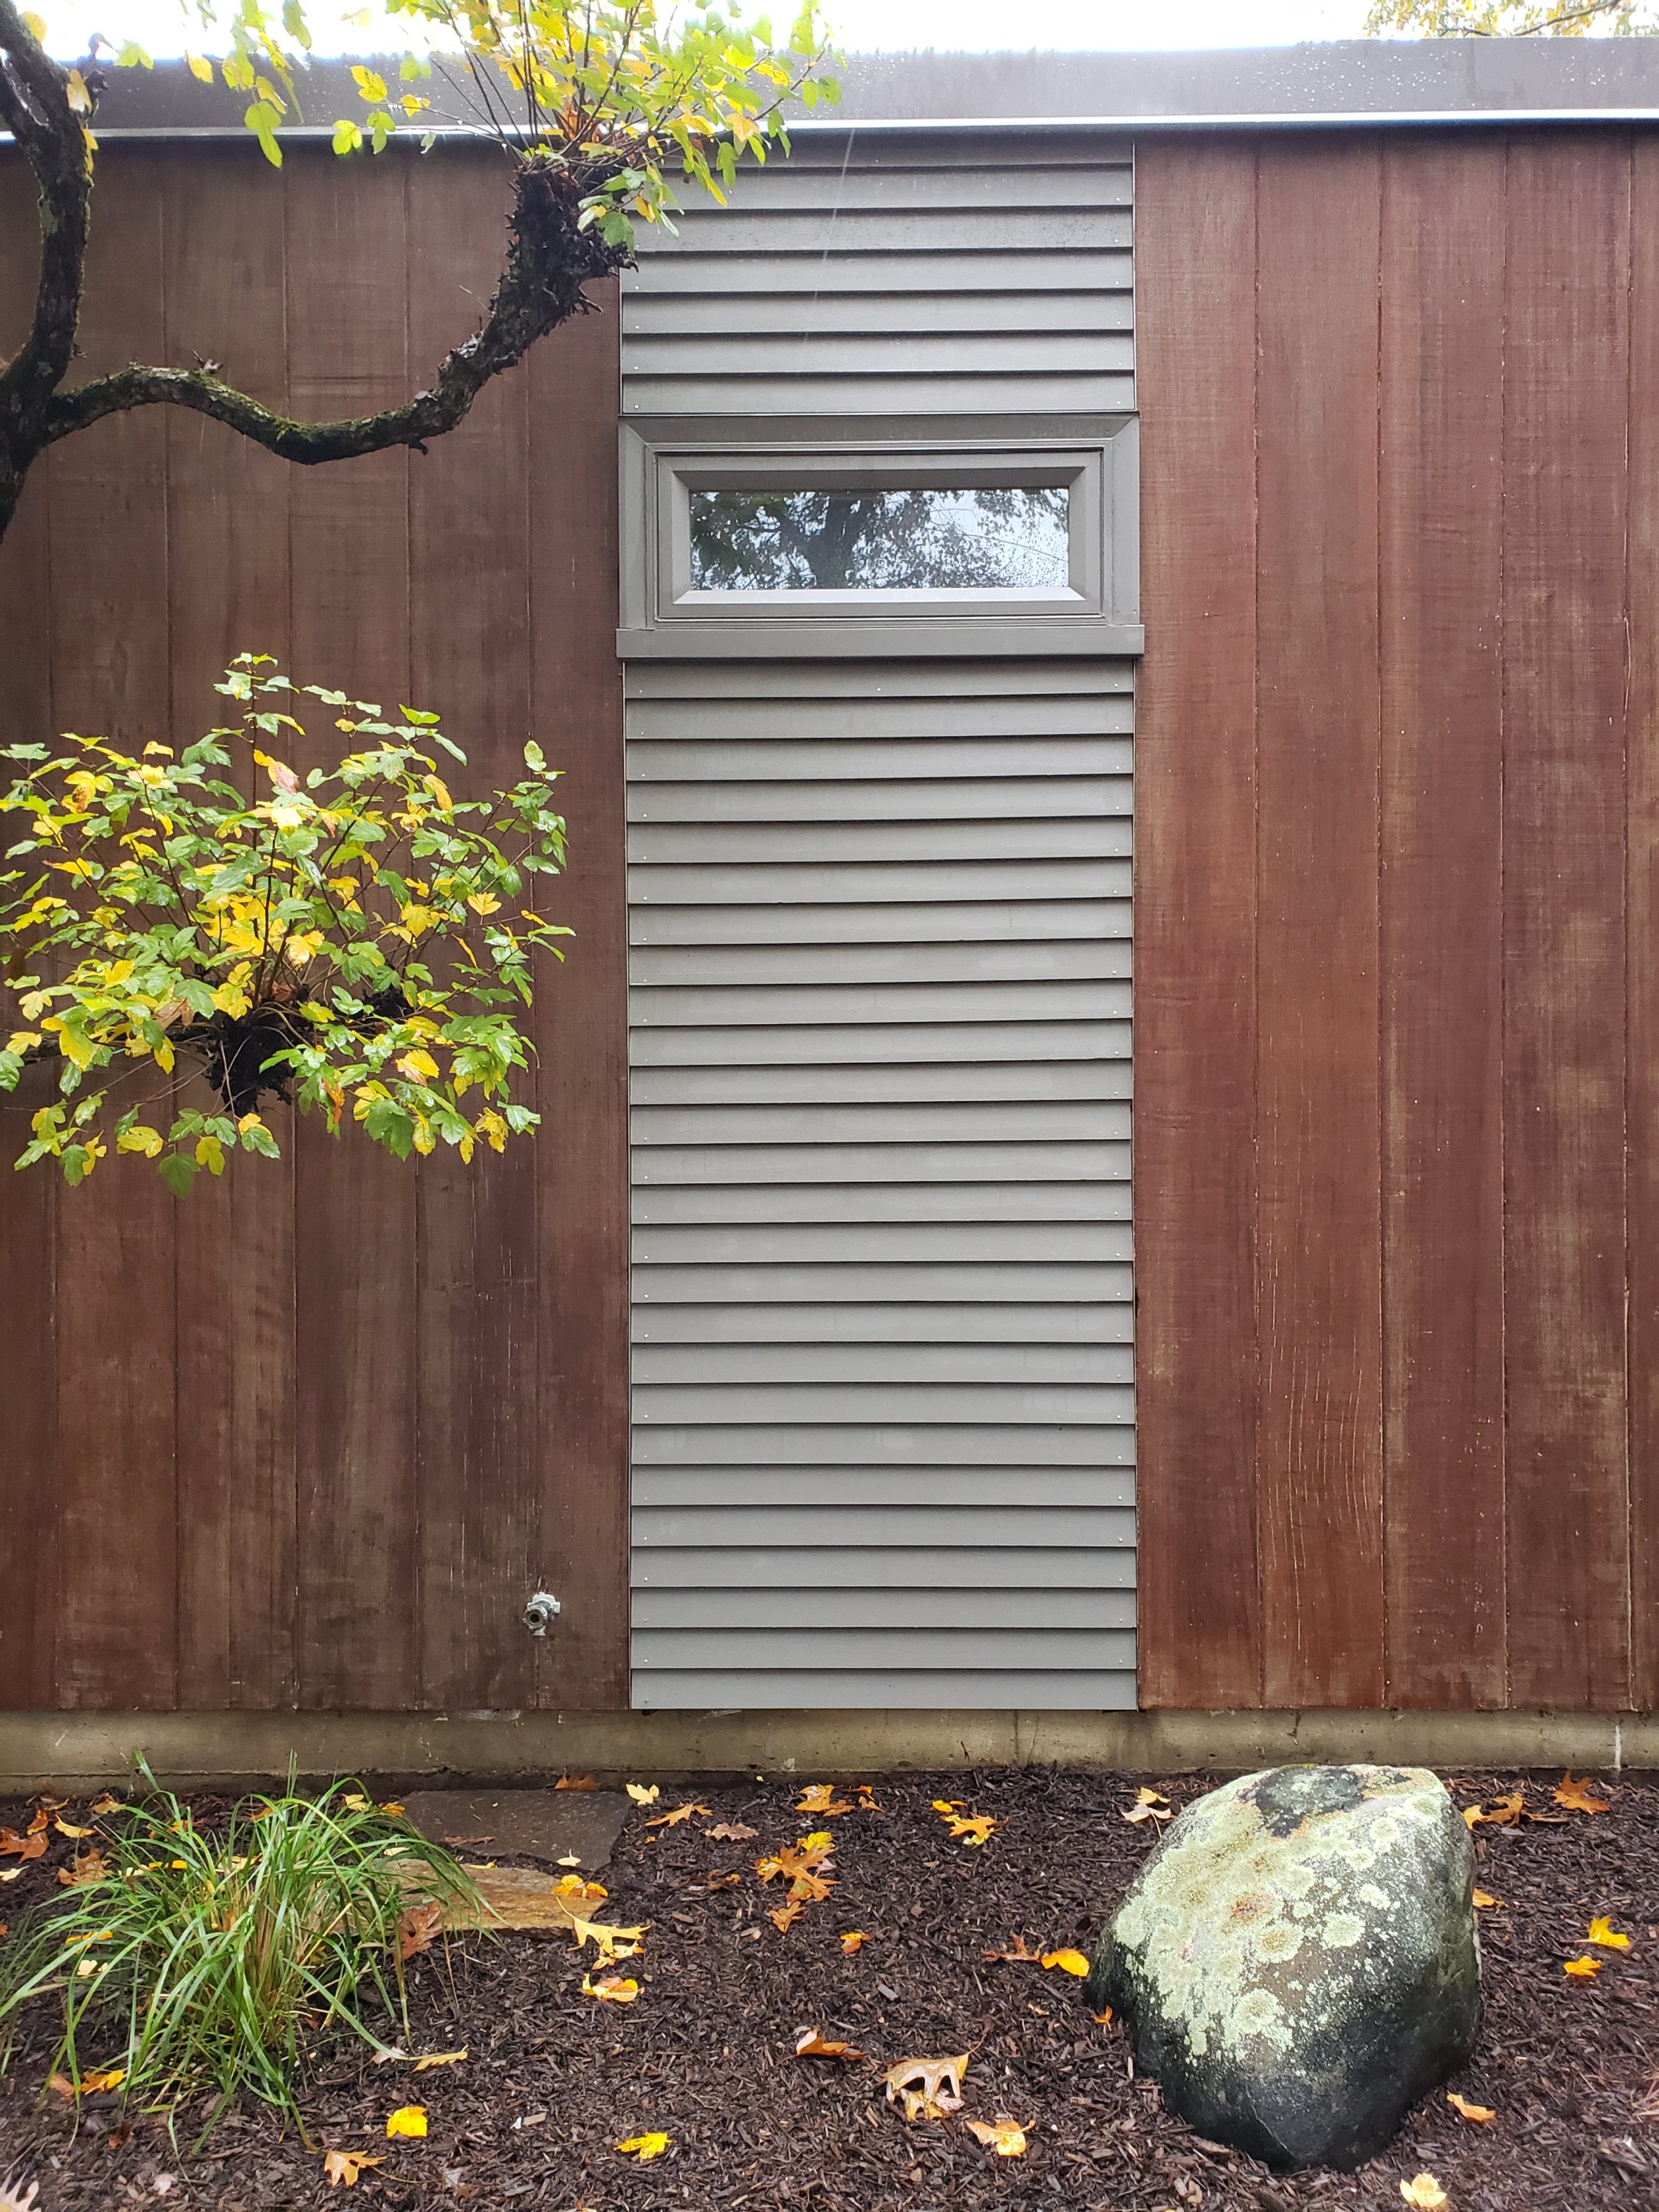
INTRO - So, when paint starts to fail, there are “usually” only a few reasons why. In our case it was a mix of things. One, we have limited roof overhangs. Two, the house has endured numerous past handymen making poor decisions. And three, we have redwood siding. Redwood is a soft, dark red, rot-resistant, west coast wood. Although it is still available (generally speaking), we found it very difficult to find an east coast supplier willing to work with such small quantities that we would need to patch up some visual damage and decay.
ACTION - Make a decision that was both right for the house, but also in complement with the newly installed windows.
OPTIONS - We weighed a large number of options. Pining laboriously over every Sherwin Williams white, looking up MCM historical color palettes, and - I am even ashamed to admit - looking at painting the house black. We made a few full size mockup boards to lean against the house for half the spring season. Going outside during different times of day, looking, pondering, questioning, and changing the color slightly about 3 times. We finally landed on “the” siding color and rushed out to buy our first pail.
After painting the clerestory, something occurred to us: The original architect in the 1960s had specified the house exterior as redwood siding with a grey bleaching oil. The color we selected was trying to imitate this type of weathered wood look. Instead of repainting, what would happen if we stripped the siding free of all the paints, stains and old bleaching oils, then cleaned the sliding with a scrub brush (no, not a pressure washer) and then sealed it with a linseed-based exterior wood seal? Well, that is what we have been doing tirelessly for the entire summer and to prove it, here are some progress photos. Full disclosure, this was seriously laborious work and we still are not complete.

Assessing the condition
Once we had all the paint stripped we could get a slightly better idea of what was salvageable and what needed to be replaced. You can see in the photo all the years of wood filler and bondo that has been added. This particular face takes a lot of weather and again has no overhangs.
Generally speaking, the rest of the siding was in pretty good shape except over the garage door. Our design solution was to remove only the damaged boards and install painted horizontal Western Red Cedar clapboards. This would give us the ability to not attempt to patch and match something we were not able to easily source. It would also allow us to incorporate a design element that would help us in other areas - areas that we were not able to change, like existing-to-remain windows that were already painted.
Some things to note…
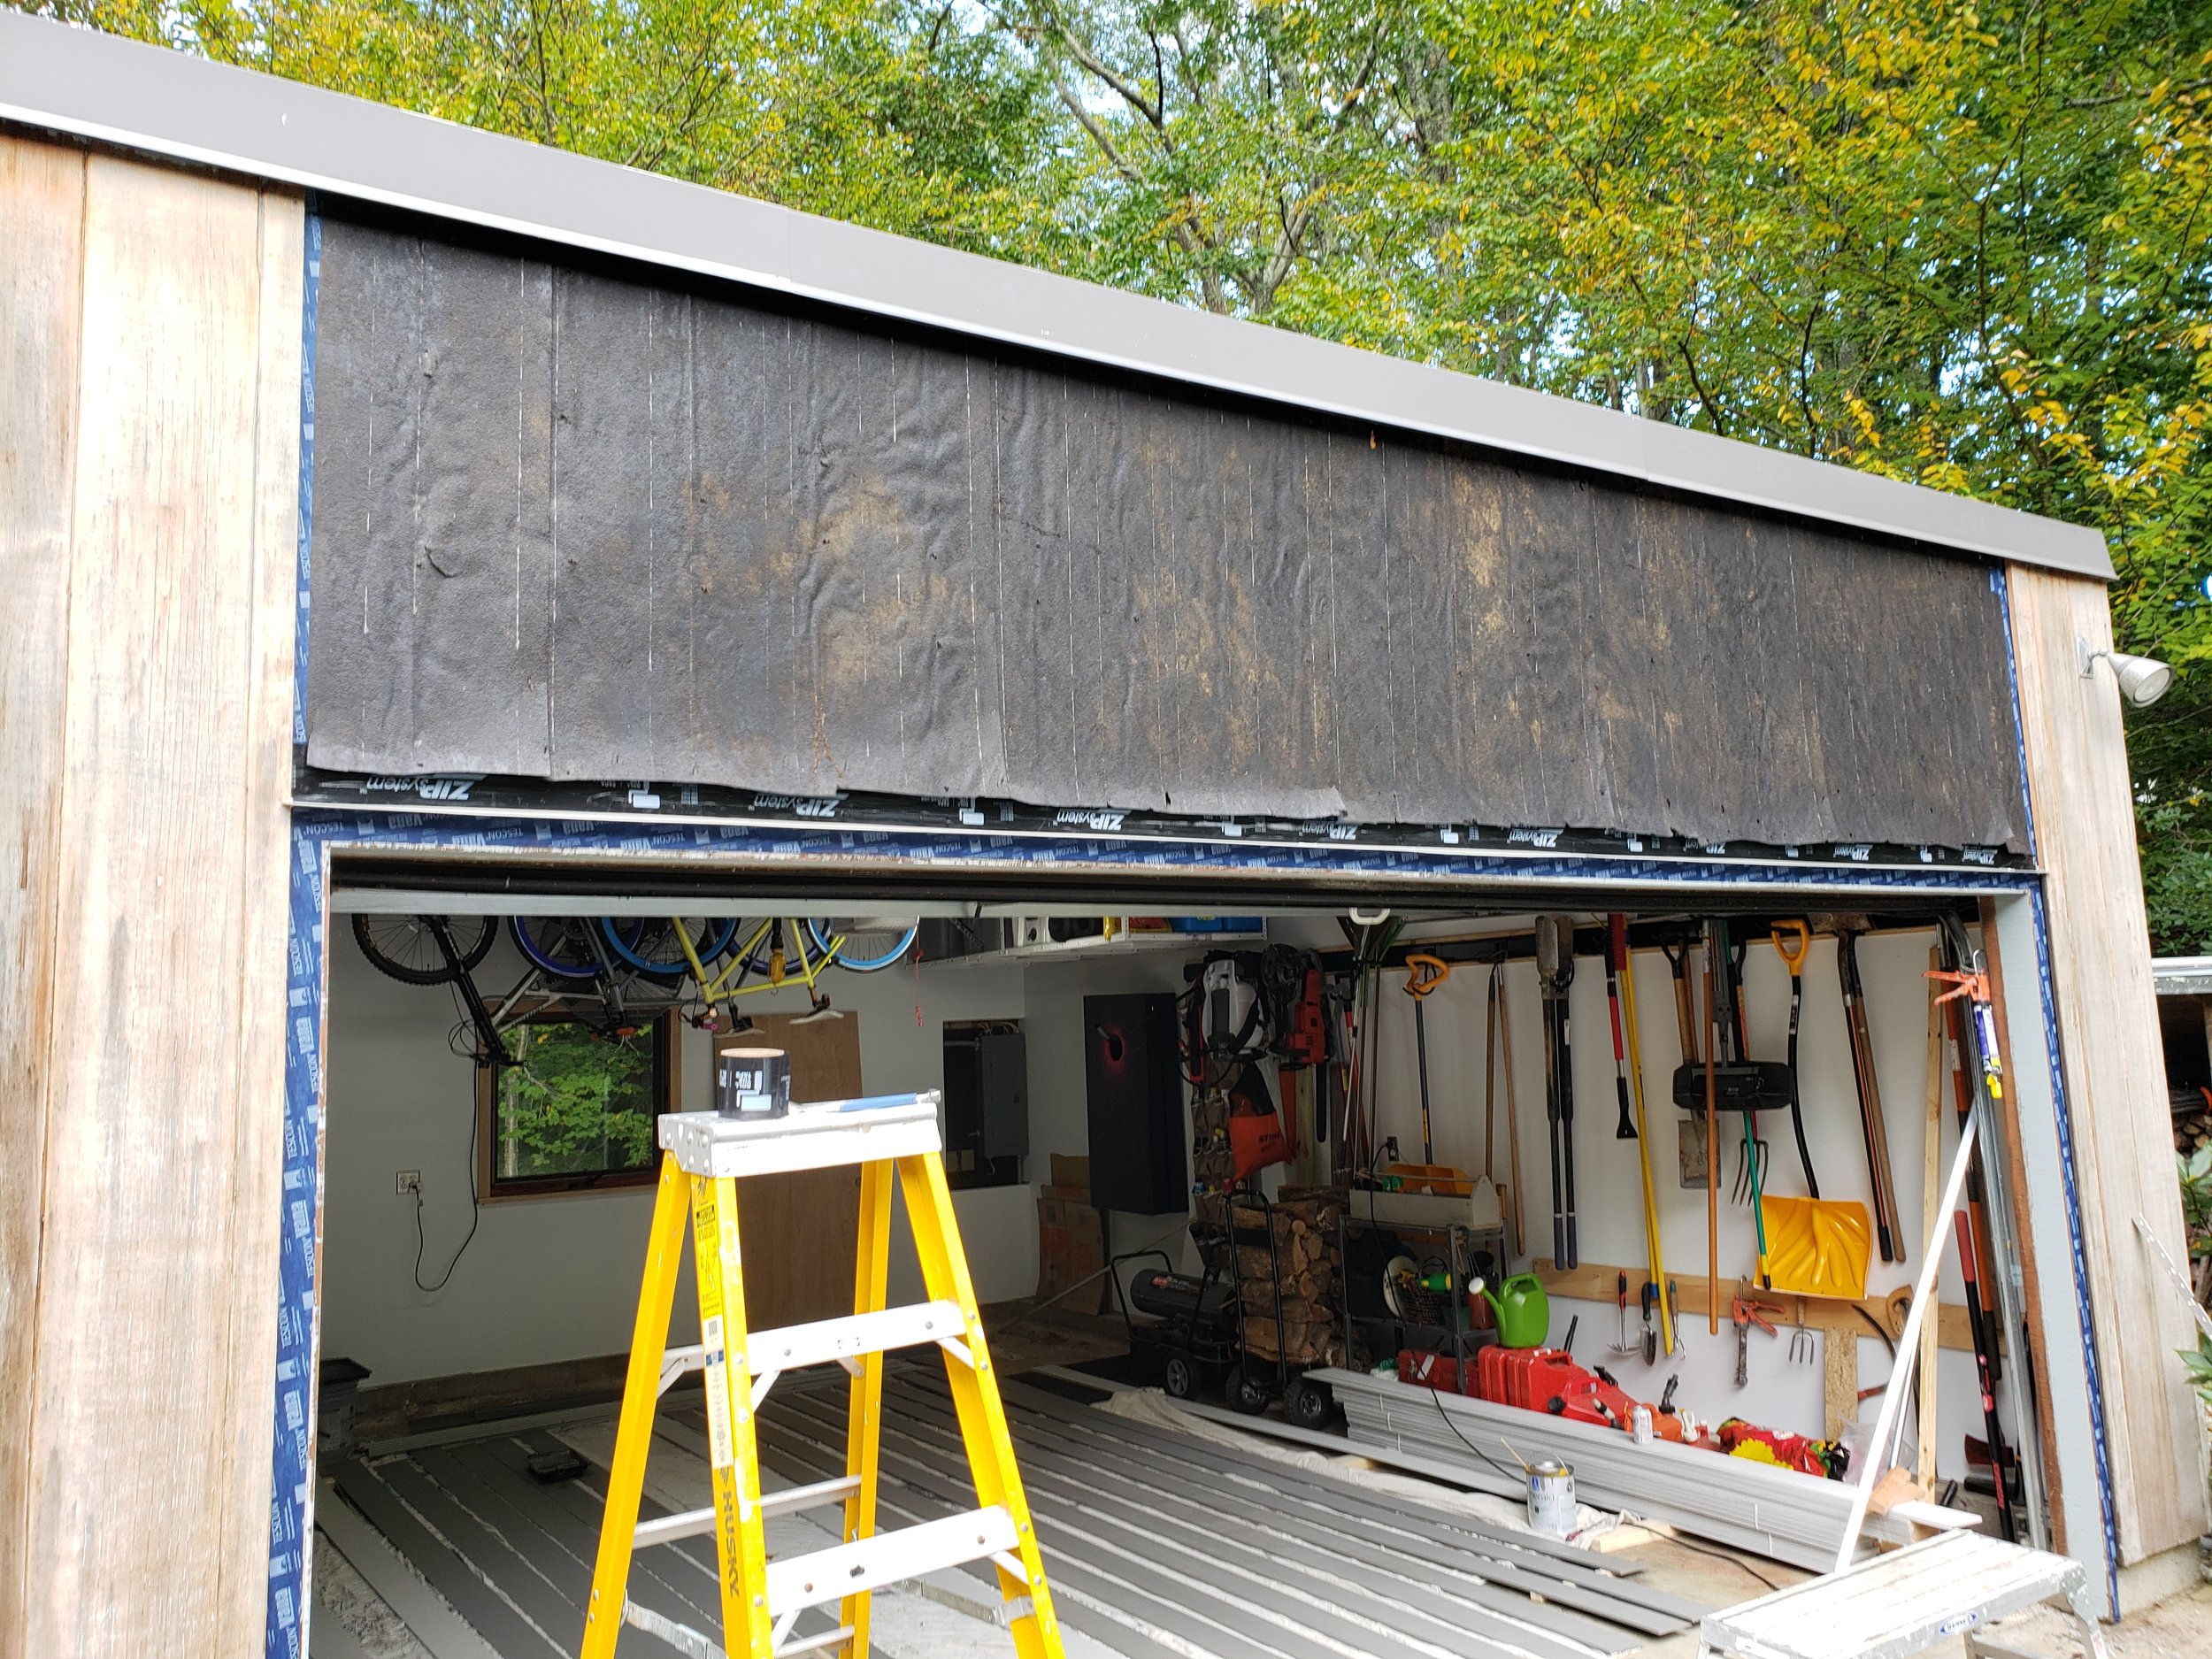
We did replace the existing WRB. We lifted the siding slightly so we could tie it back into the existing building paper to each side of the exposed area.
We added all new head flashing and trim
We pre-painted all sides of the new trim and siding (including all cut ends) before installation. Don’t let a painter or contractor tell you this is a sequencing issue or cannot be done. We found this to be quite easy and worked out a great system.
We only used stainless steel nails on WRC and aluminum nails on all flashing and aluminum angle.
Finished Photos

Up next in our next blog post:
Update on the yellow bathroom - This project was postponed slightly do to some supply chain issues and is still ongoing. We promise it will be included next round.
Bye bye, yellow bathroom…Hello orange? Green? Blue? Pink? We don’t know, but we are excited to figure it out and share our decision. One thing is for certain: we will try to keep it MCM.

Hint:
These samples may or may not have been incorporated into the remodel... If you follow us on Instagram you might already have seen some progress work.
Please do continue to follow along as we document our journey of restoring, rebuilding, and breathing new life into this gem of a home. If you know others who might find this interesting or helpful or would like to talk about your own renovation work, steps, ideas…GET IN TOUCH. We love chatting about design, craft, and renovations.
As a reminder, we invite you to join our Facebook group called Mid-Century Modern Homes of CT. This is a forum for Connecticut mid-century modern homeowners, admirers, enthusiasts, etc to share information regarding the appreciation and upkeep of our unique homes. Please feel free to join (even if you aren’t in CT, but are a fellow MCM admirer)! We are looking forward to seeing this group grow into a community of like-minded individuals where we can talk shop about all things MCM.
#InternationalArtistDay
October 25, 2021, also known as International Artist Day, has officially passed but there is no reason you cannot keep celebrating. Get out there and make, craft, assemble, paint, draw, whatever you do… Do it!
What’s New in the Studio?
It’s official: Grassy Roots has opened in their new location in Beverly, MA! We were the Interior Designer of this organic café in conjunction with a local architect to bring their new space to life with a fresh, modern, Scandinavian-inspired palette. Be sure to stop in for a bite when you are in the area!

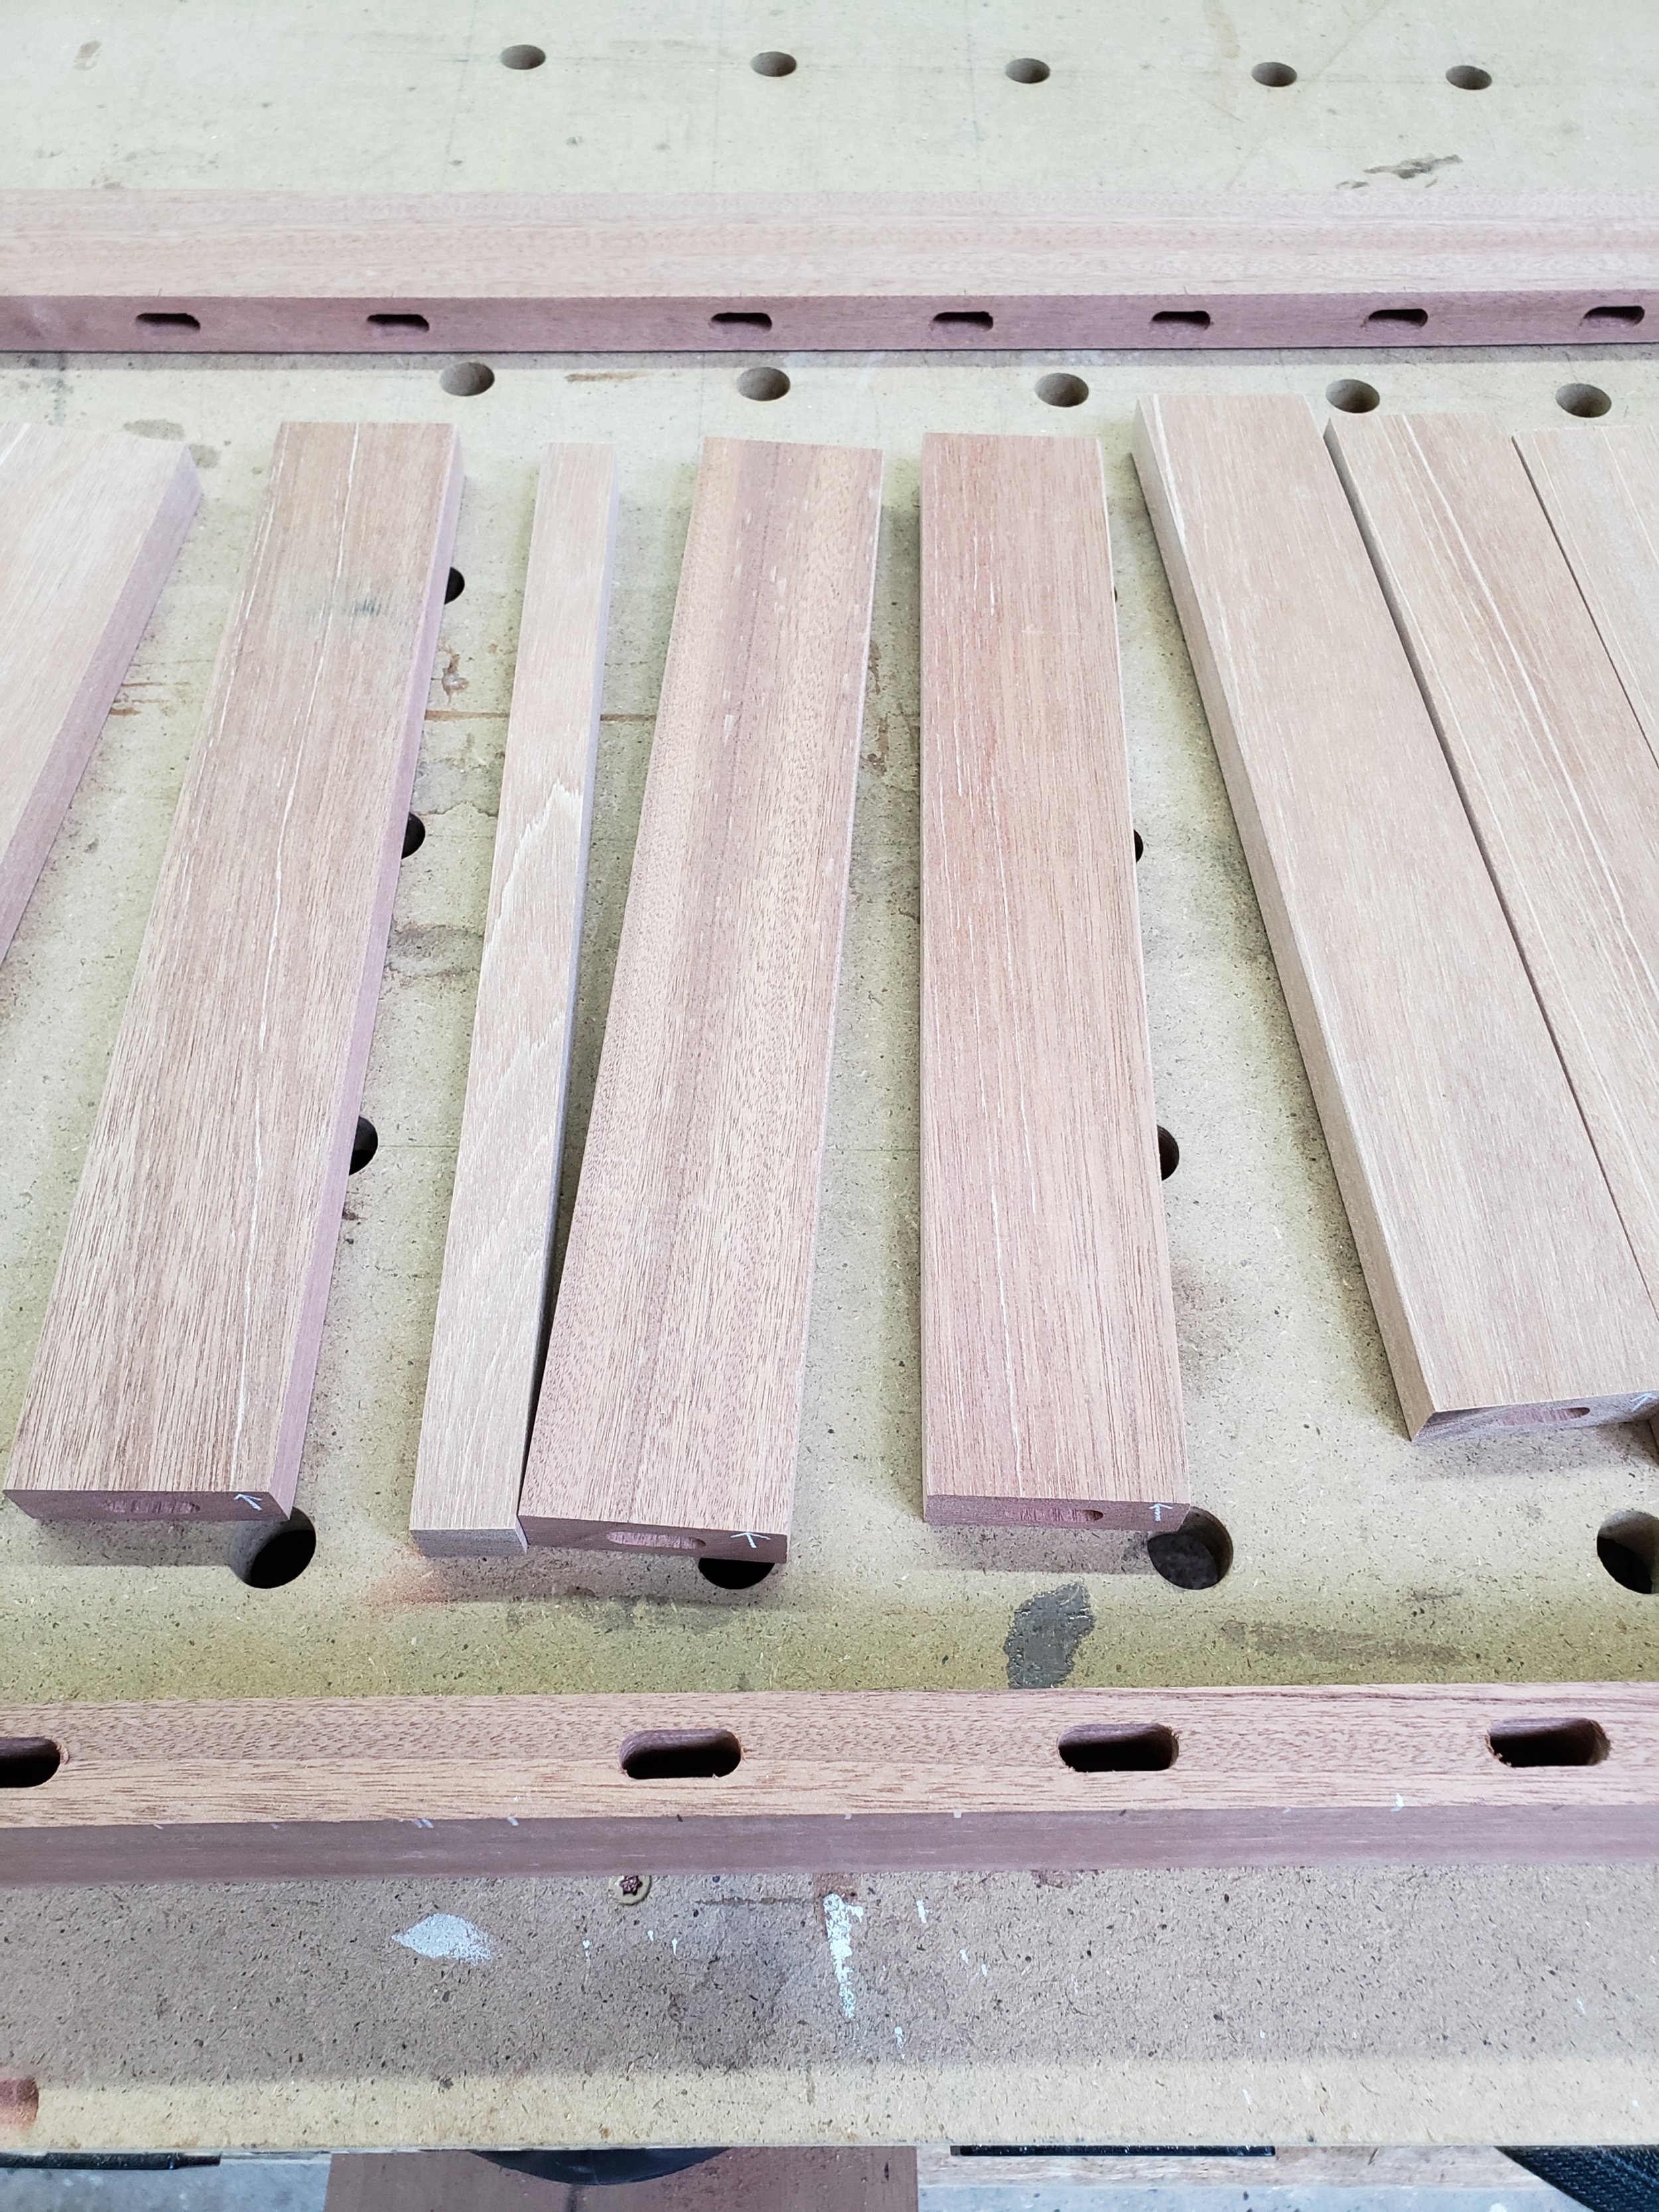
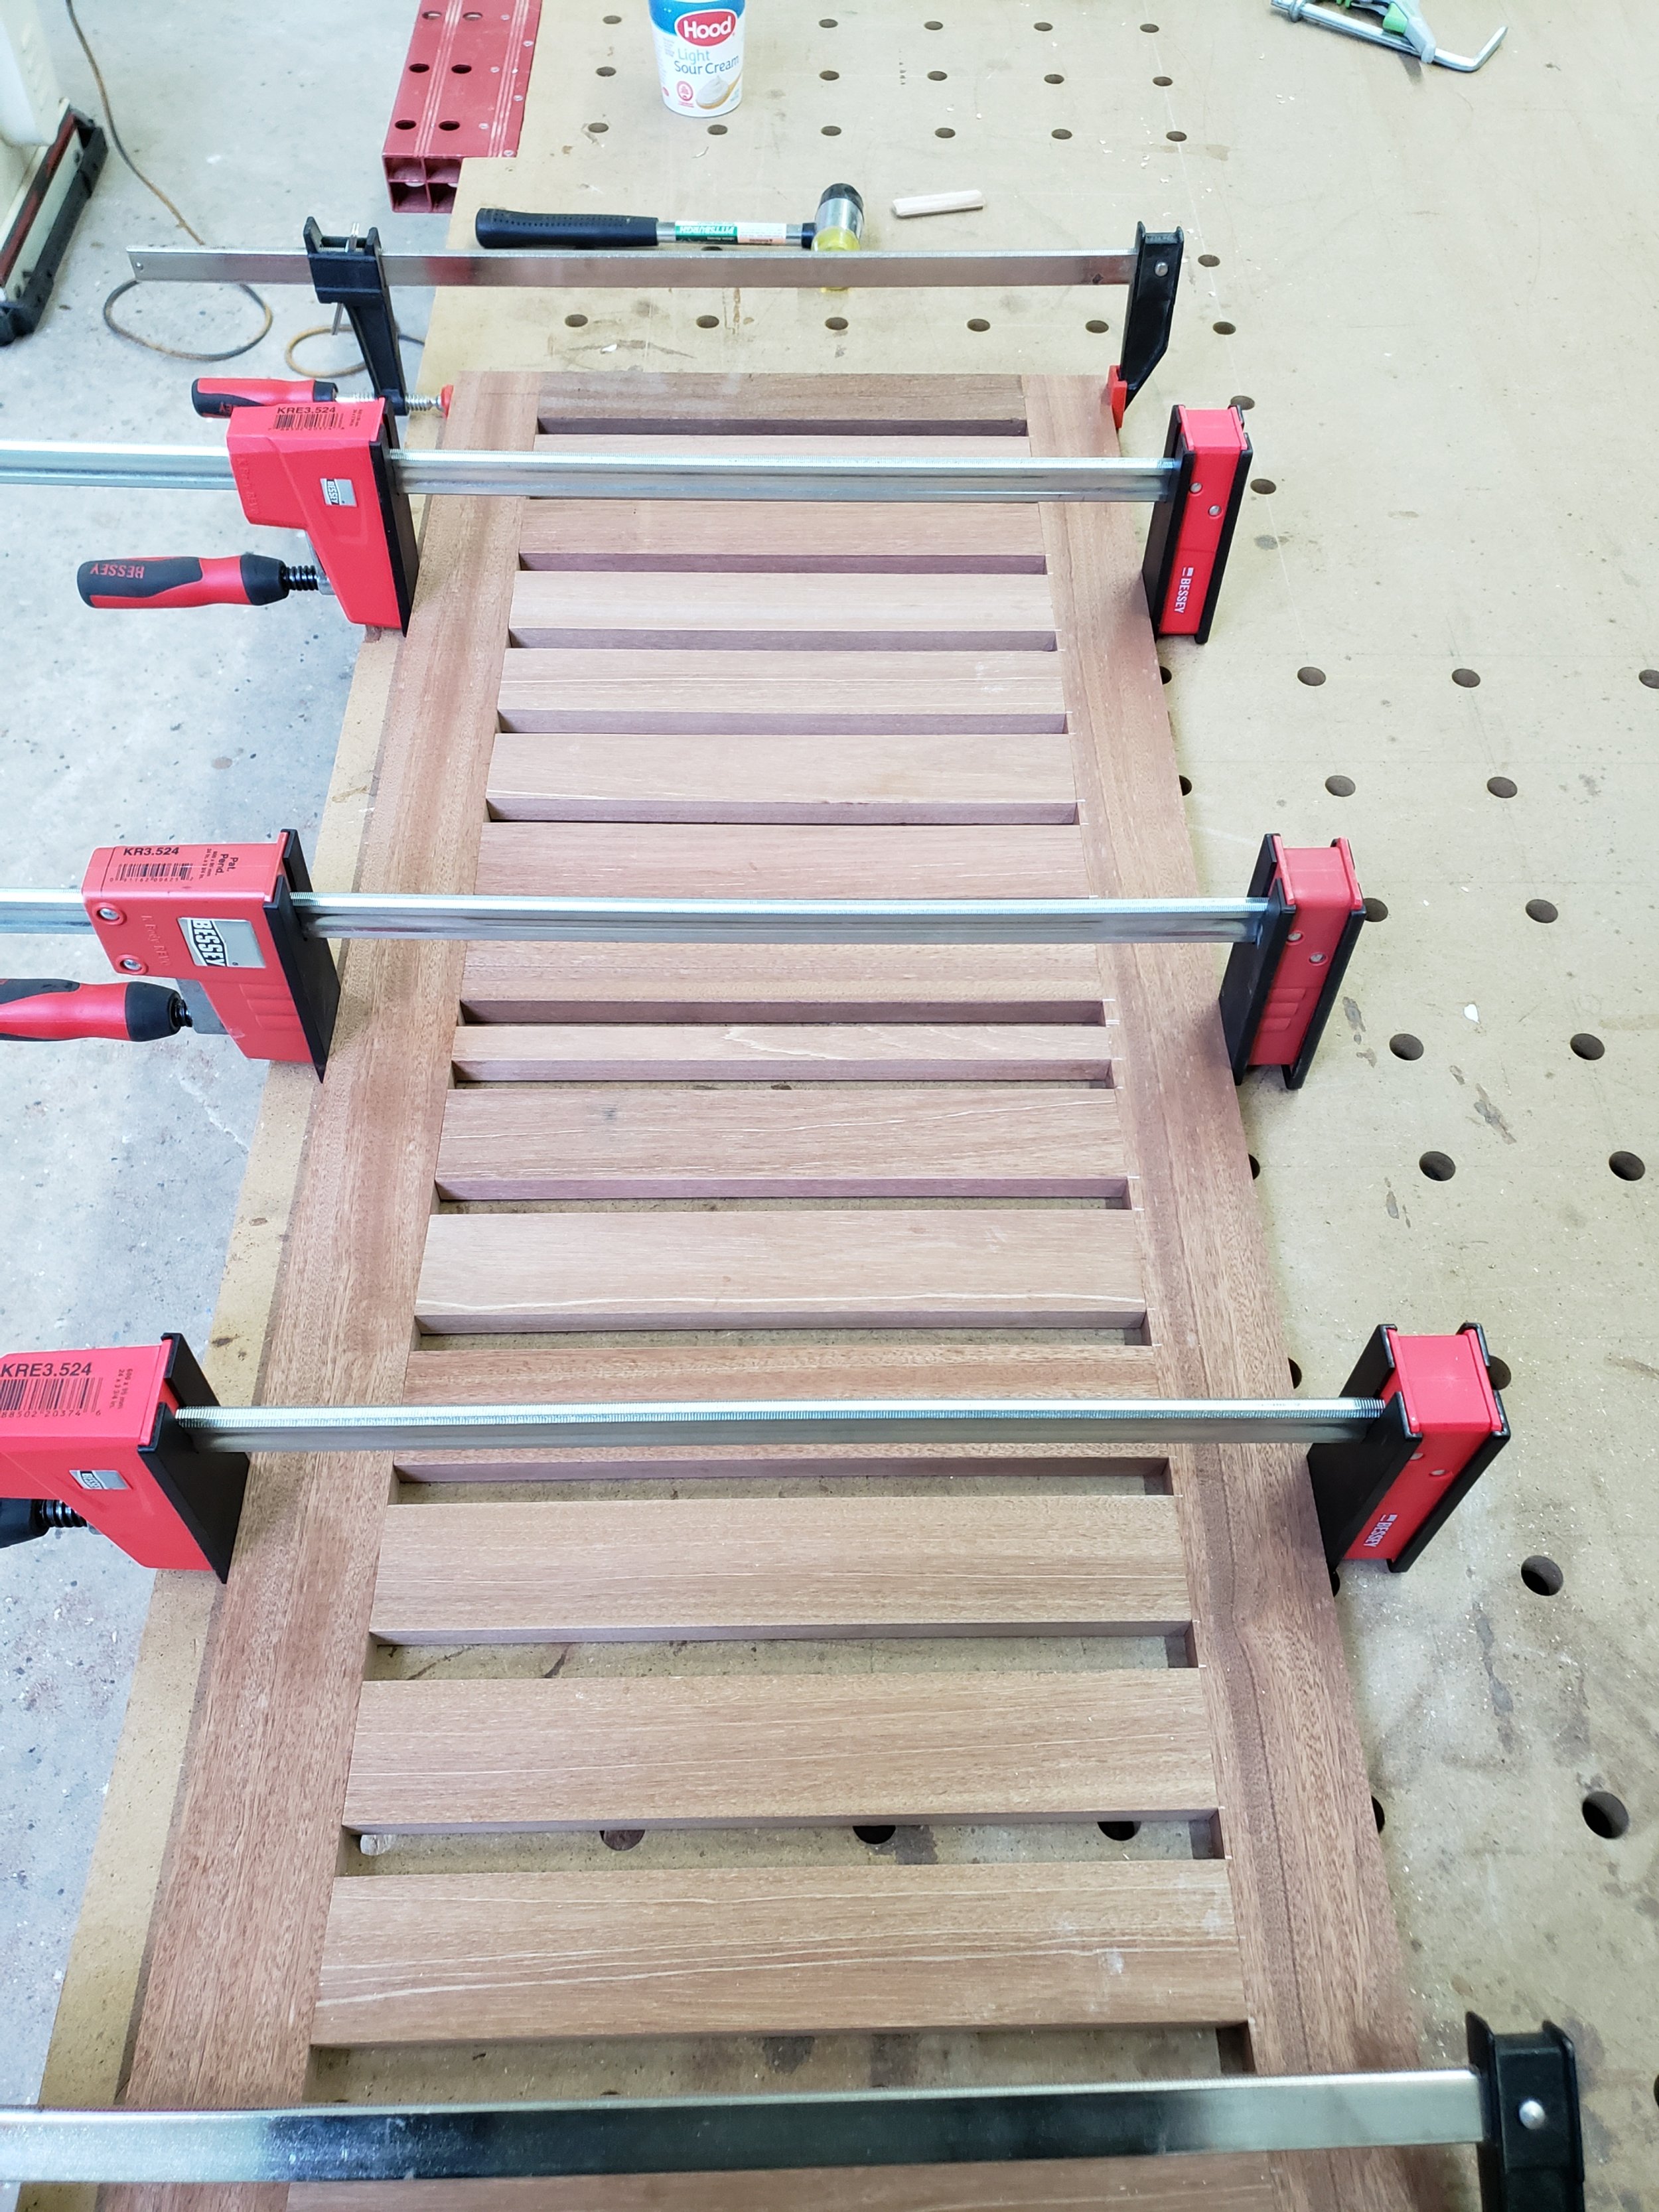
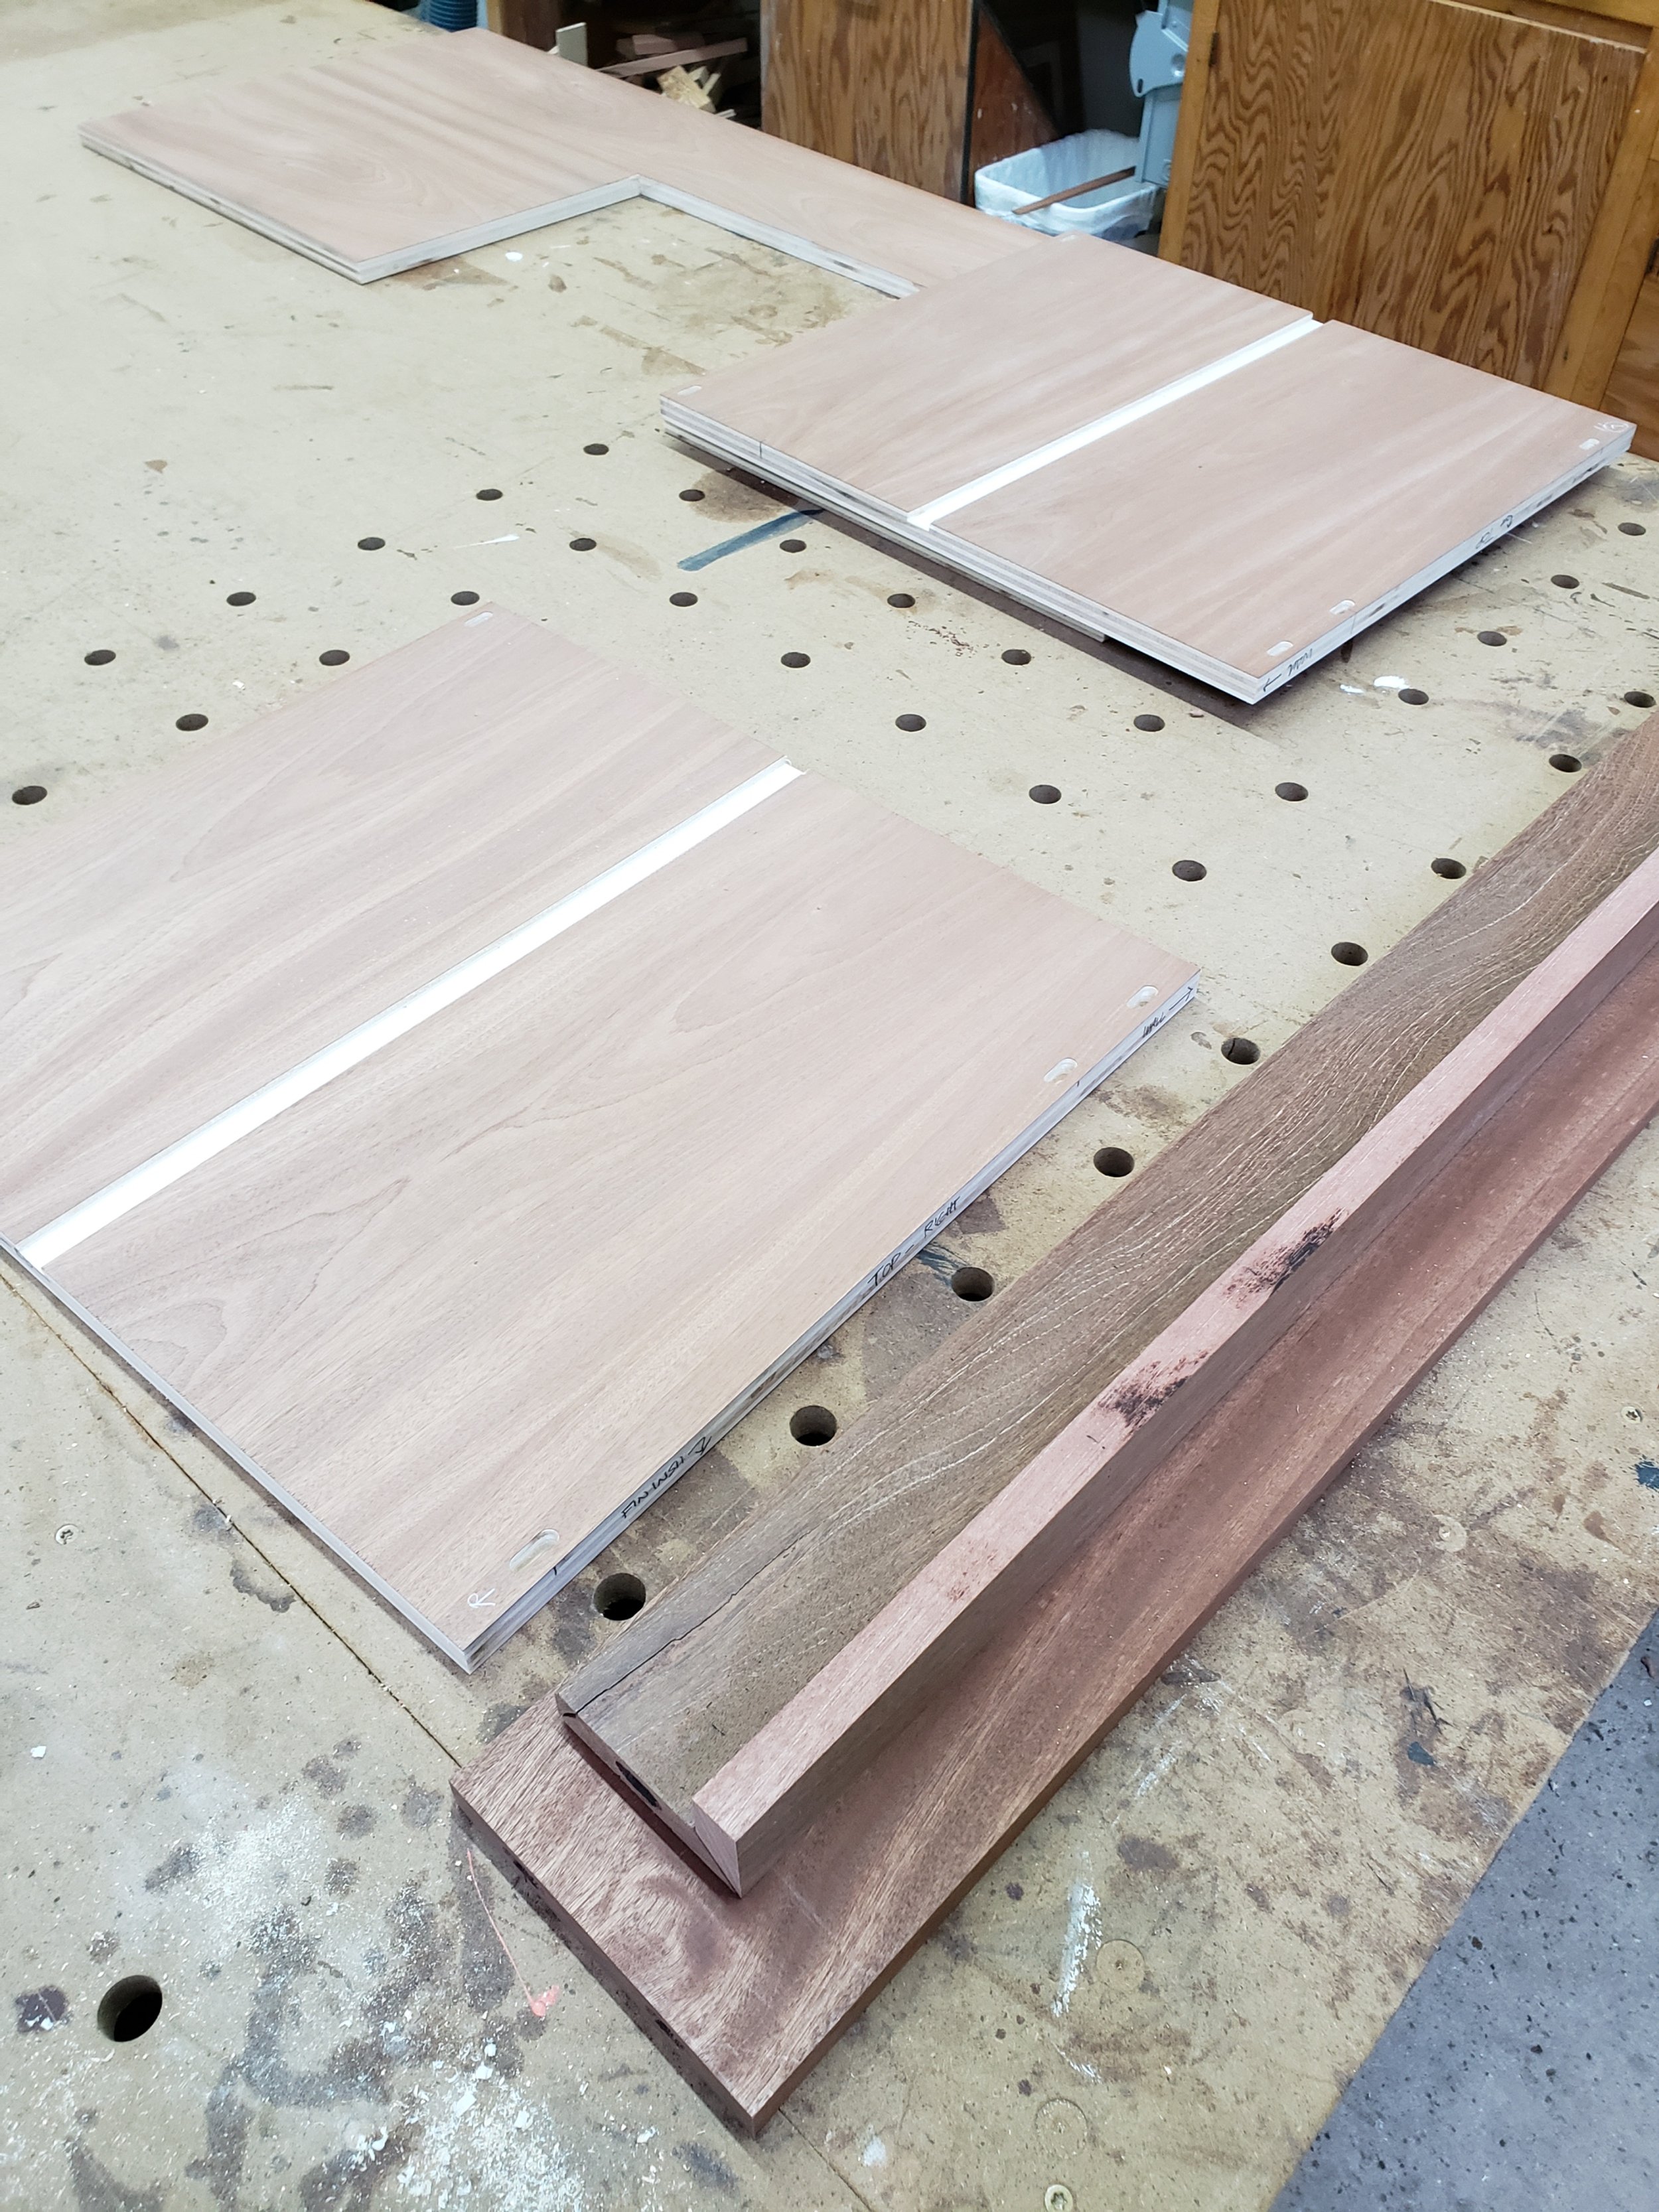
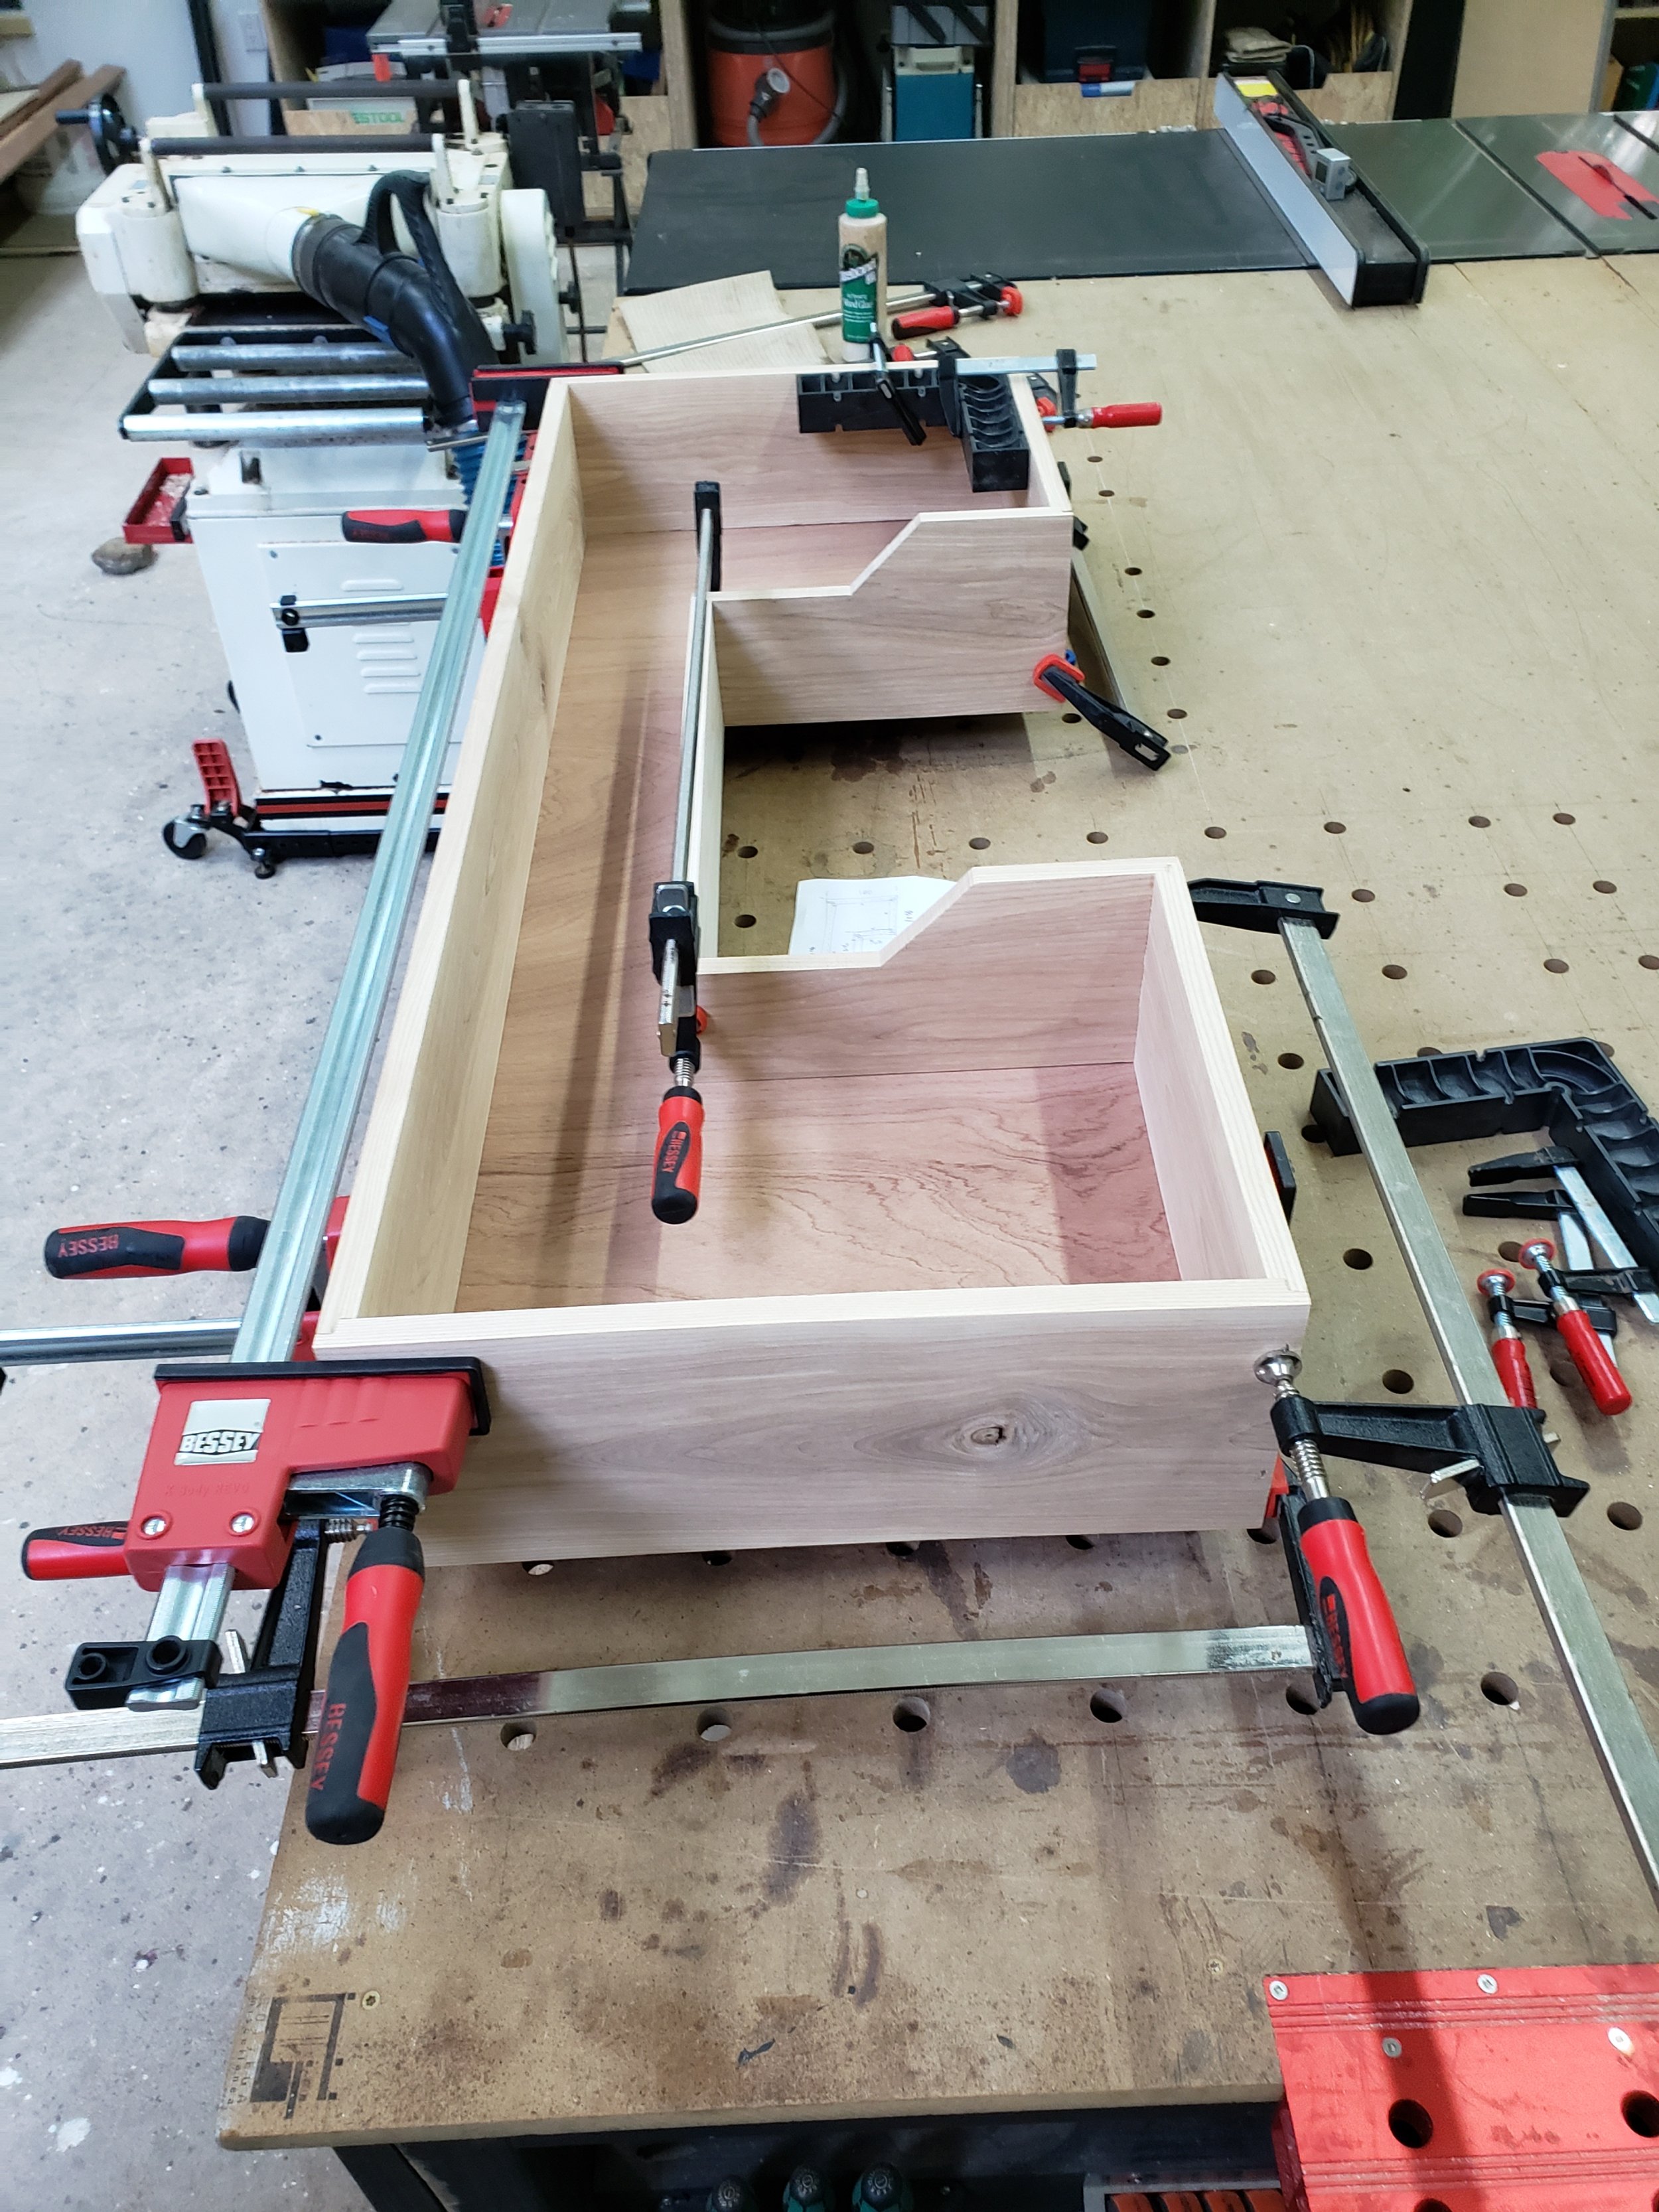
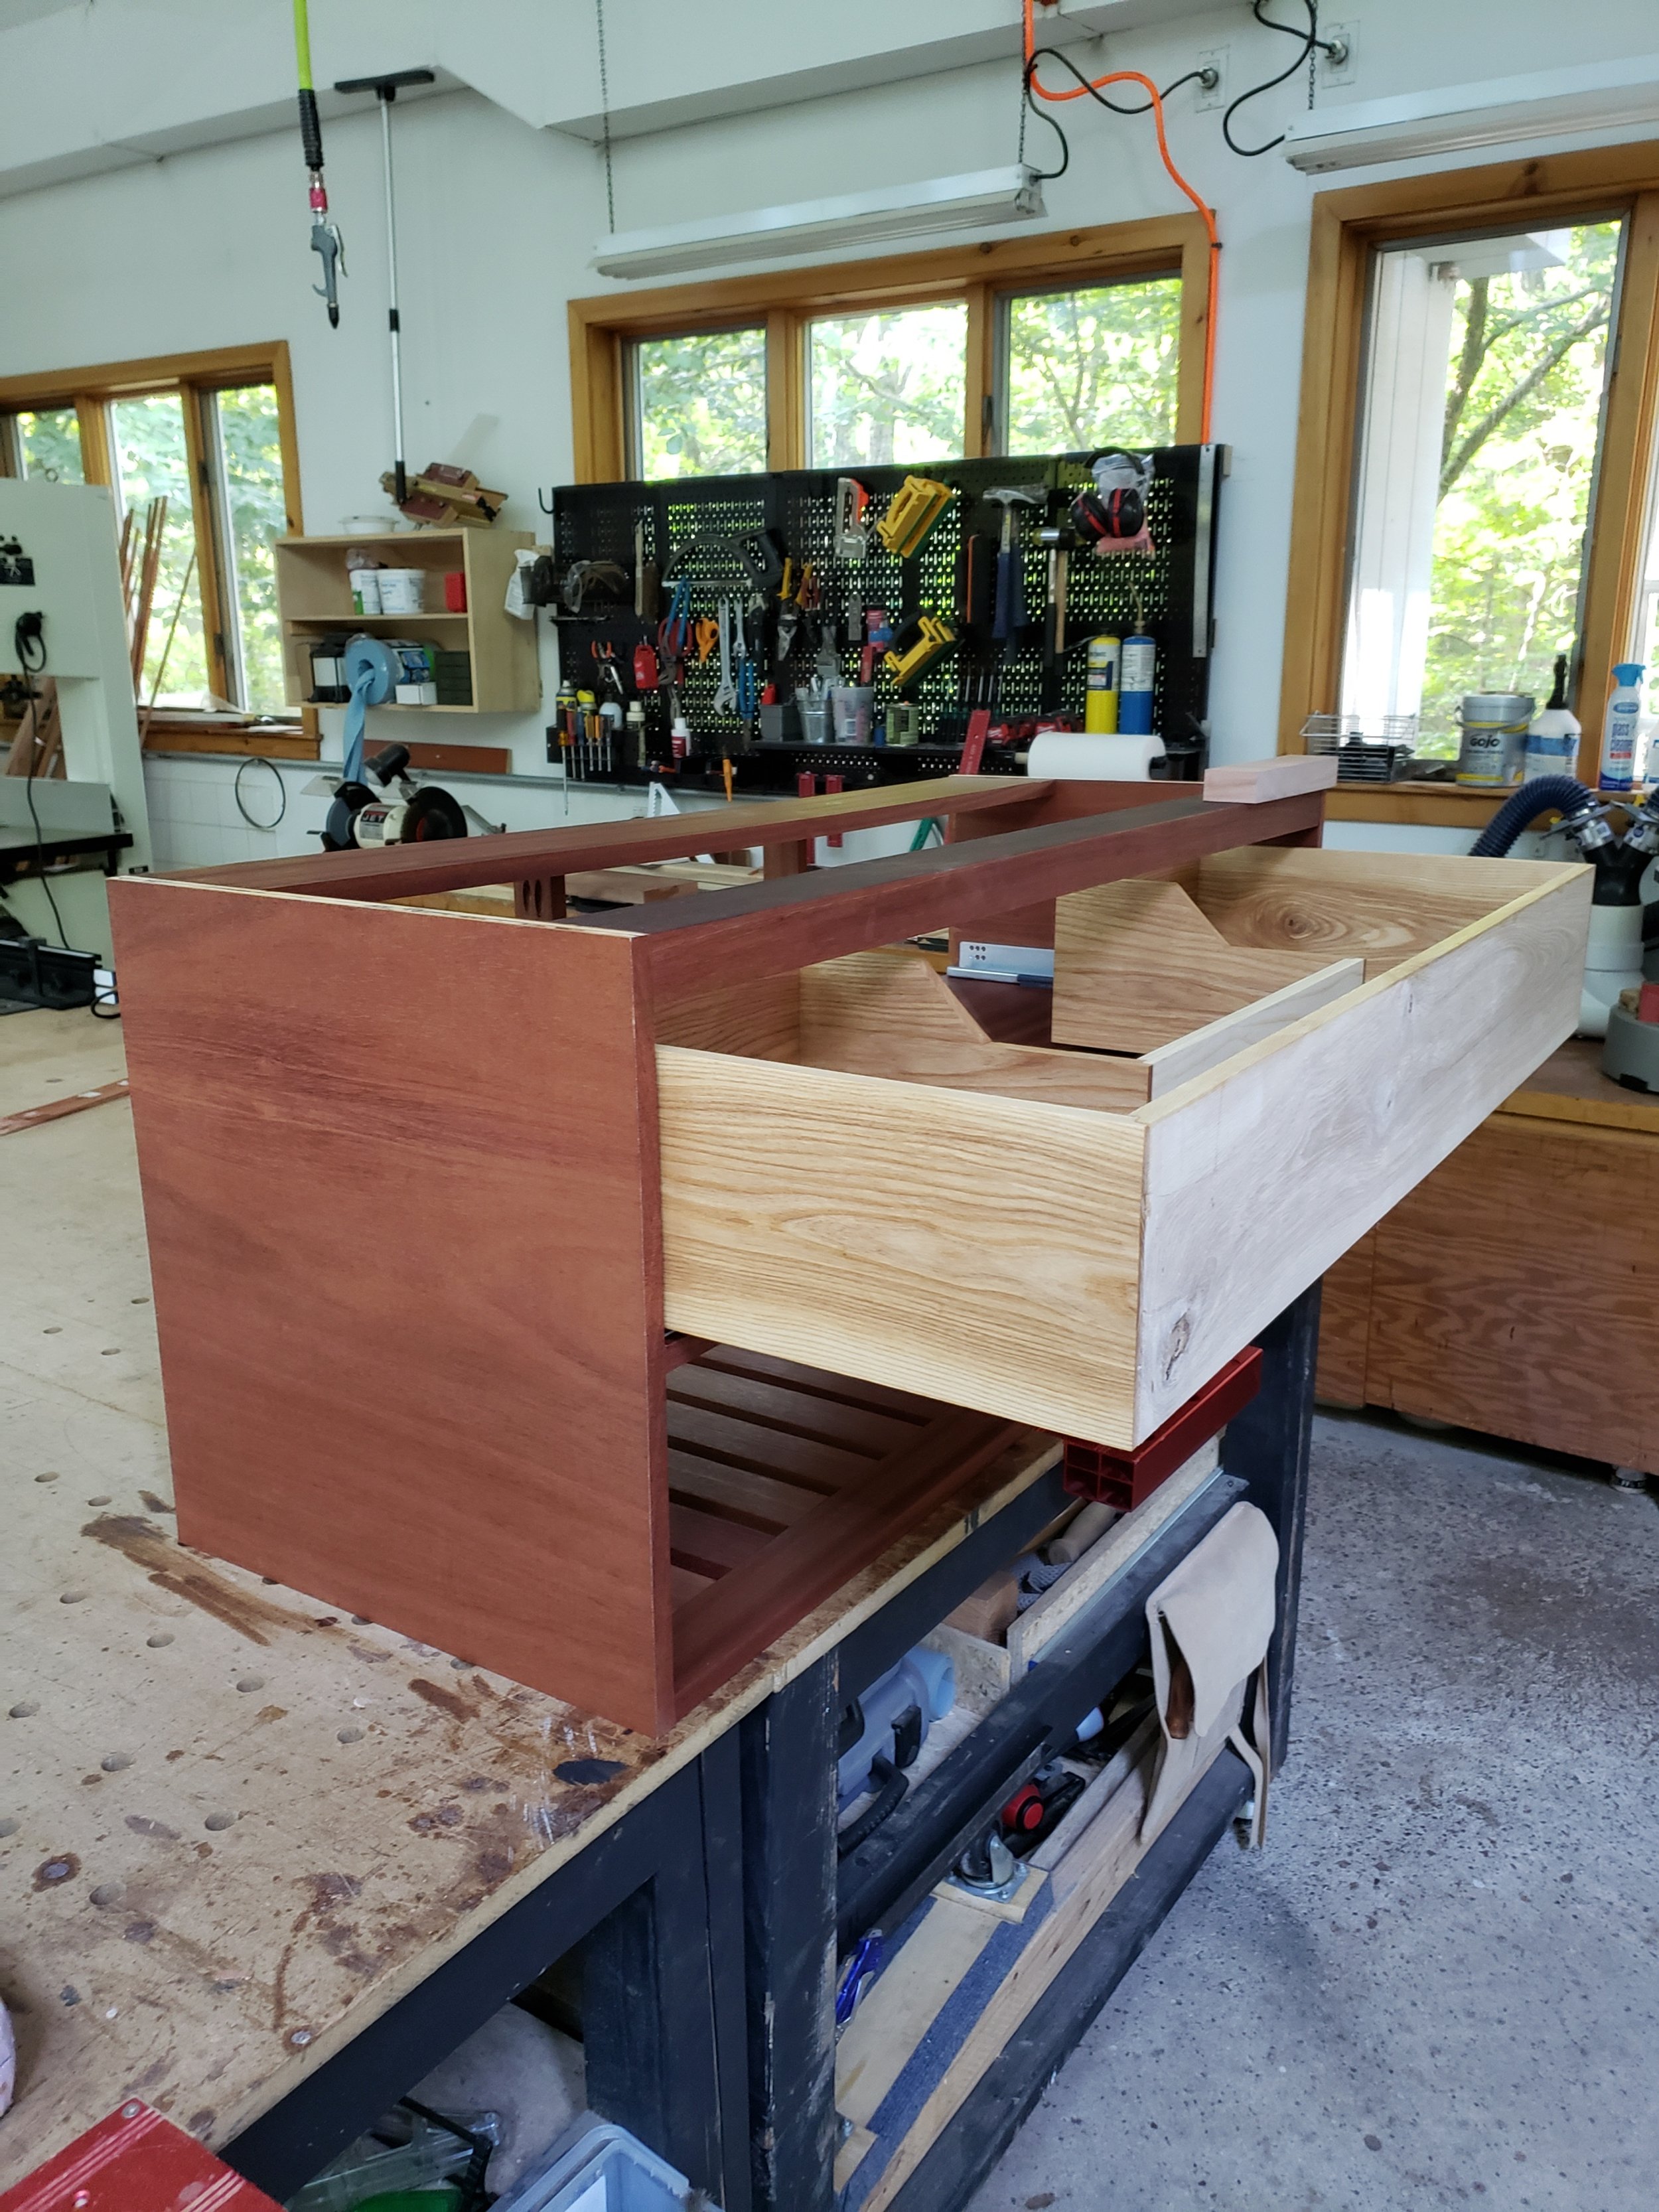
Also, custom millwork projects abound.. Hint: one or two might be helping out that yellow bathroom to be not-so-yellow.
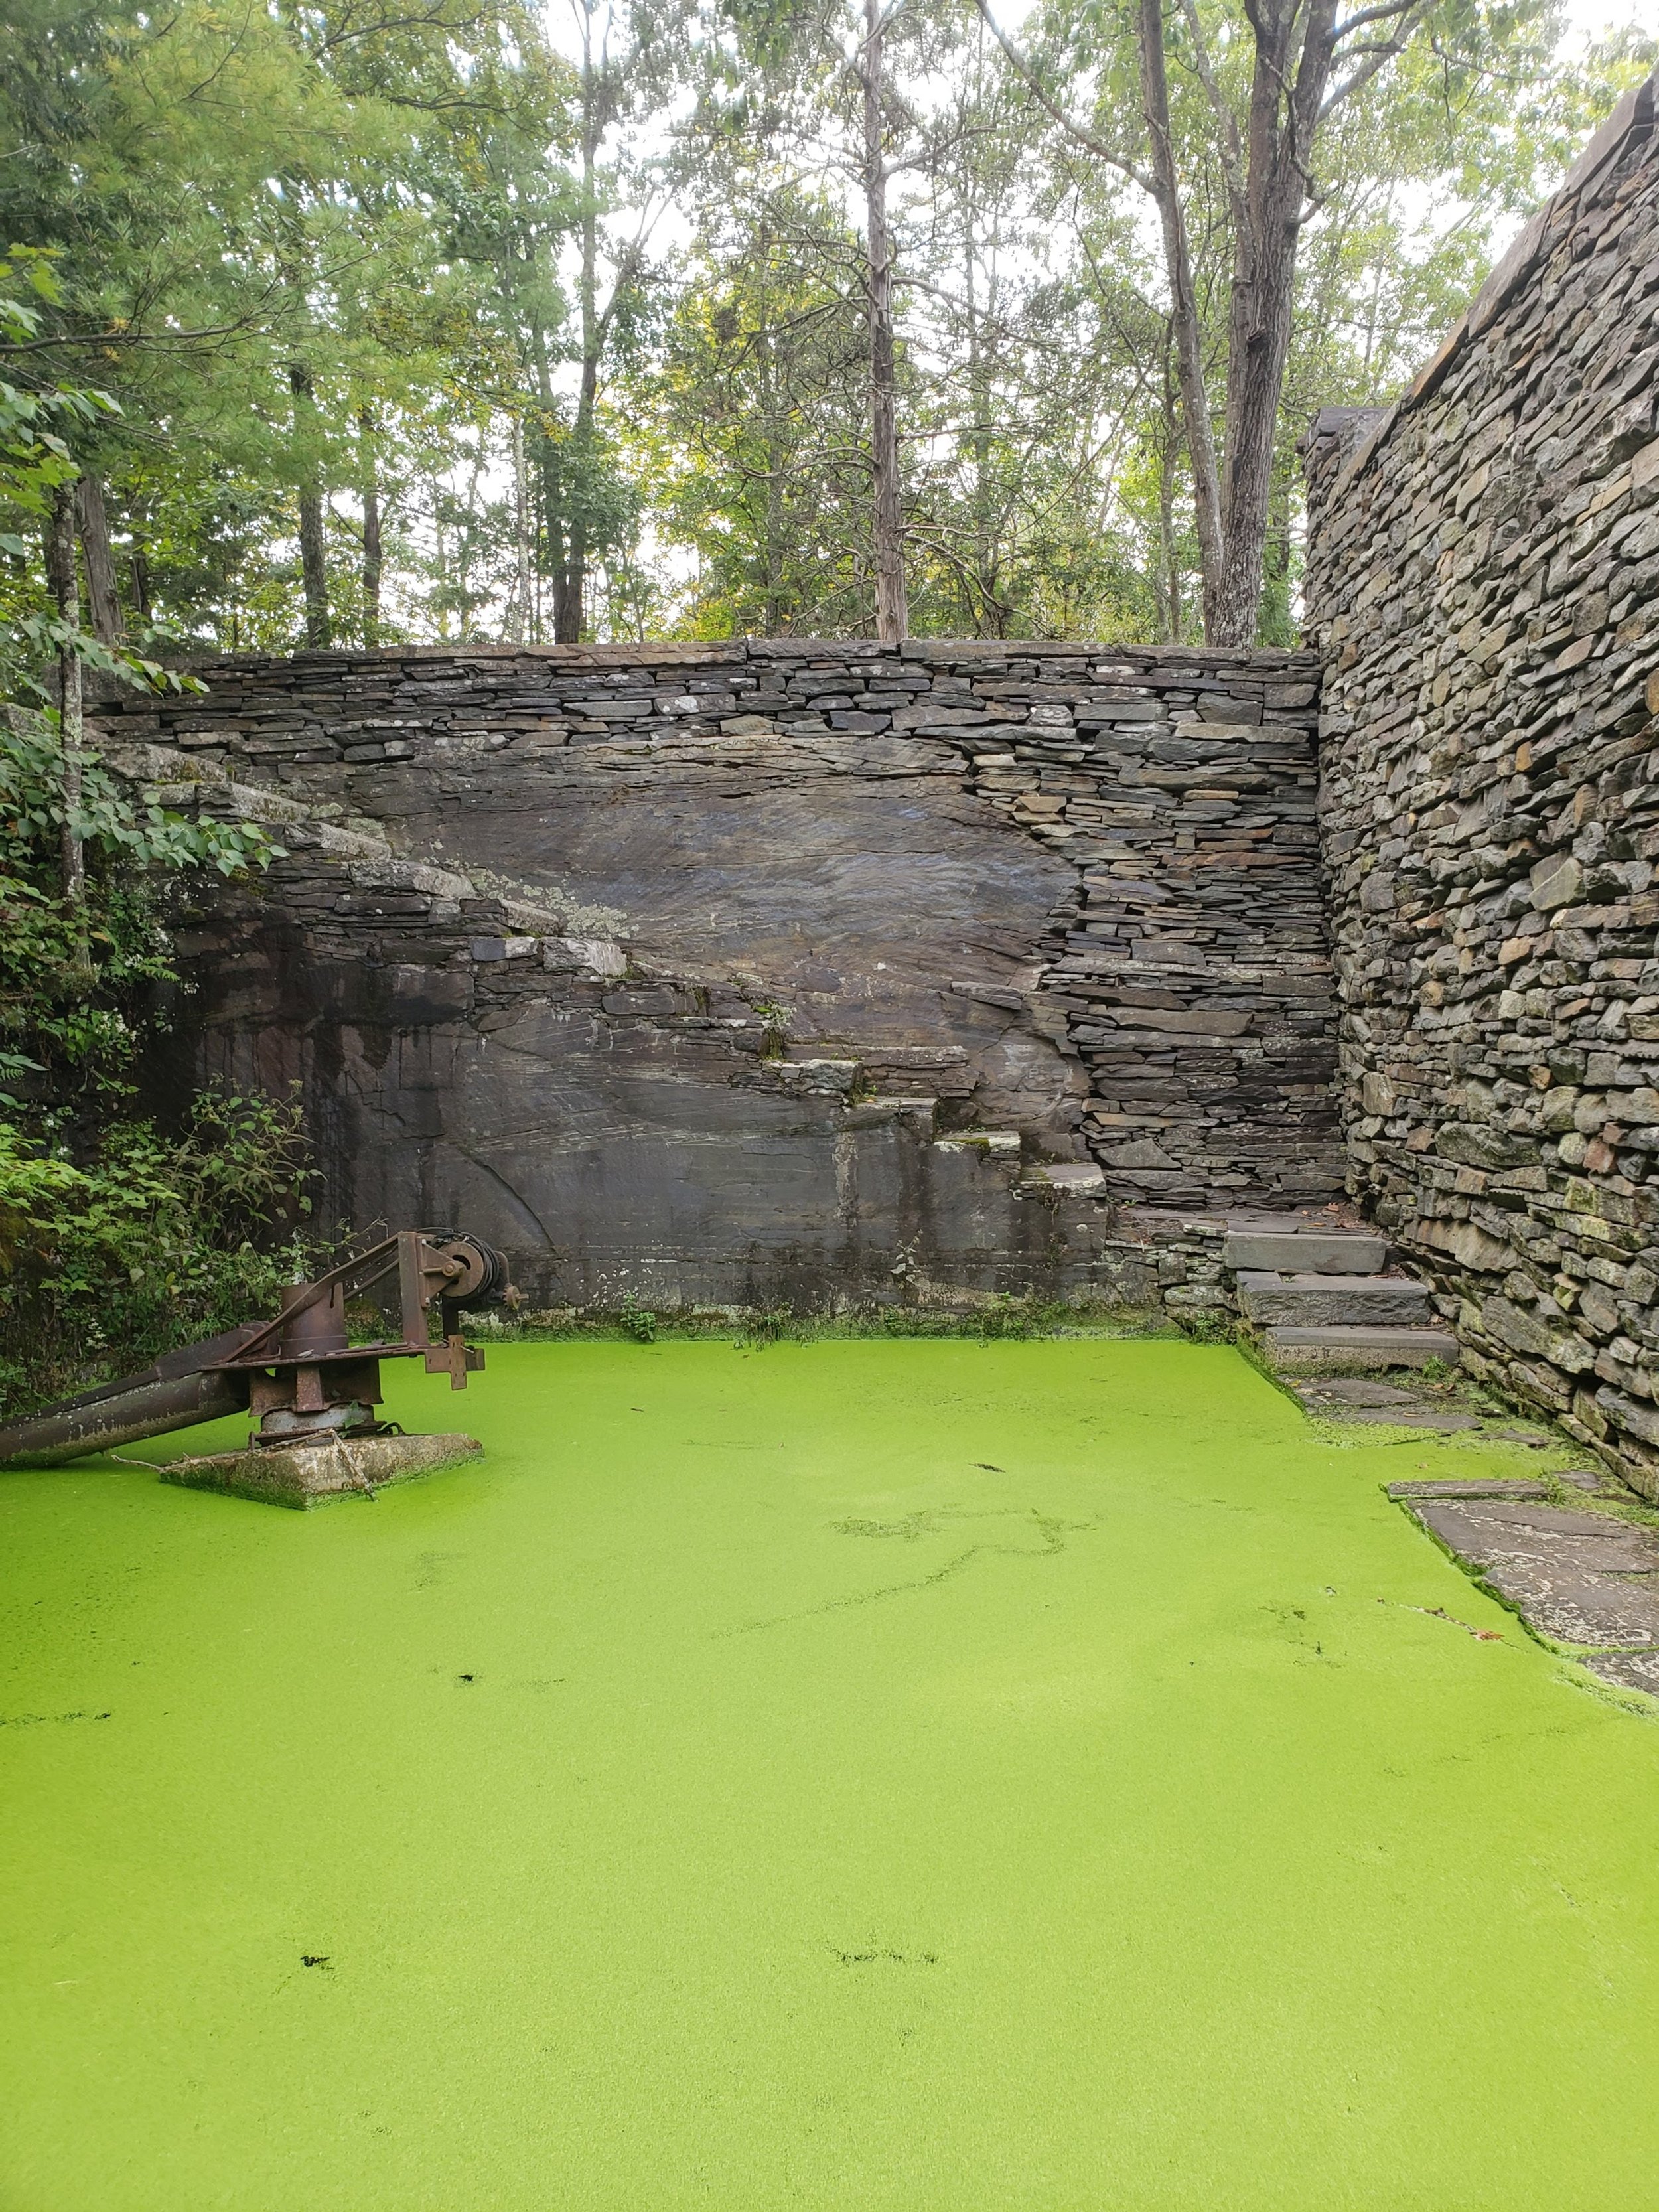
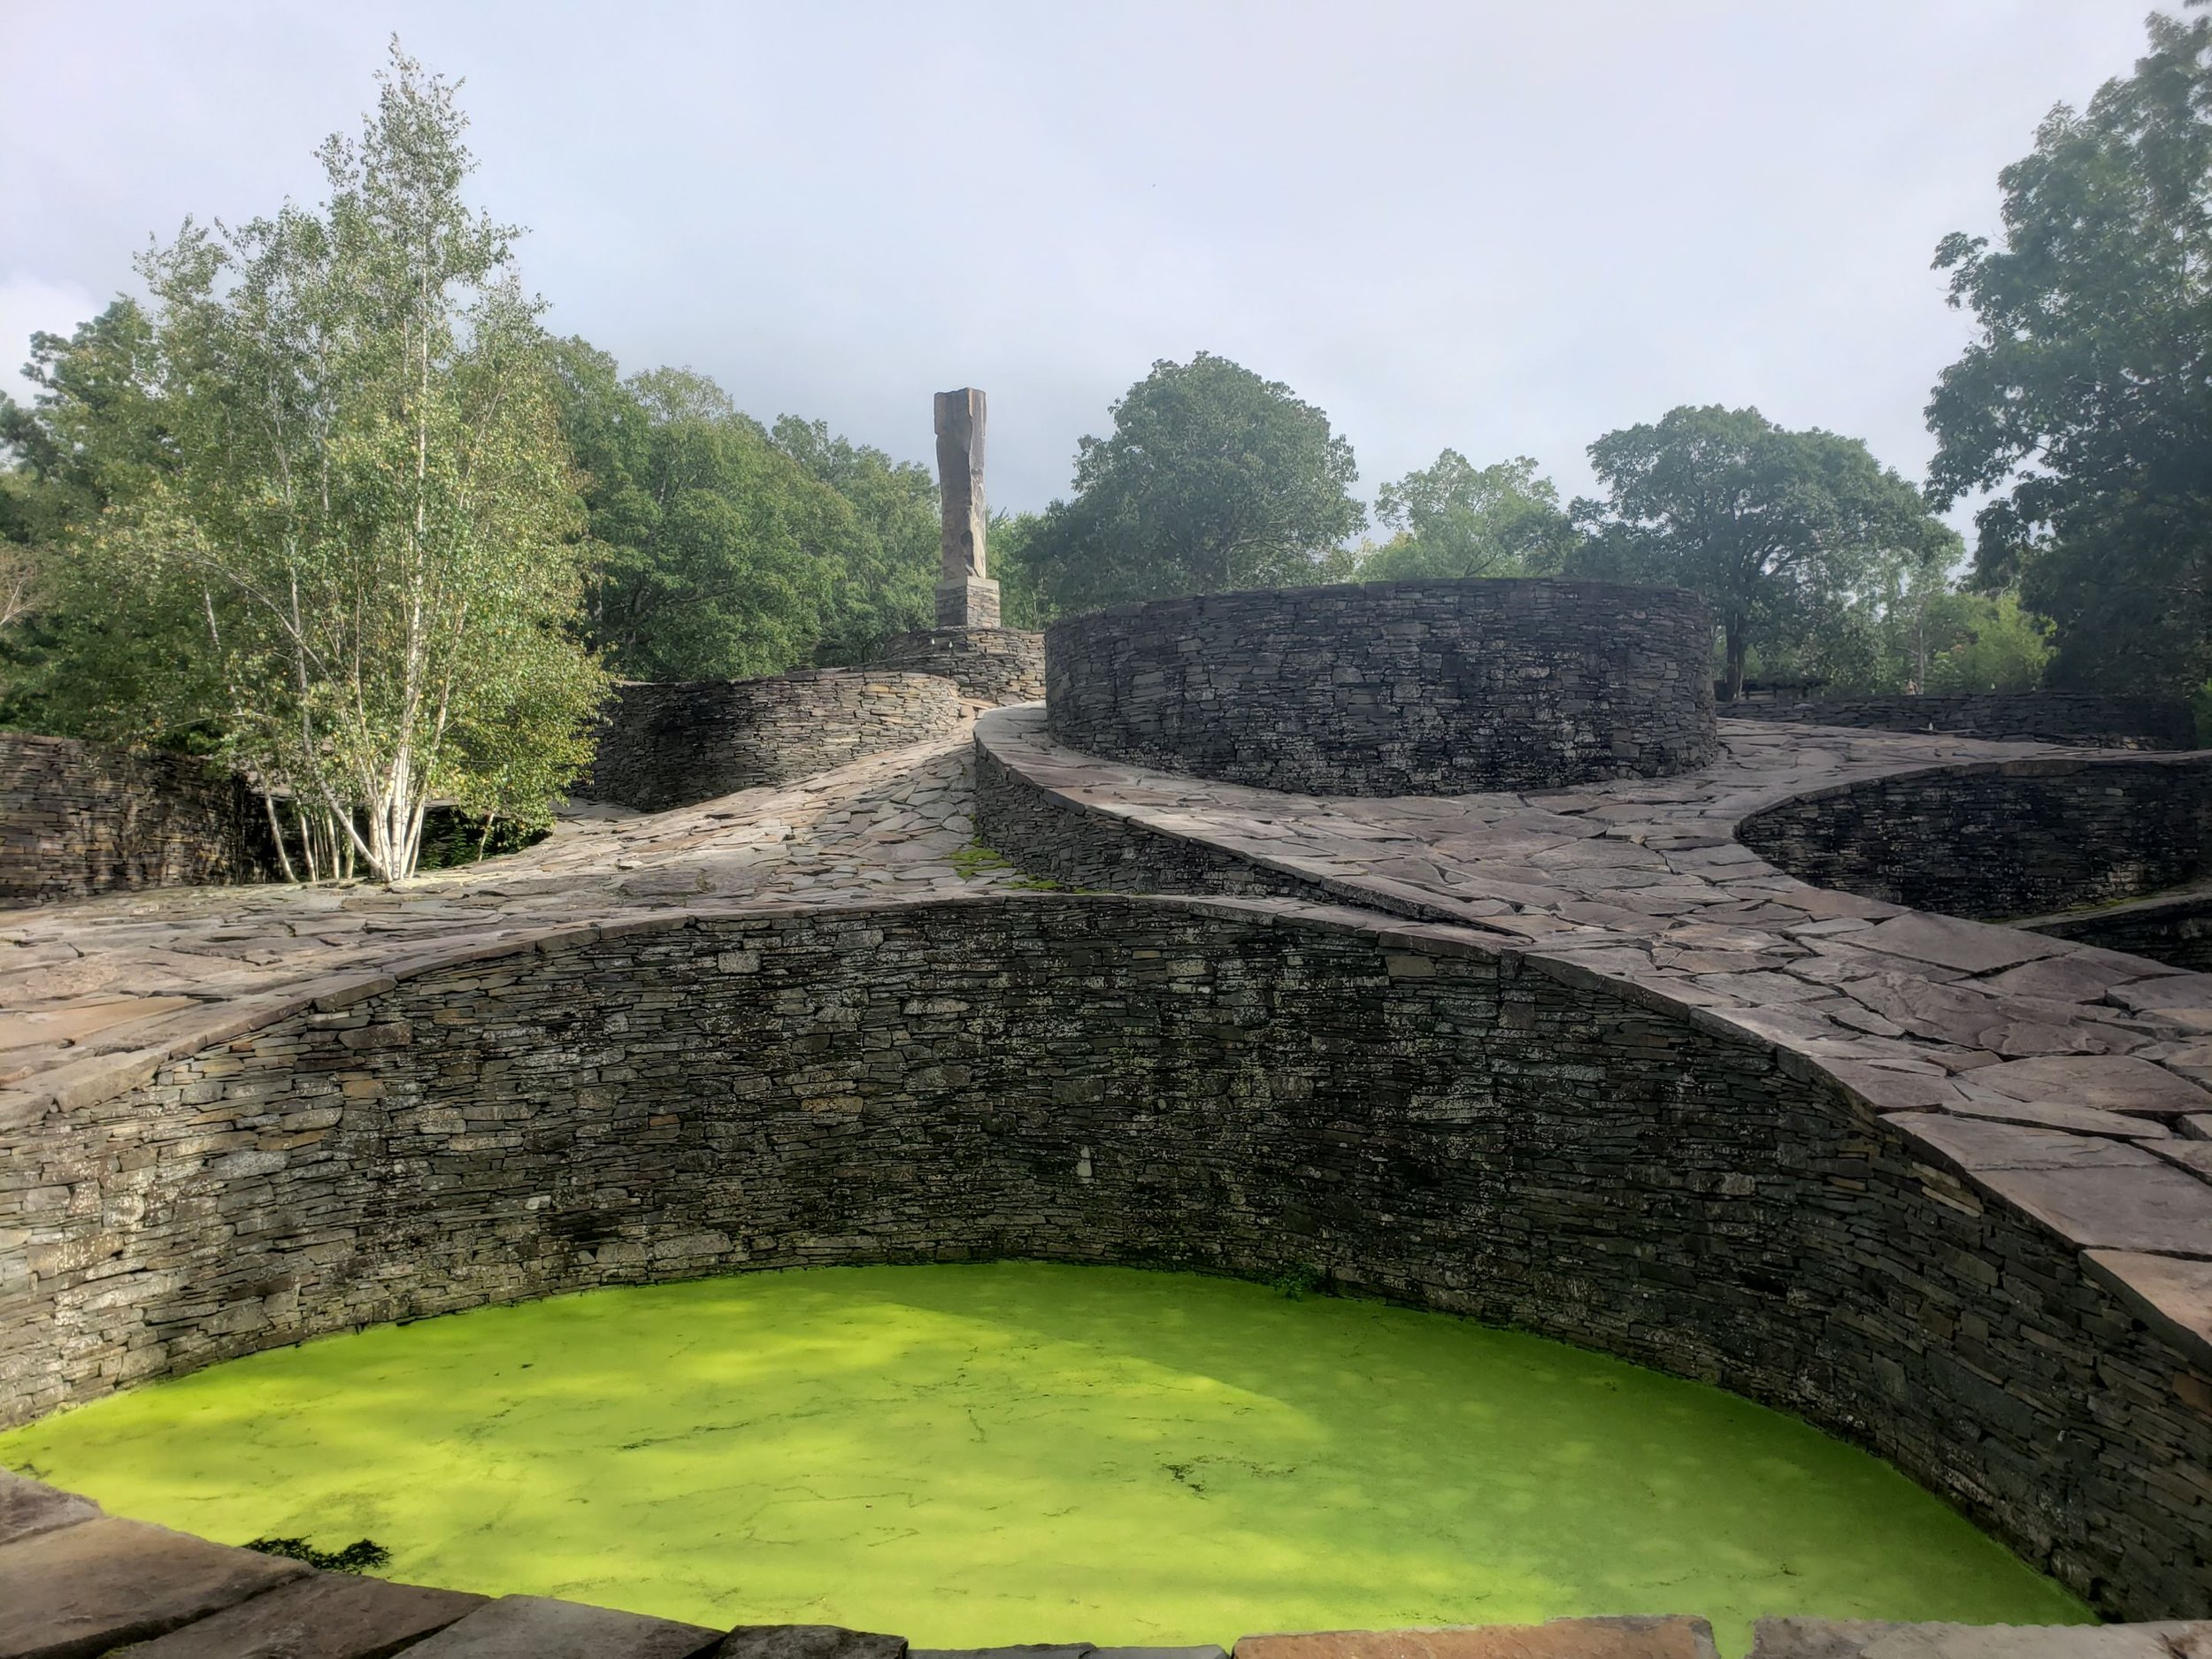
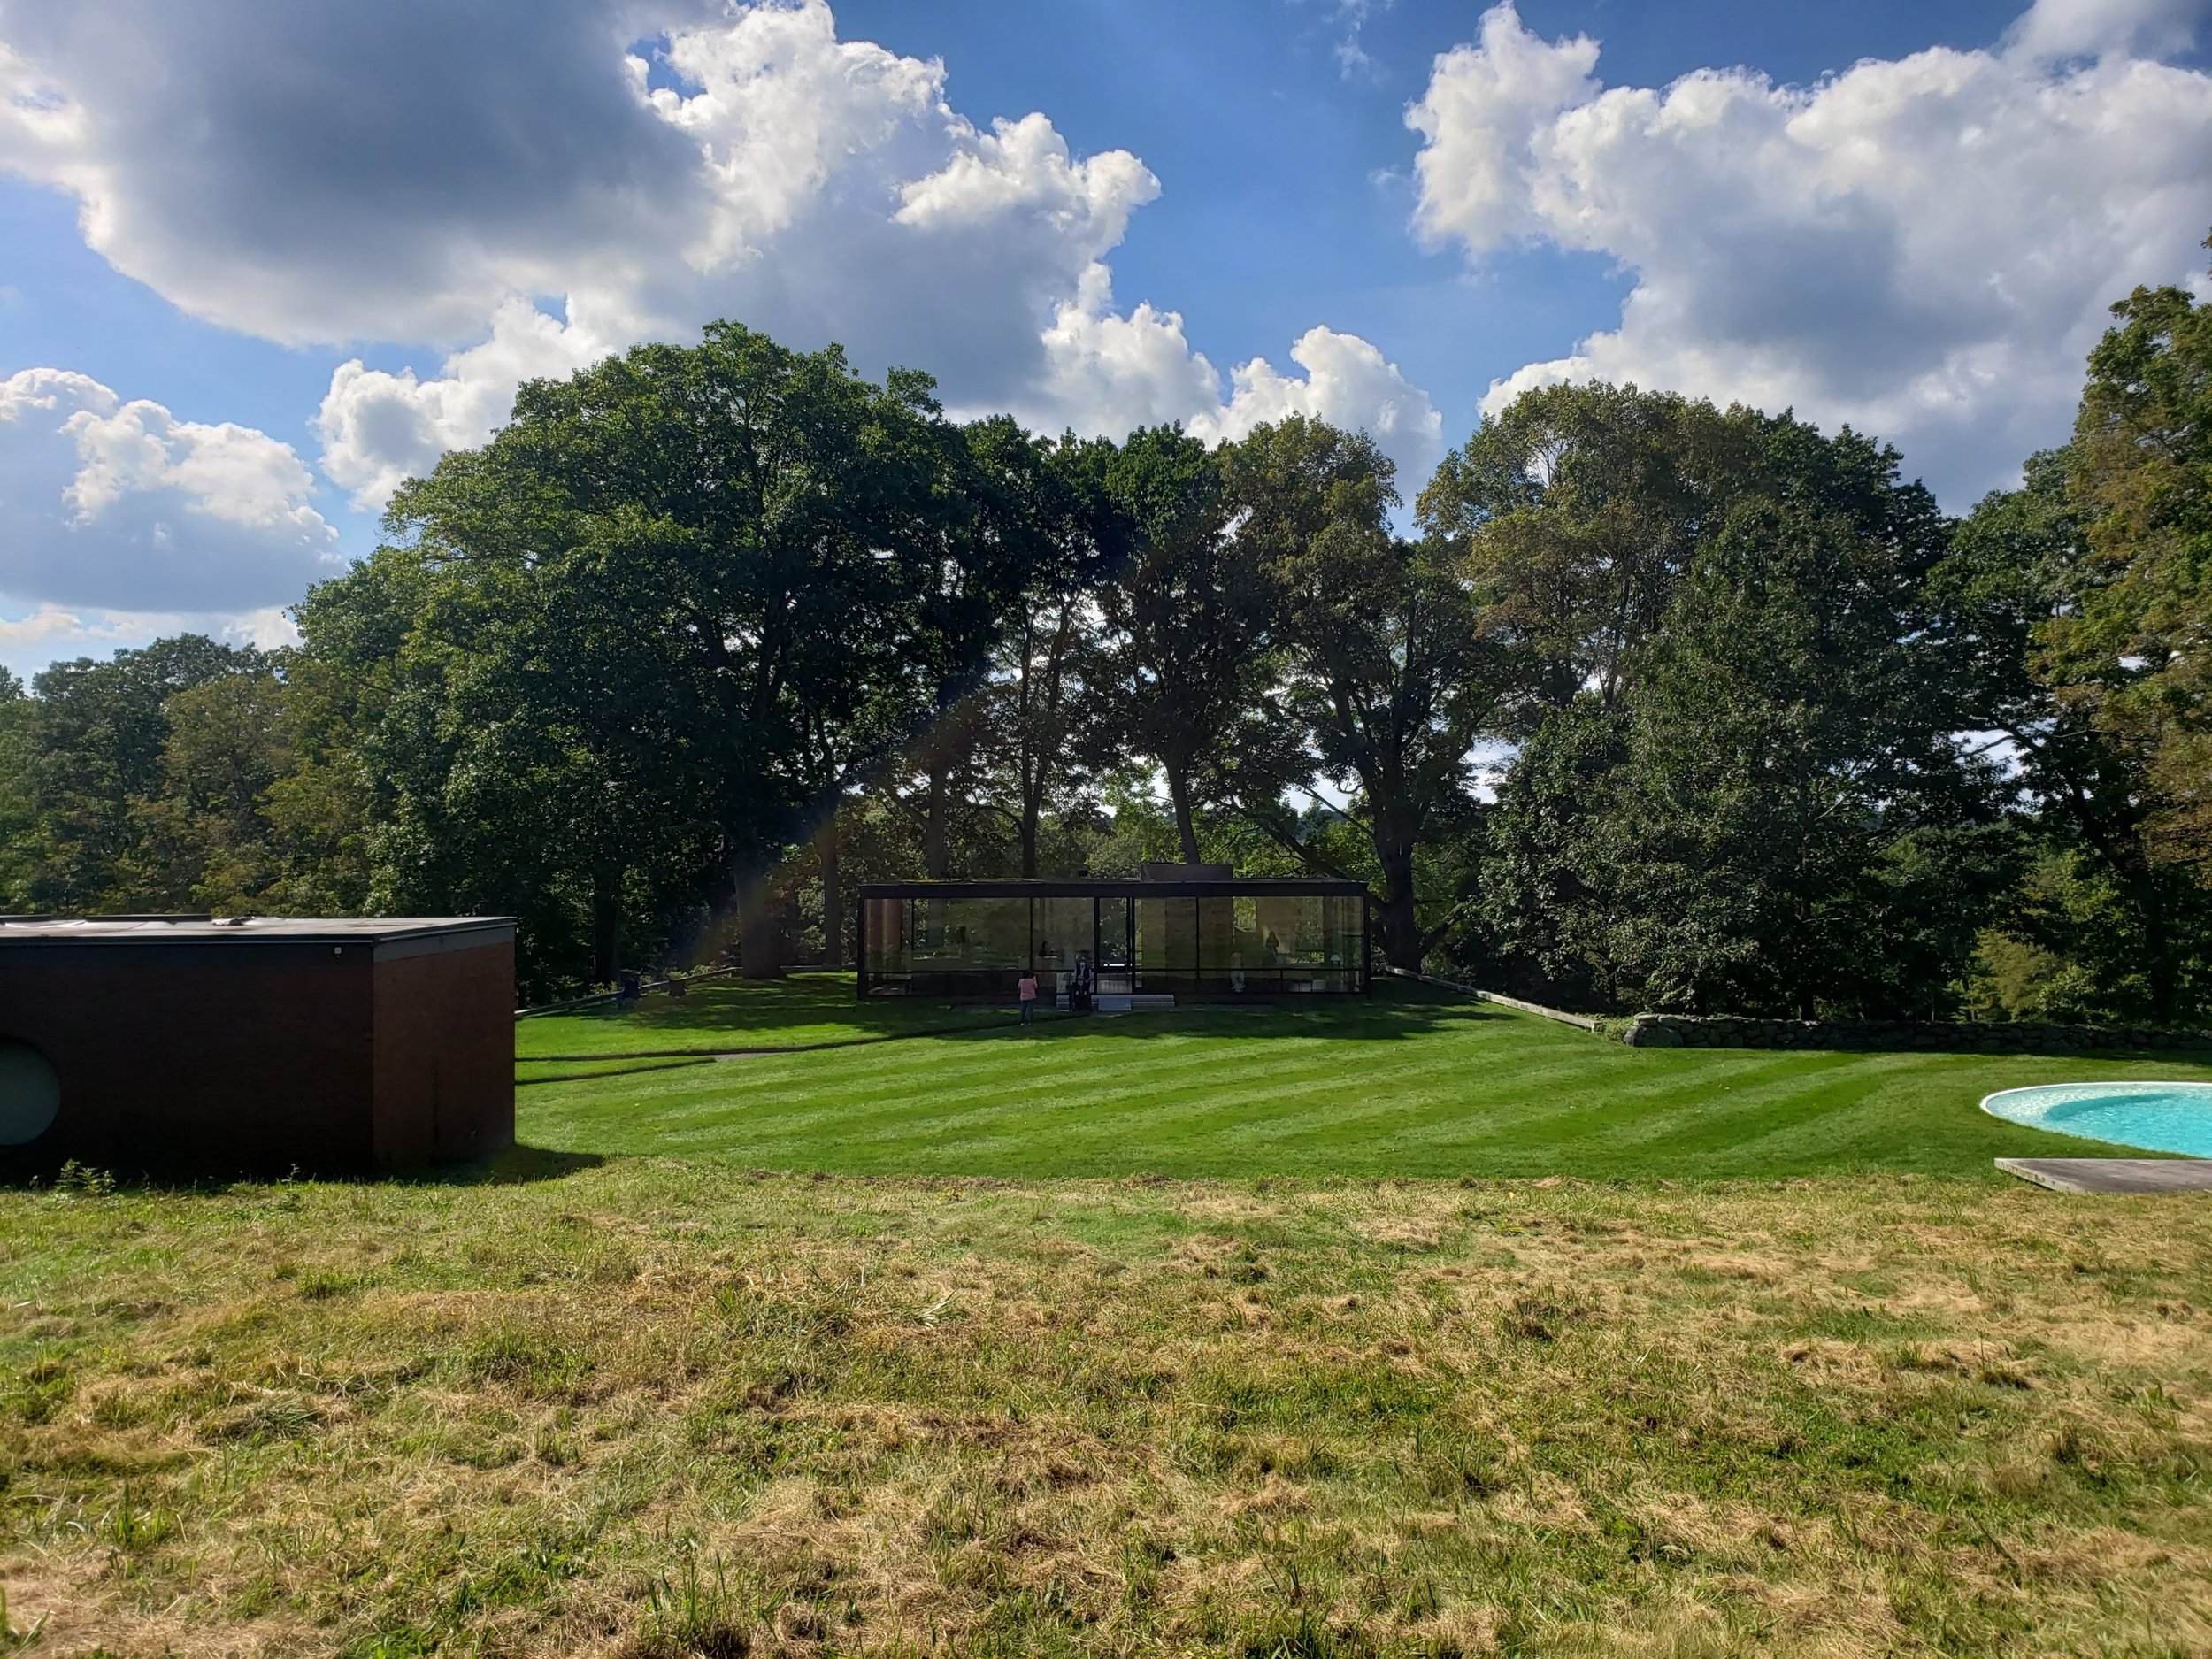
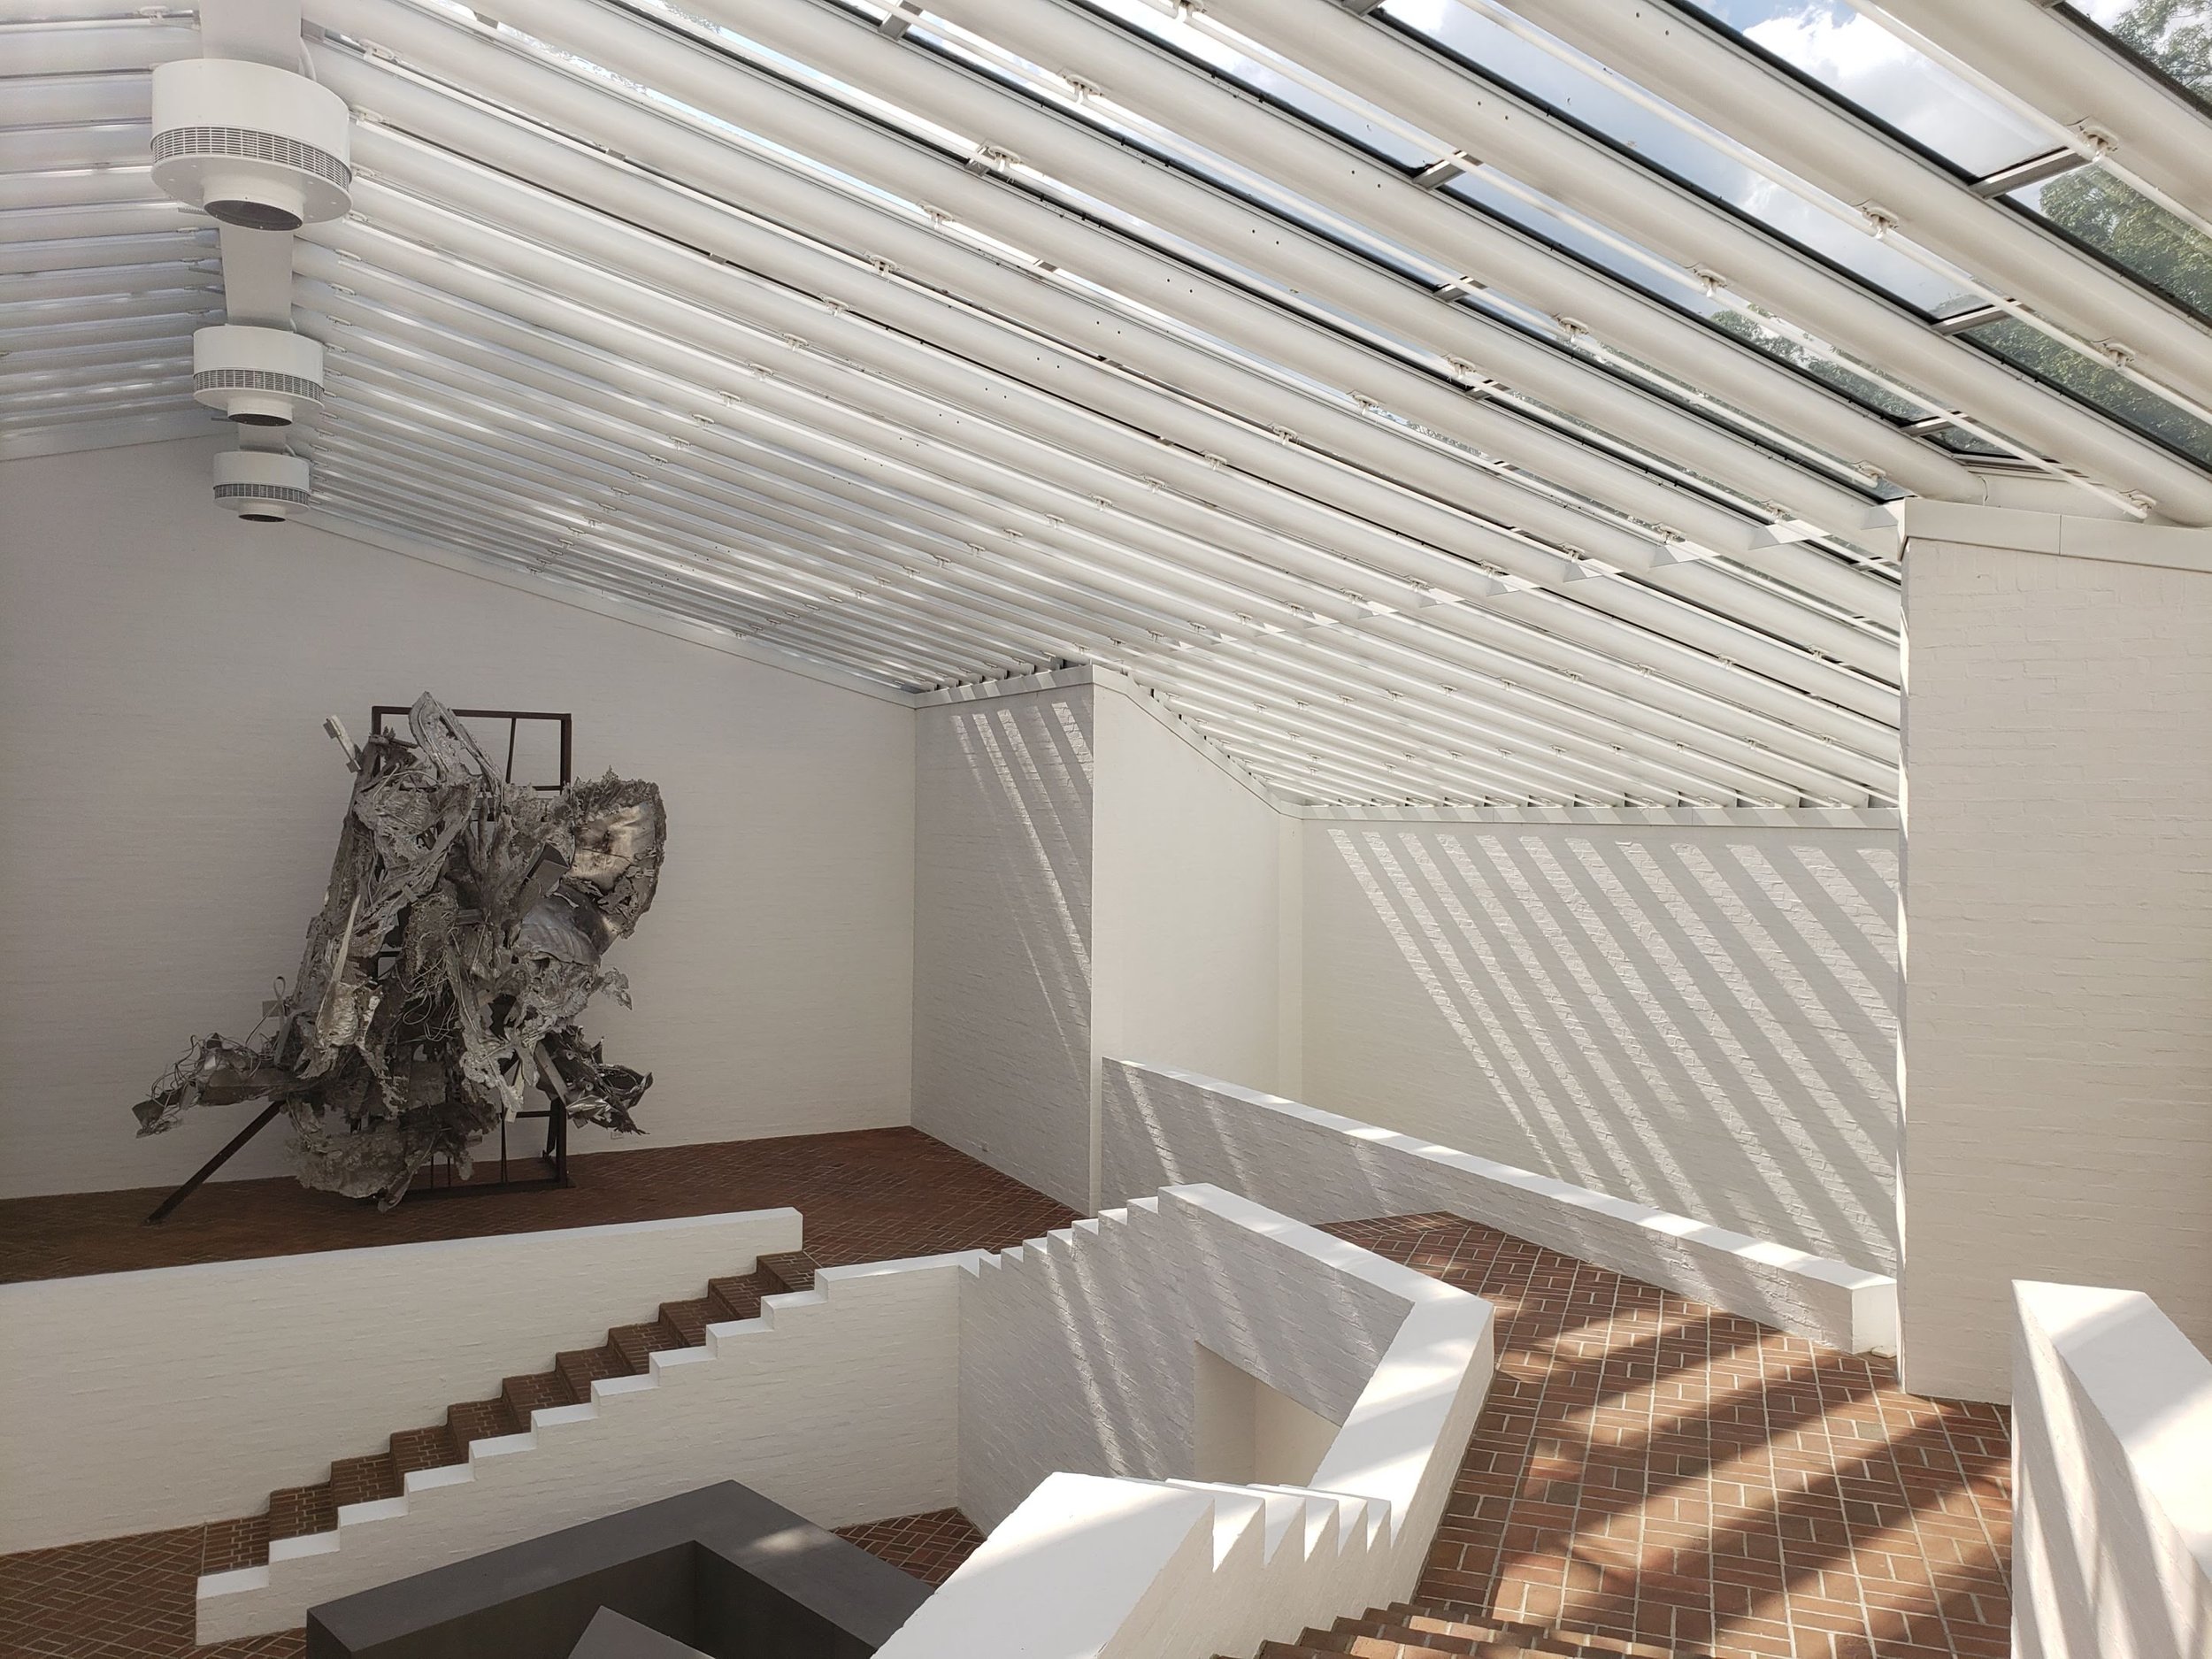
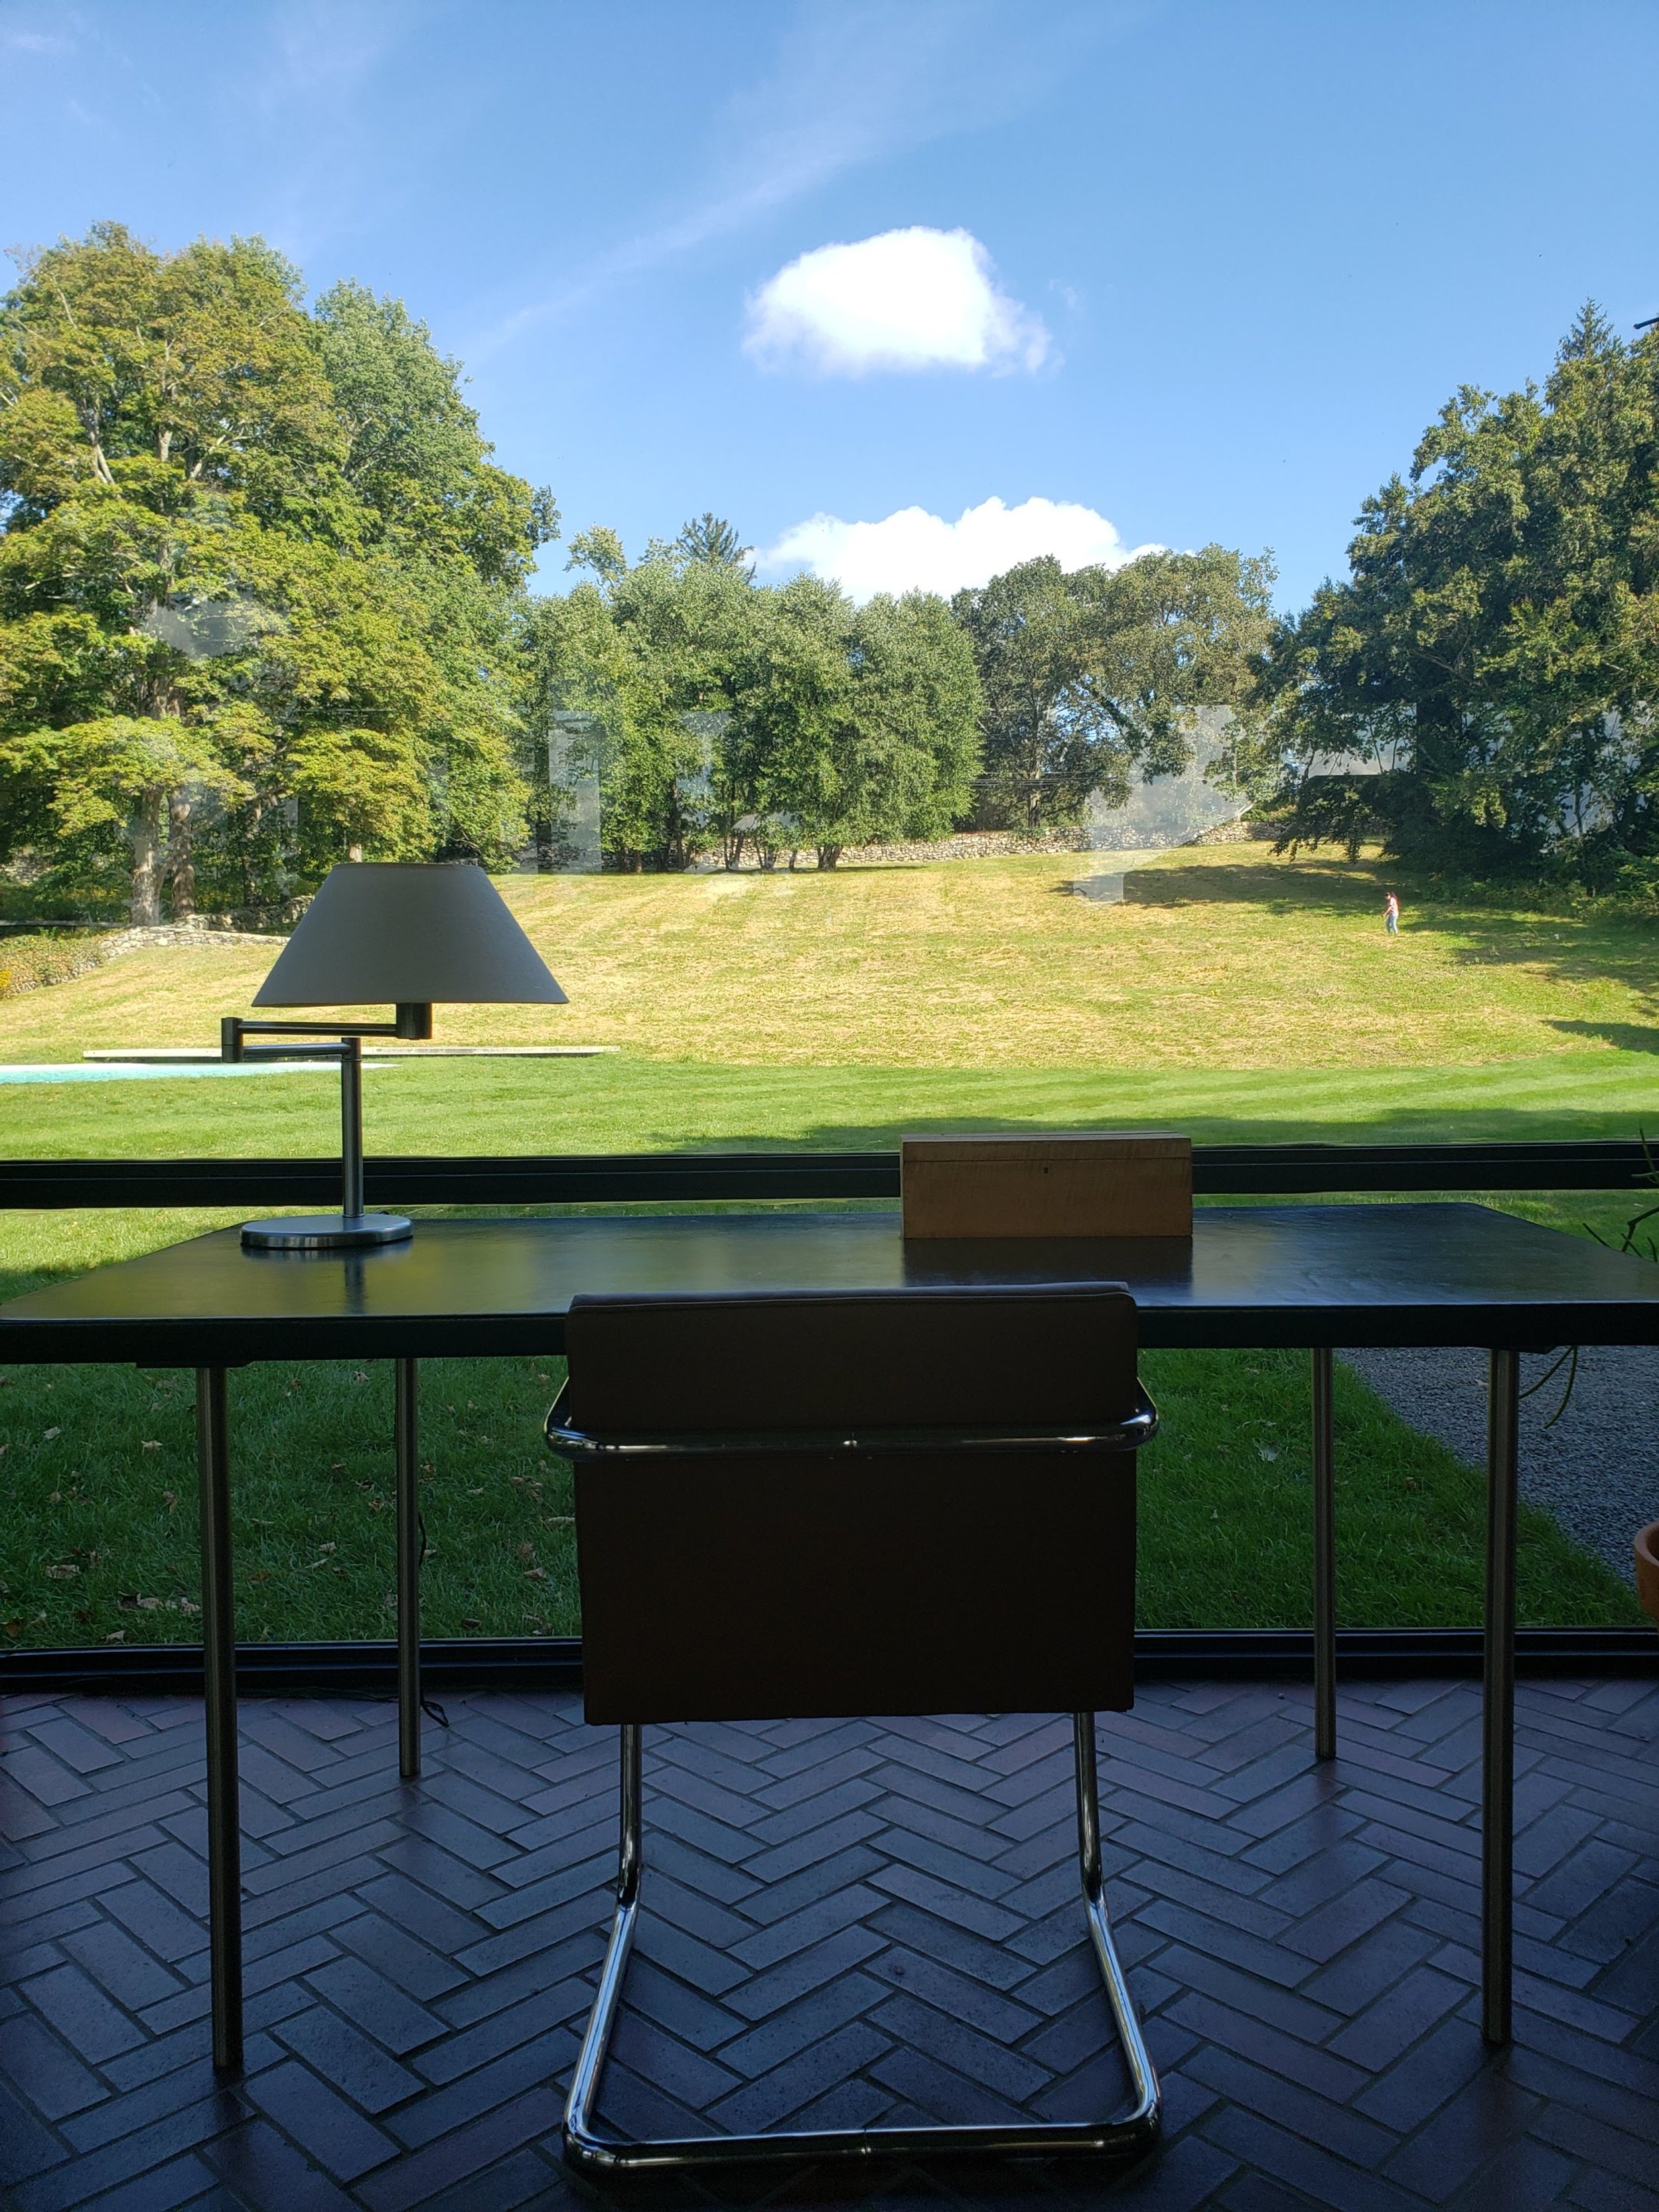
Local travel, anyone?
We have searched far and wide for some creative inspiration in some hidden and some not-so-hidden corners of New England and upstate New York. Here are some of our favorites: