
A QUICK RECAP - As discussed in our last blog post, we have moved into an amazing mid-century modern (MCM) property in the quiet corner of Connecticut and are undertaking the stewardship of bringing the home back to (or beyond!) its original luster with a few MCM-appropriate enhancements and a handful of behind-the-scenes modern advancements to increase efficiencies.
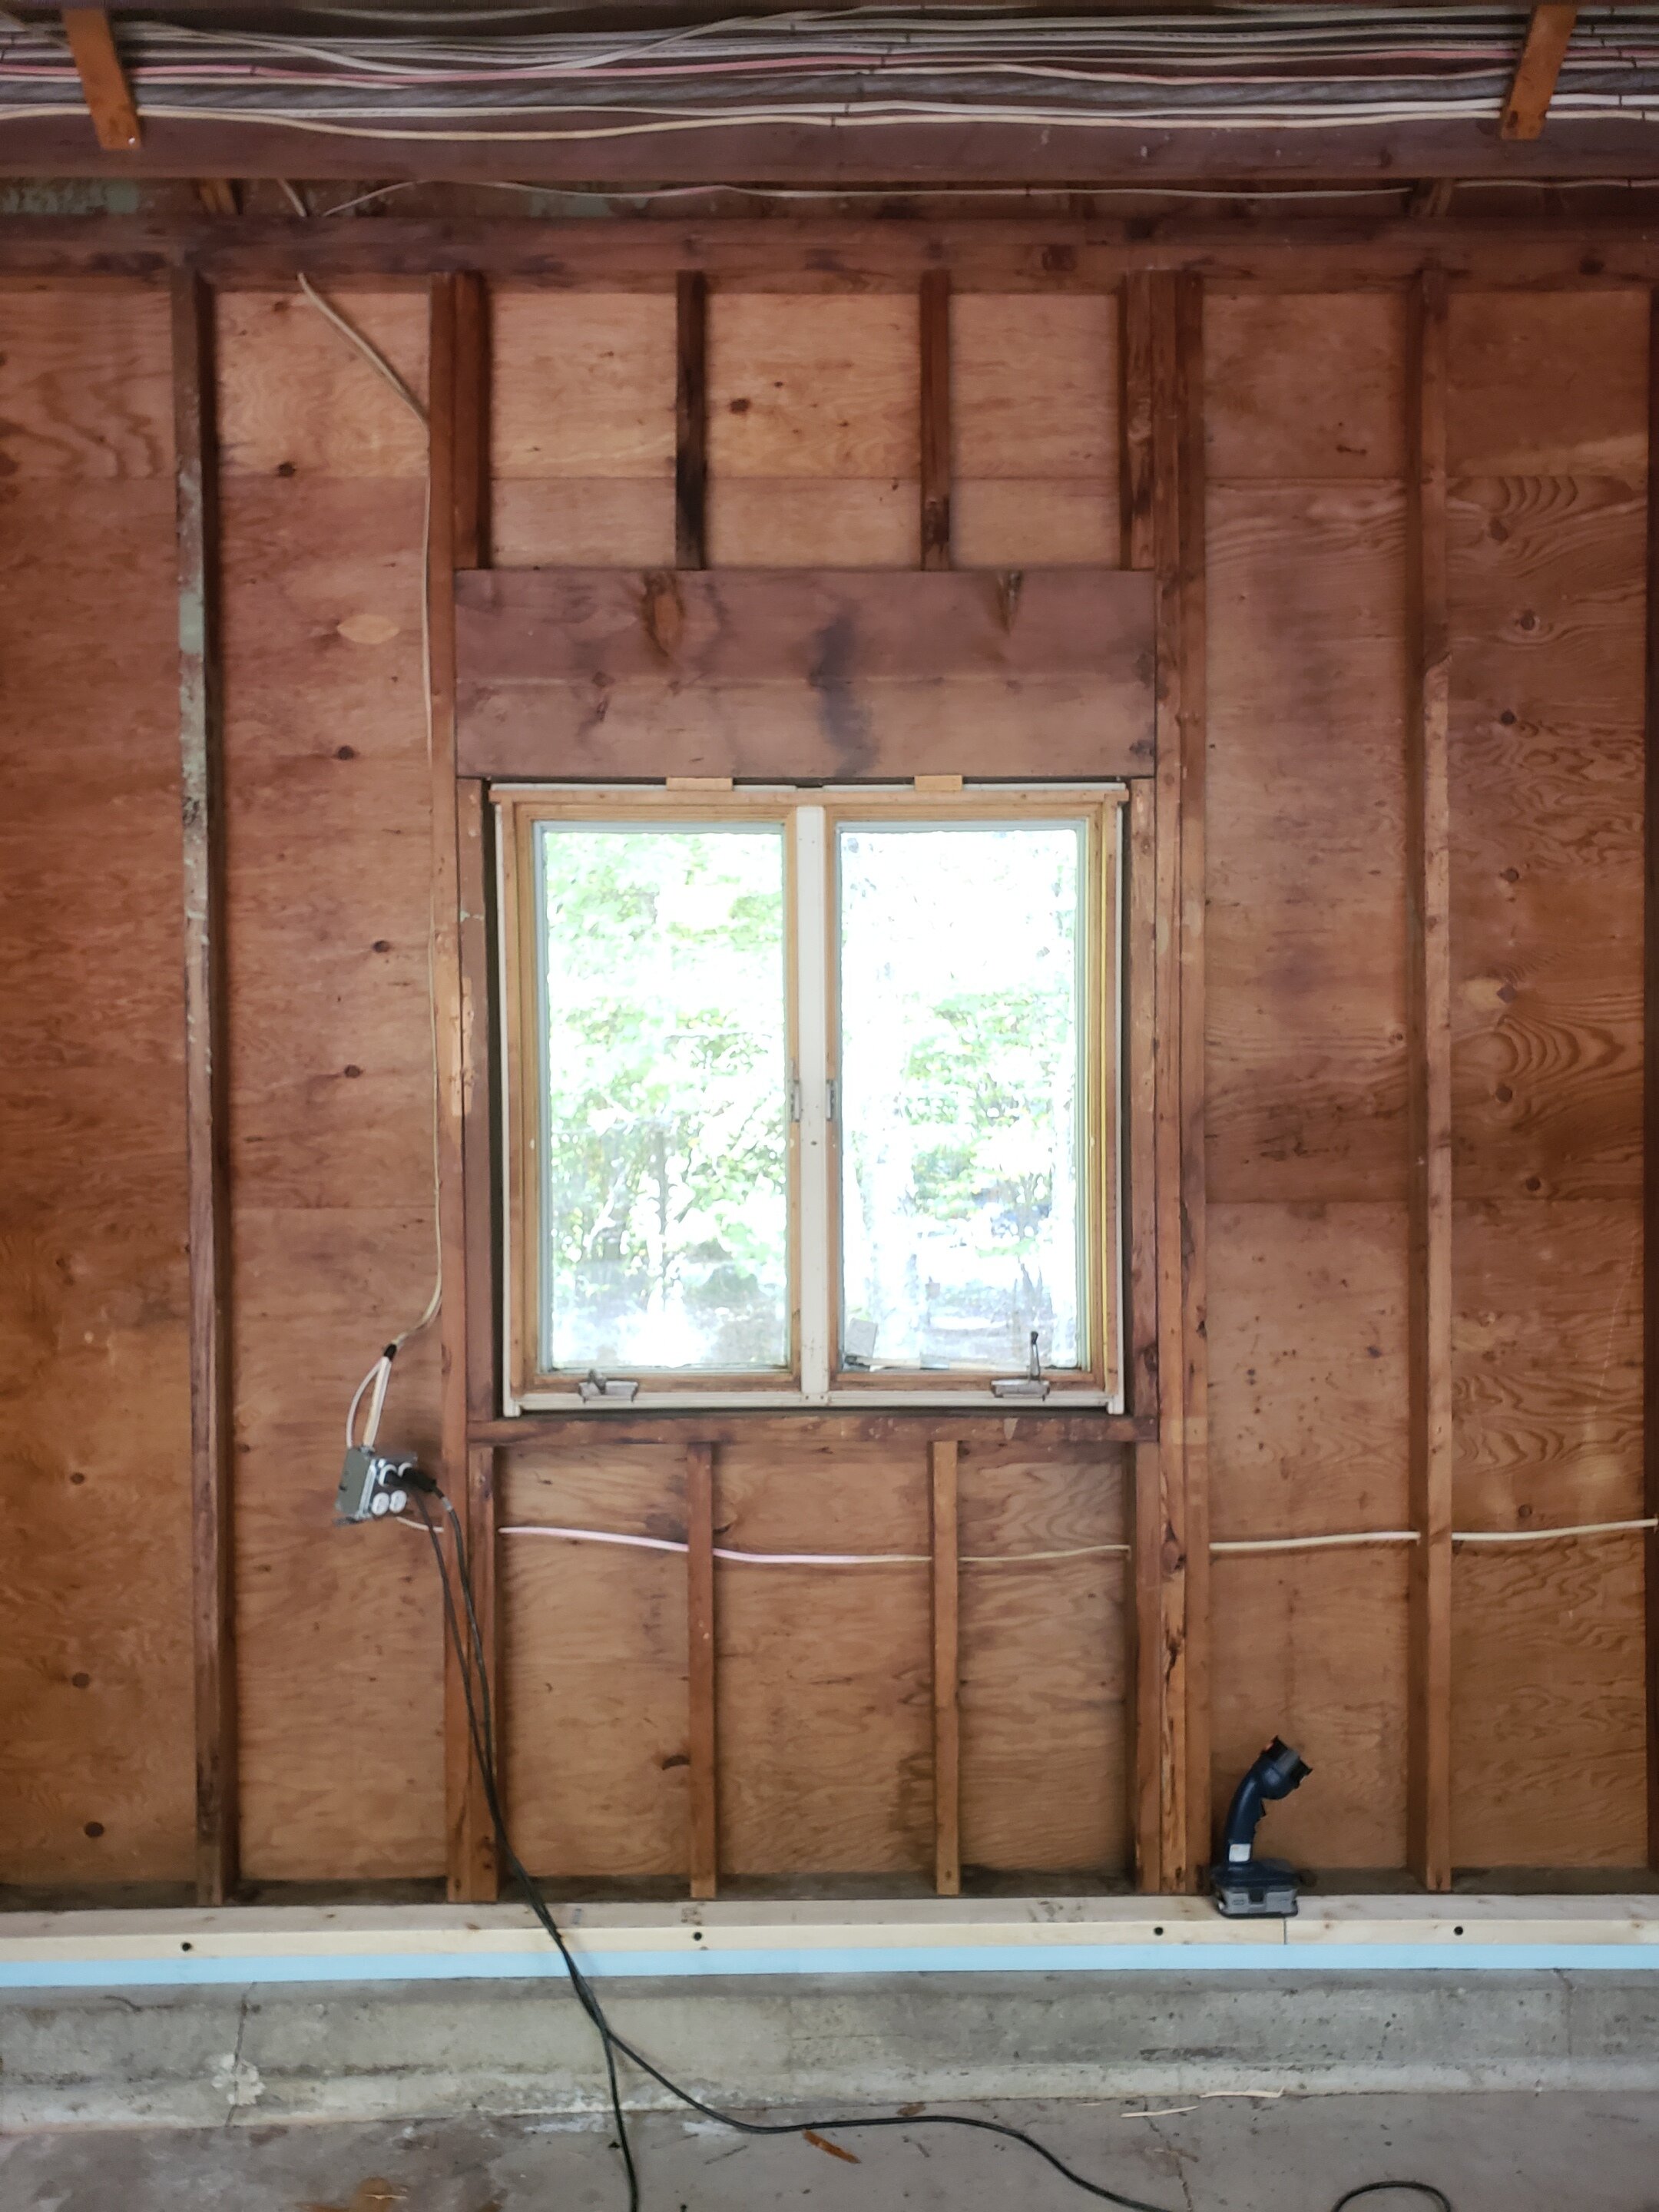
After an overhaul to the mechanical room as described in our last post, the next thing on the to-do list was to tackle increasing the efficiency of the exterior envelope of the entire house. This ranked very high on the list because after a little exploratory investigation, we realized the original insulation was severely thin (coming in at only R-7.4), the original insulation did not have the best installation, plus years of cable guys and telephone techs poking and pulling wires resulted in large voids and sometime entire bays of missing insulation.
OUR OPTIONS - We deduced that we could take one of two approaches: either add additional insulation to the outside or to the inside. In the spirit of not having to strip all of the original redwood exterior siding off the house, we opted to increase the depth of the walls to the inside in a room-by-room approach.

OUR FIRST TASK -
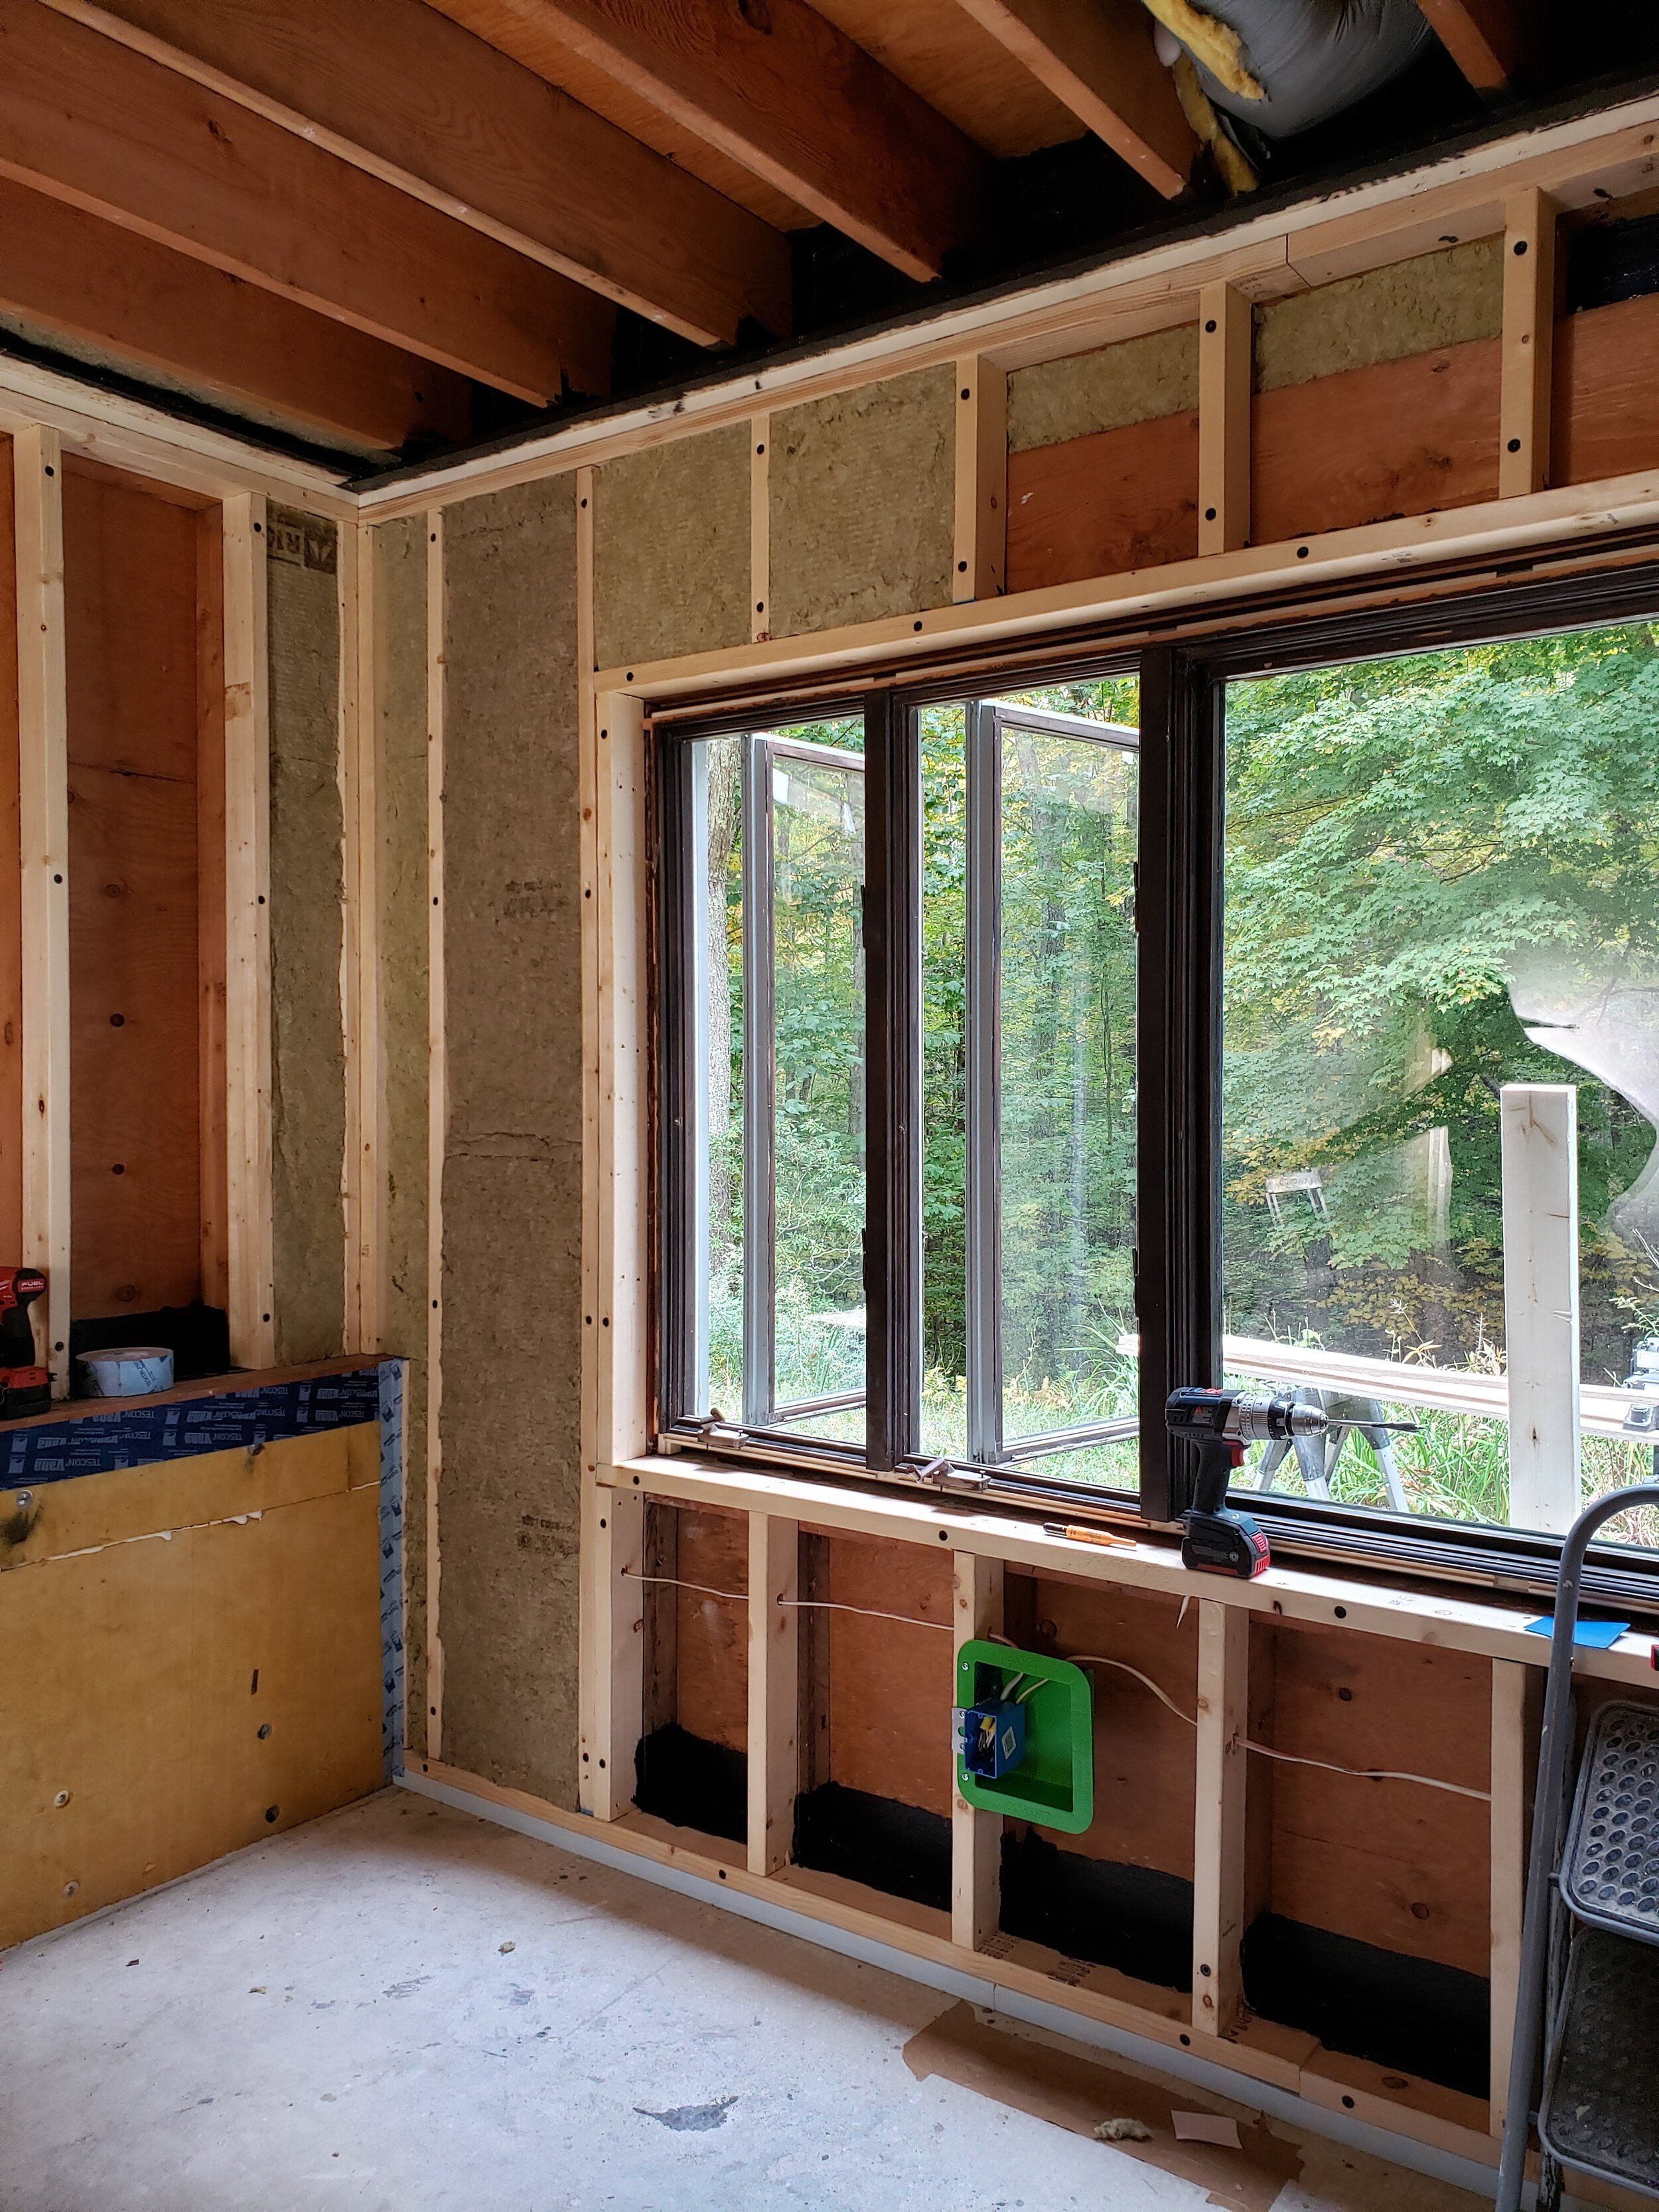
Demo the interior face of each of the exterior walls and remove the existing undersized insulation. Thankfully we can do this in a phased approach room-by-room to avoid living in a complete demo zone.

NEXT -
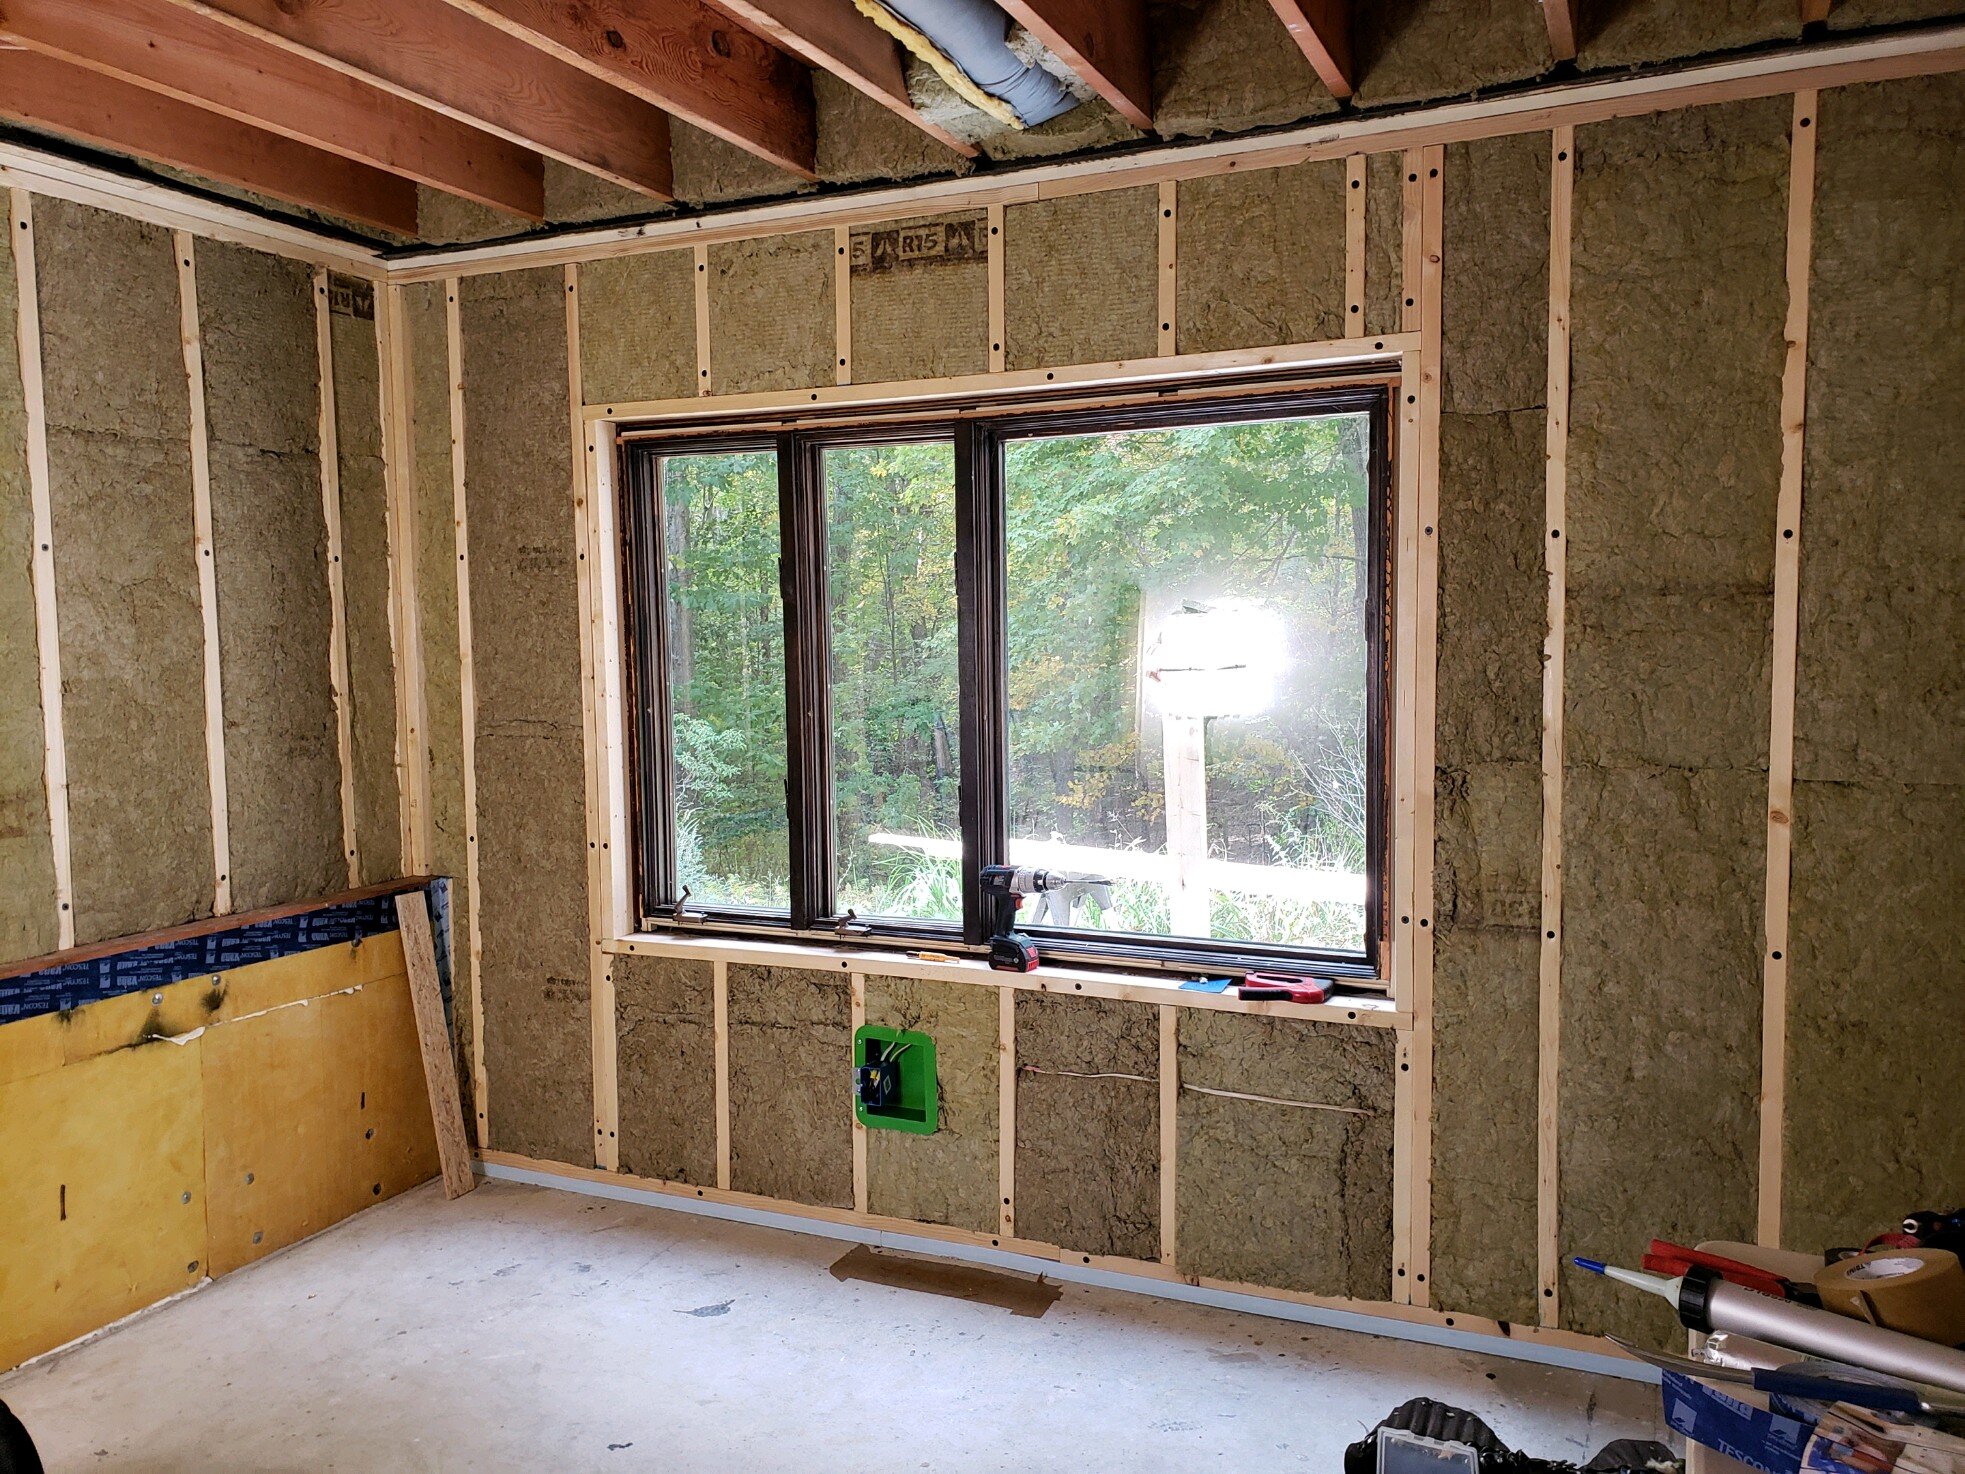
Build a second stud wall just inside of the existing exterior wall to create a double-deep cavity to be able to ramp up the depth of insulation.
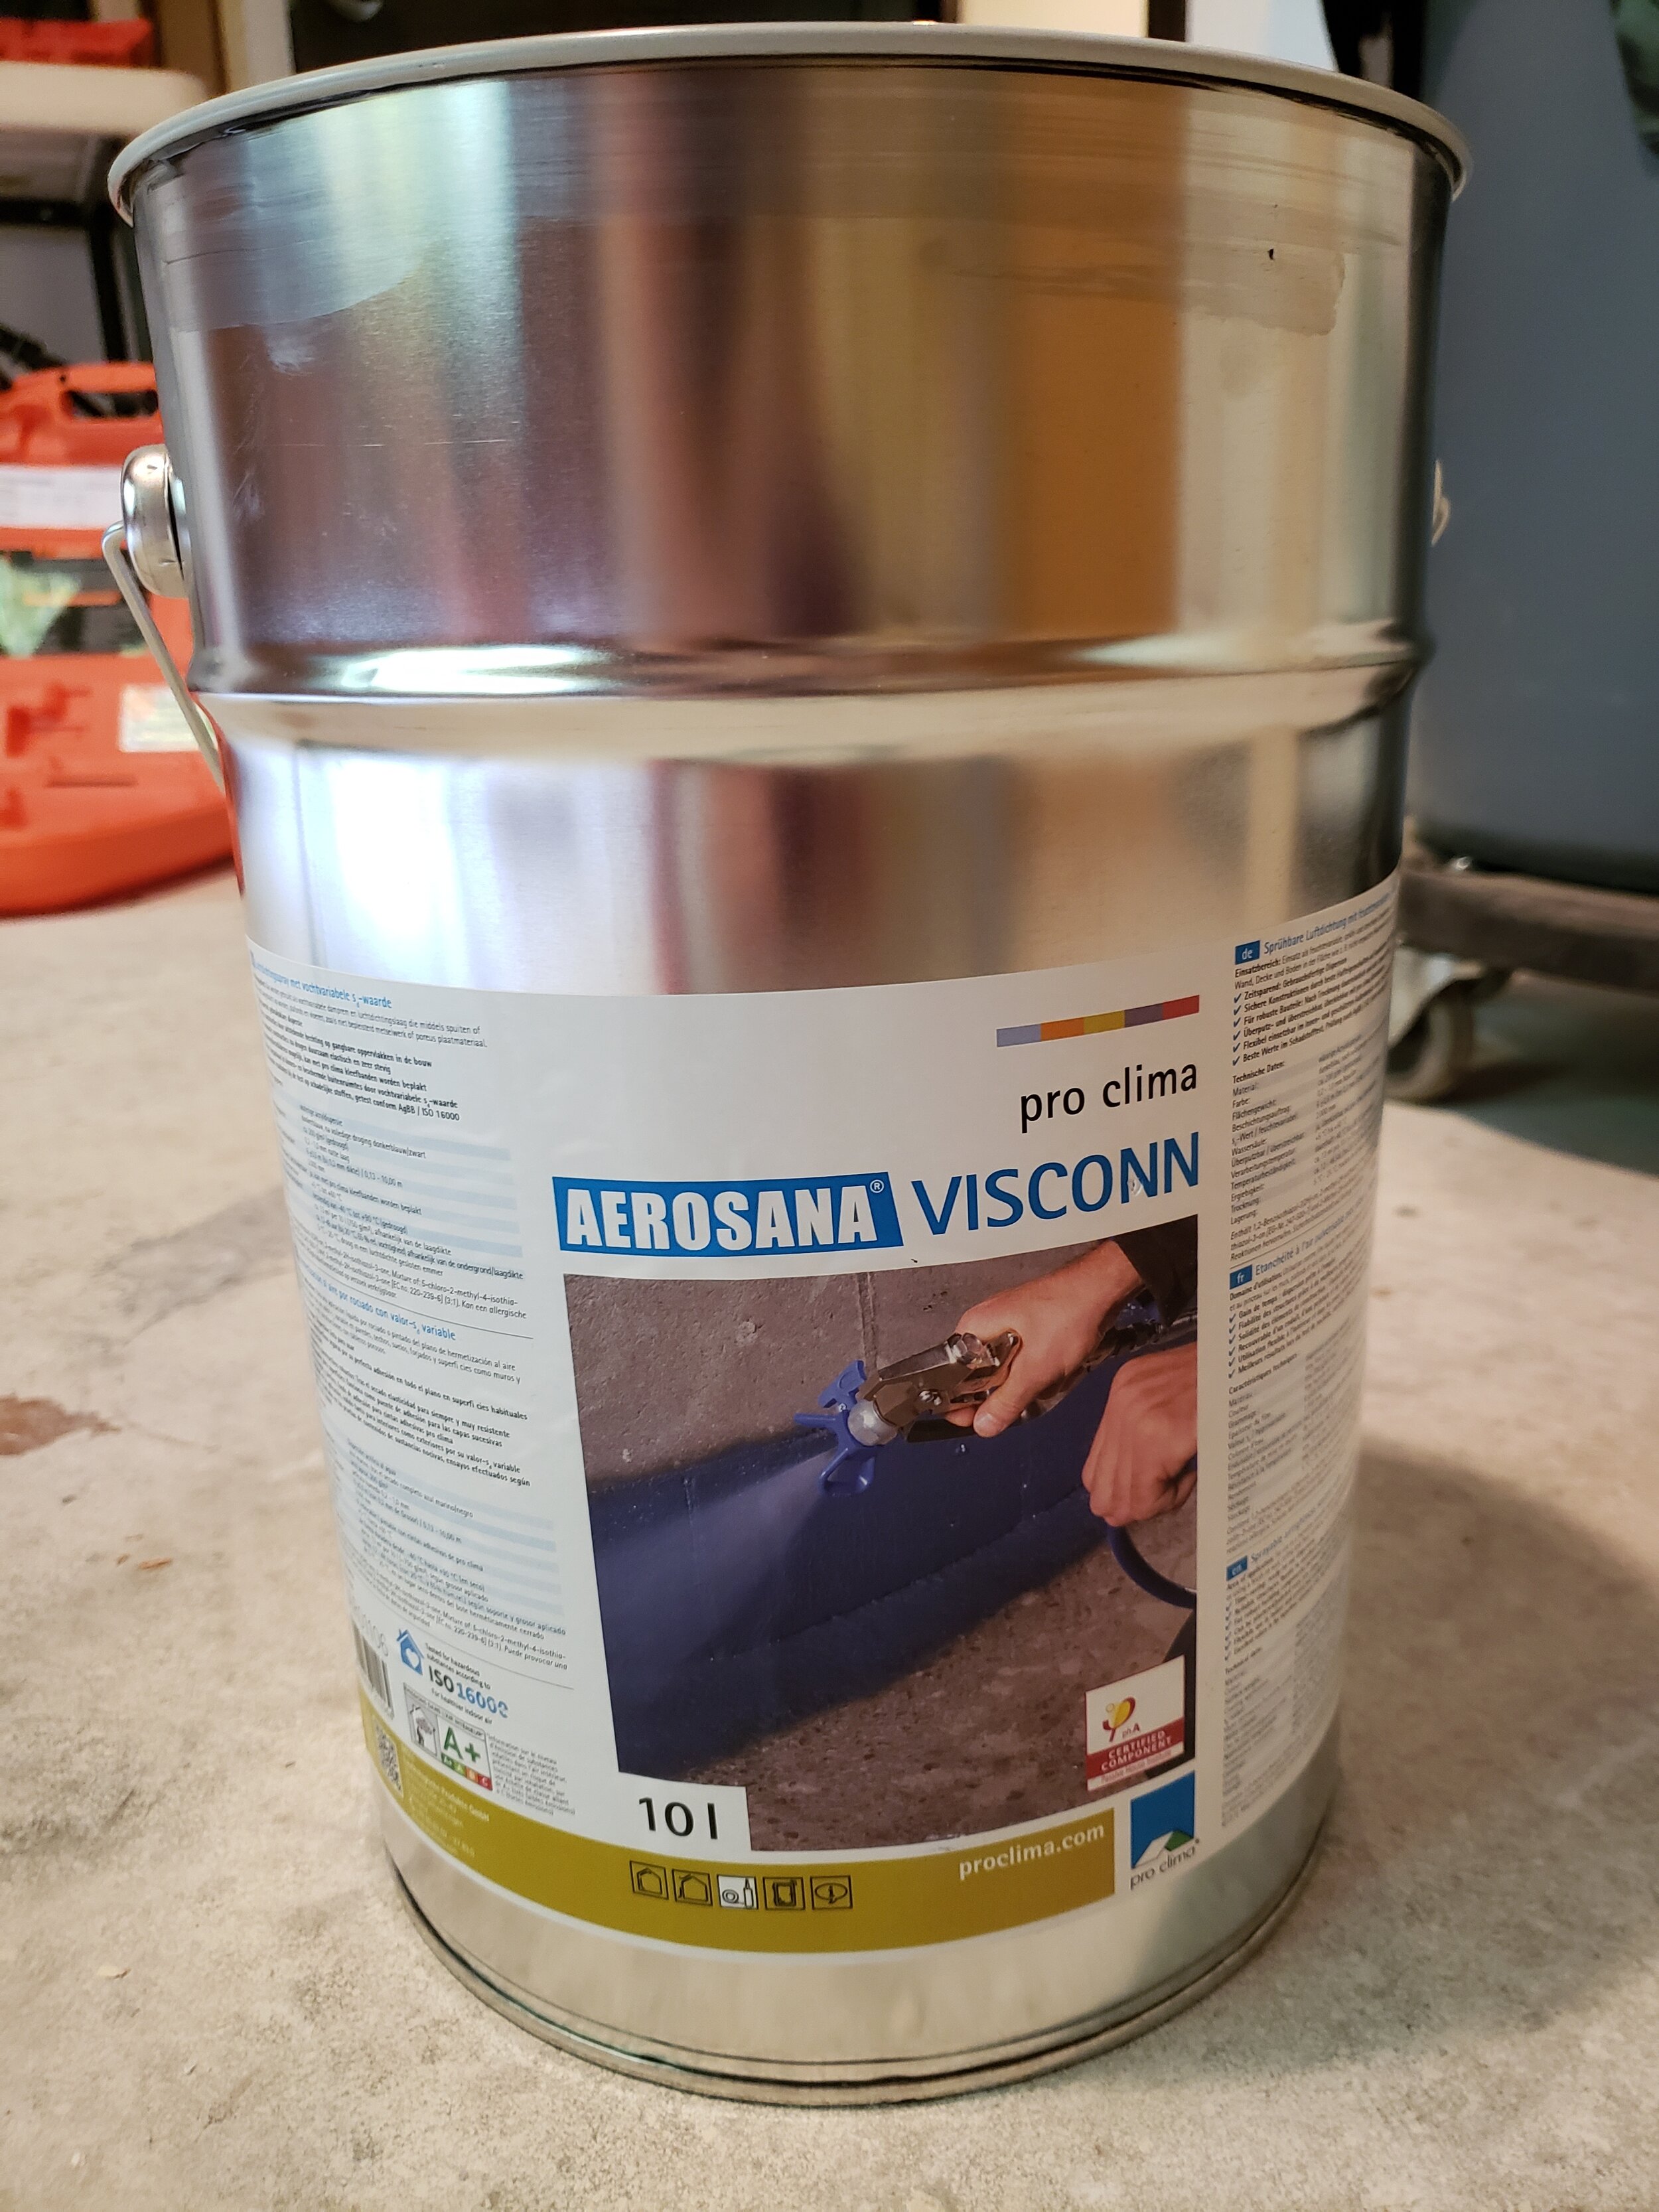
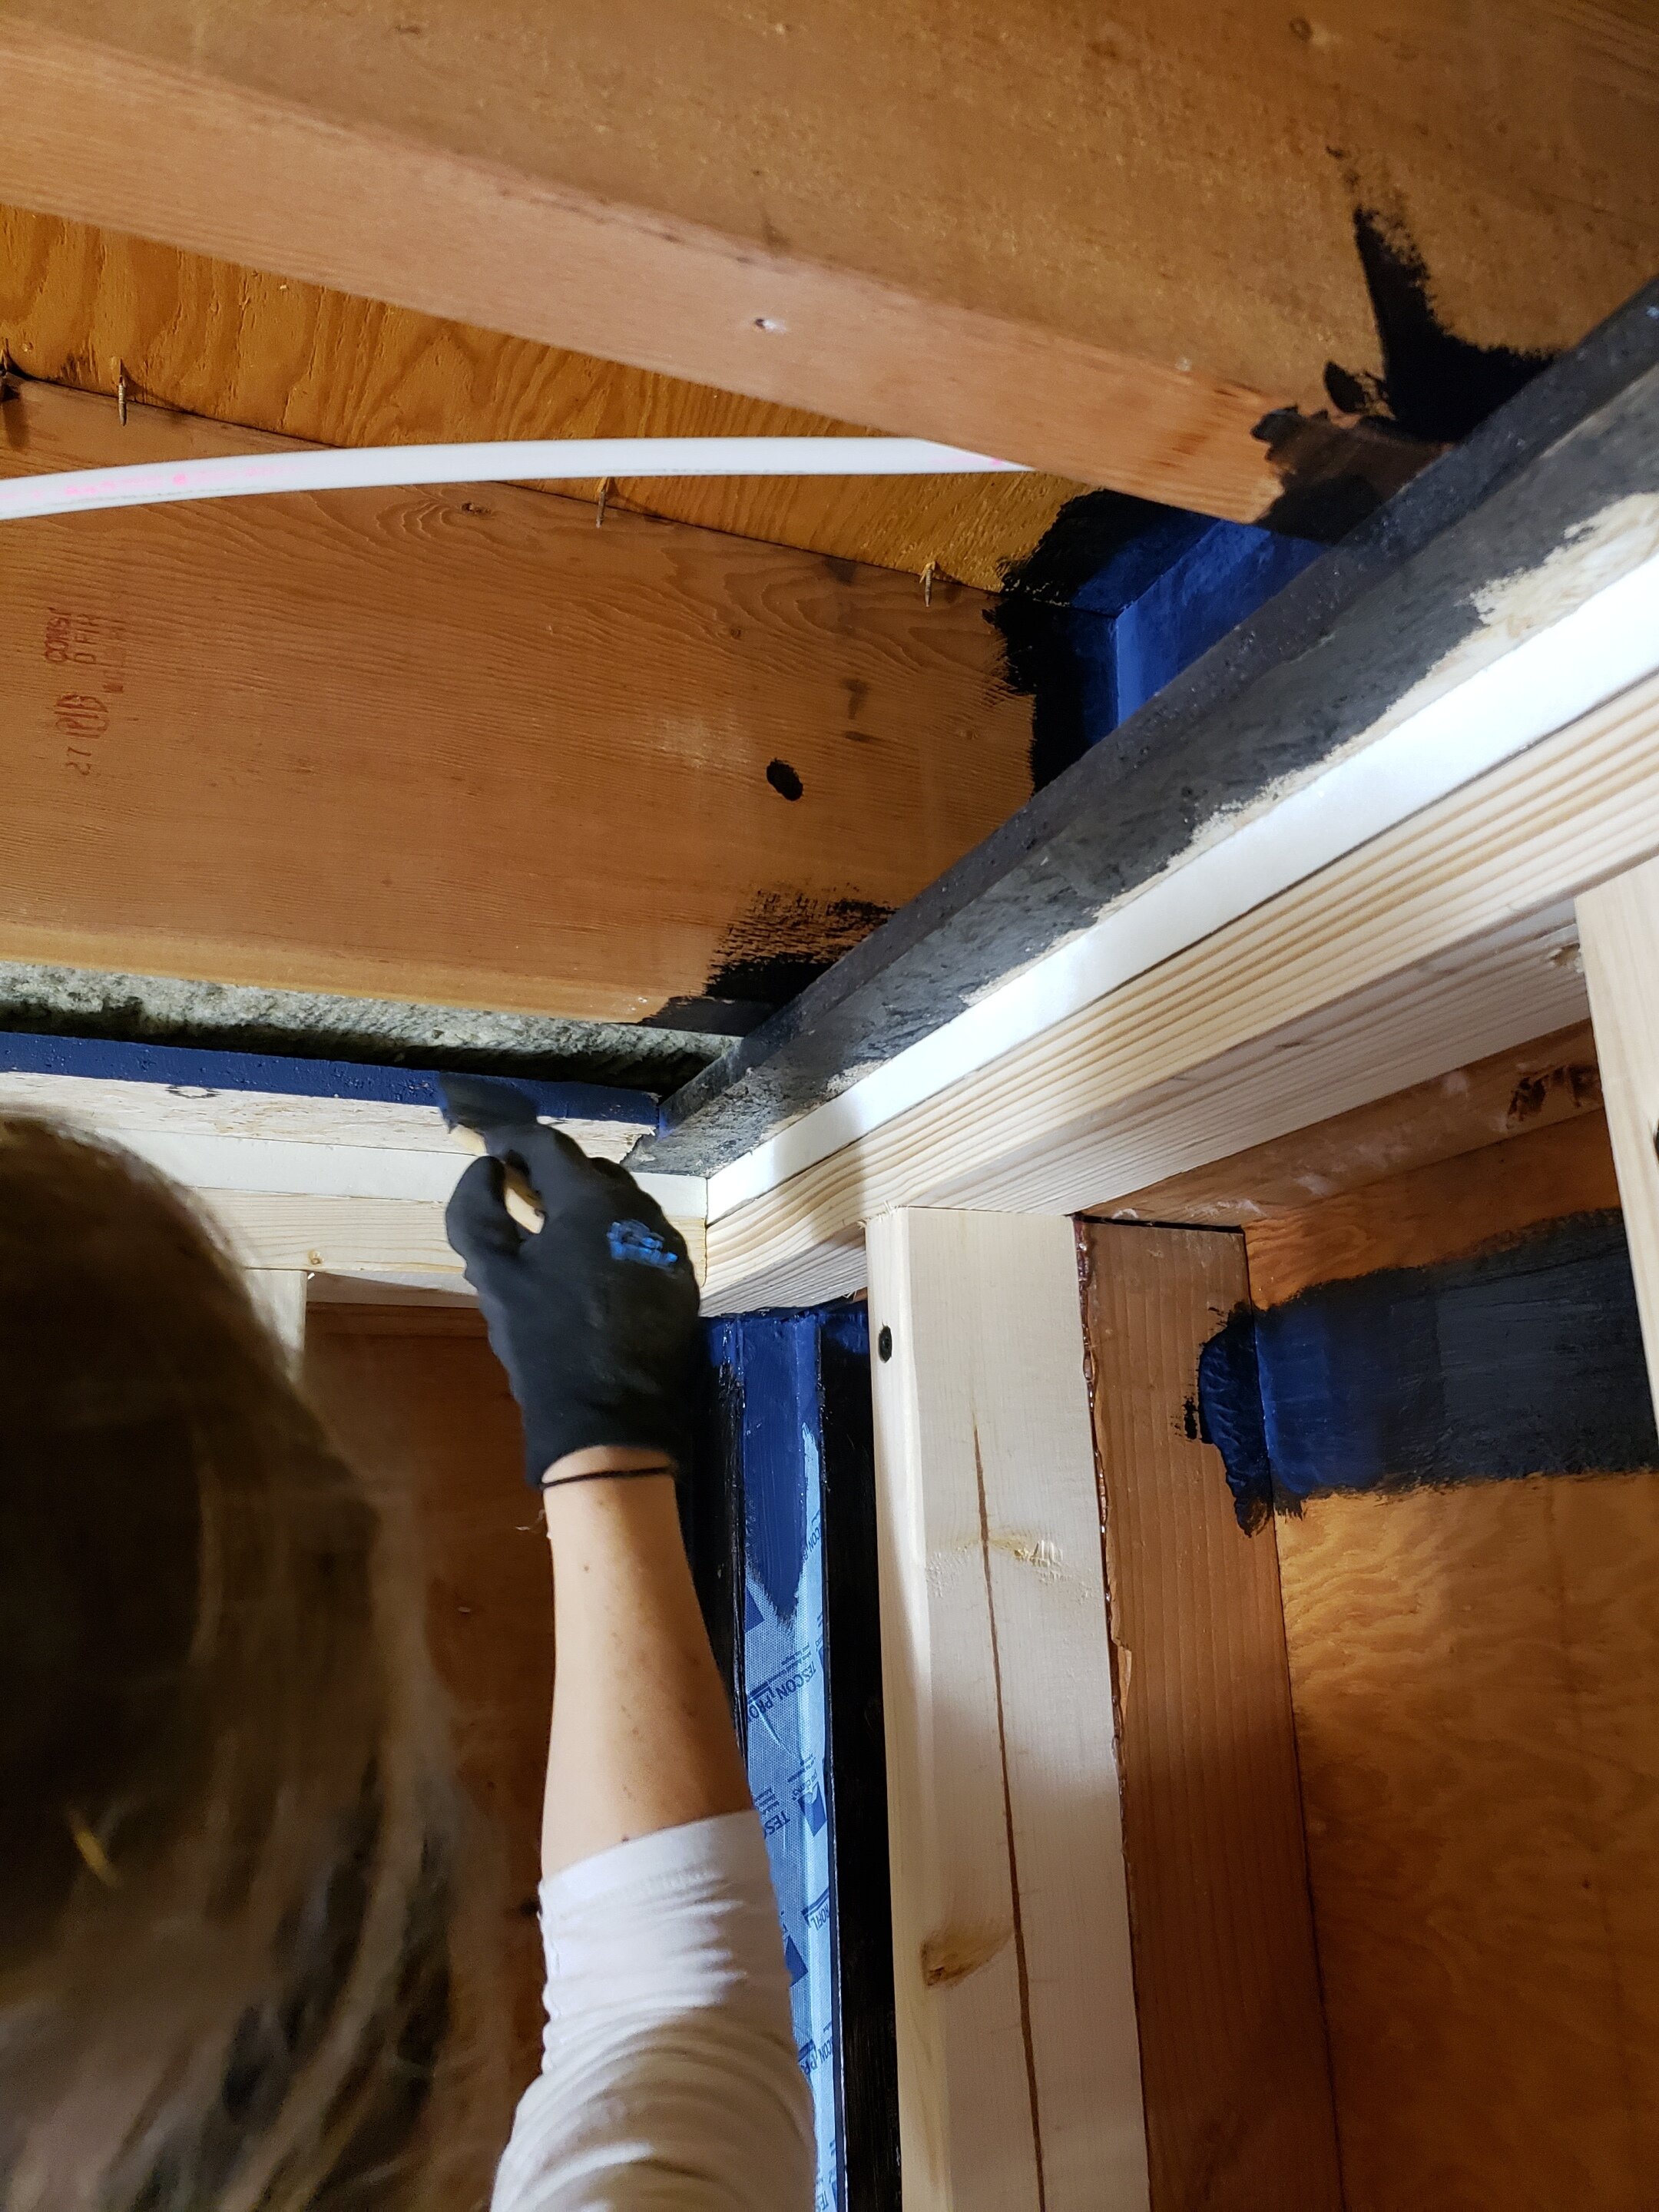
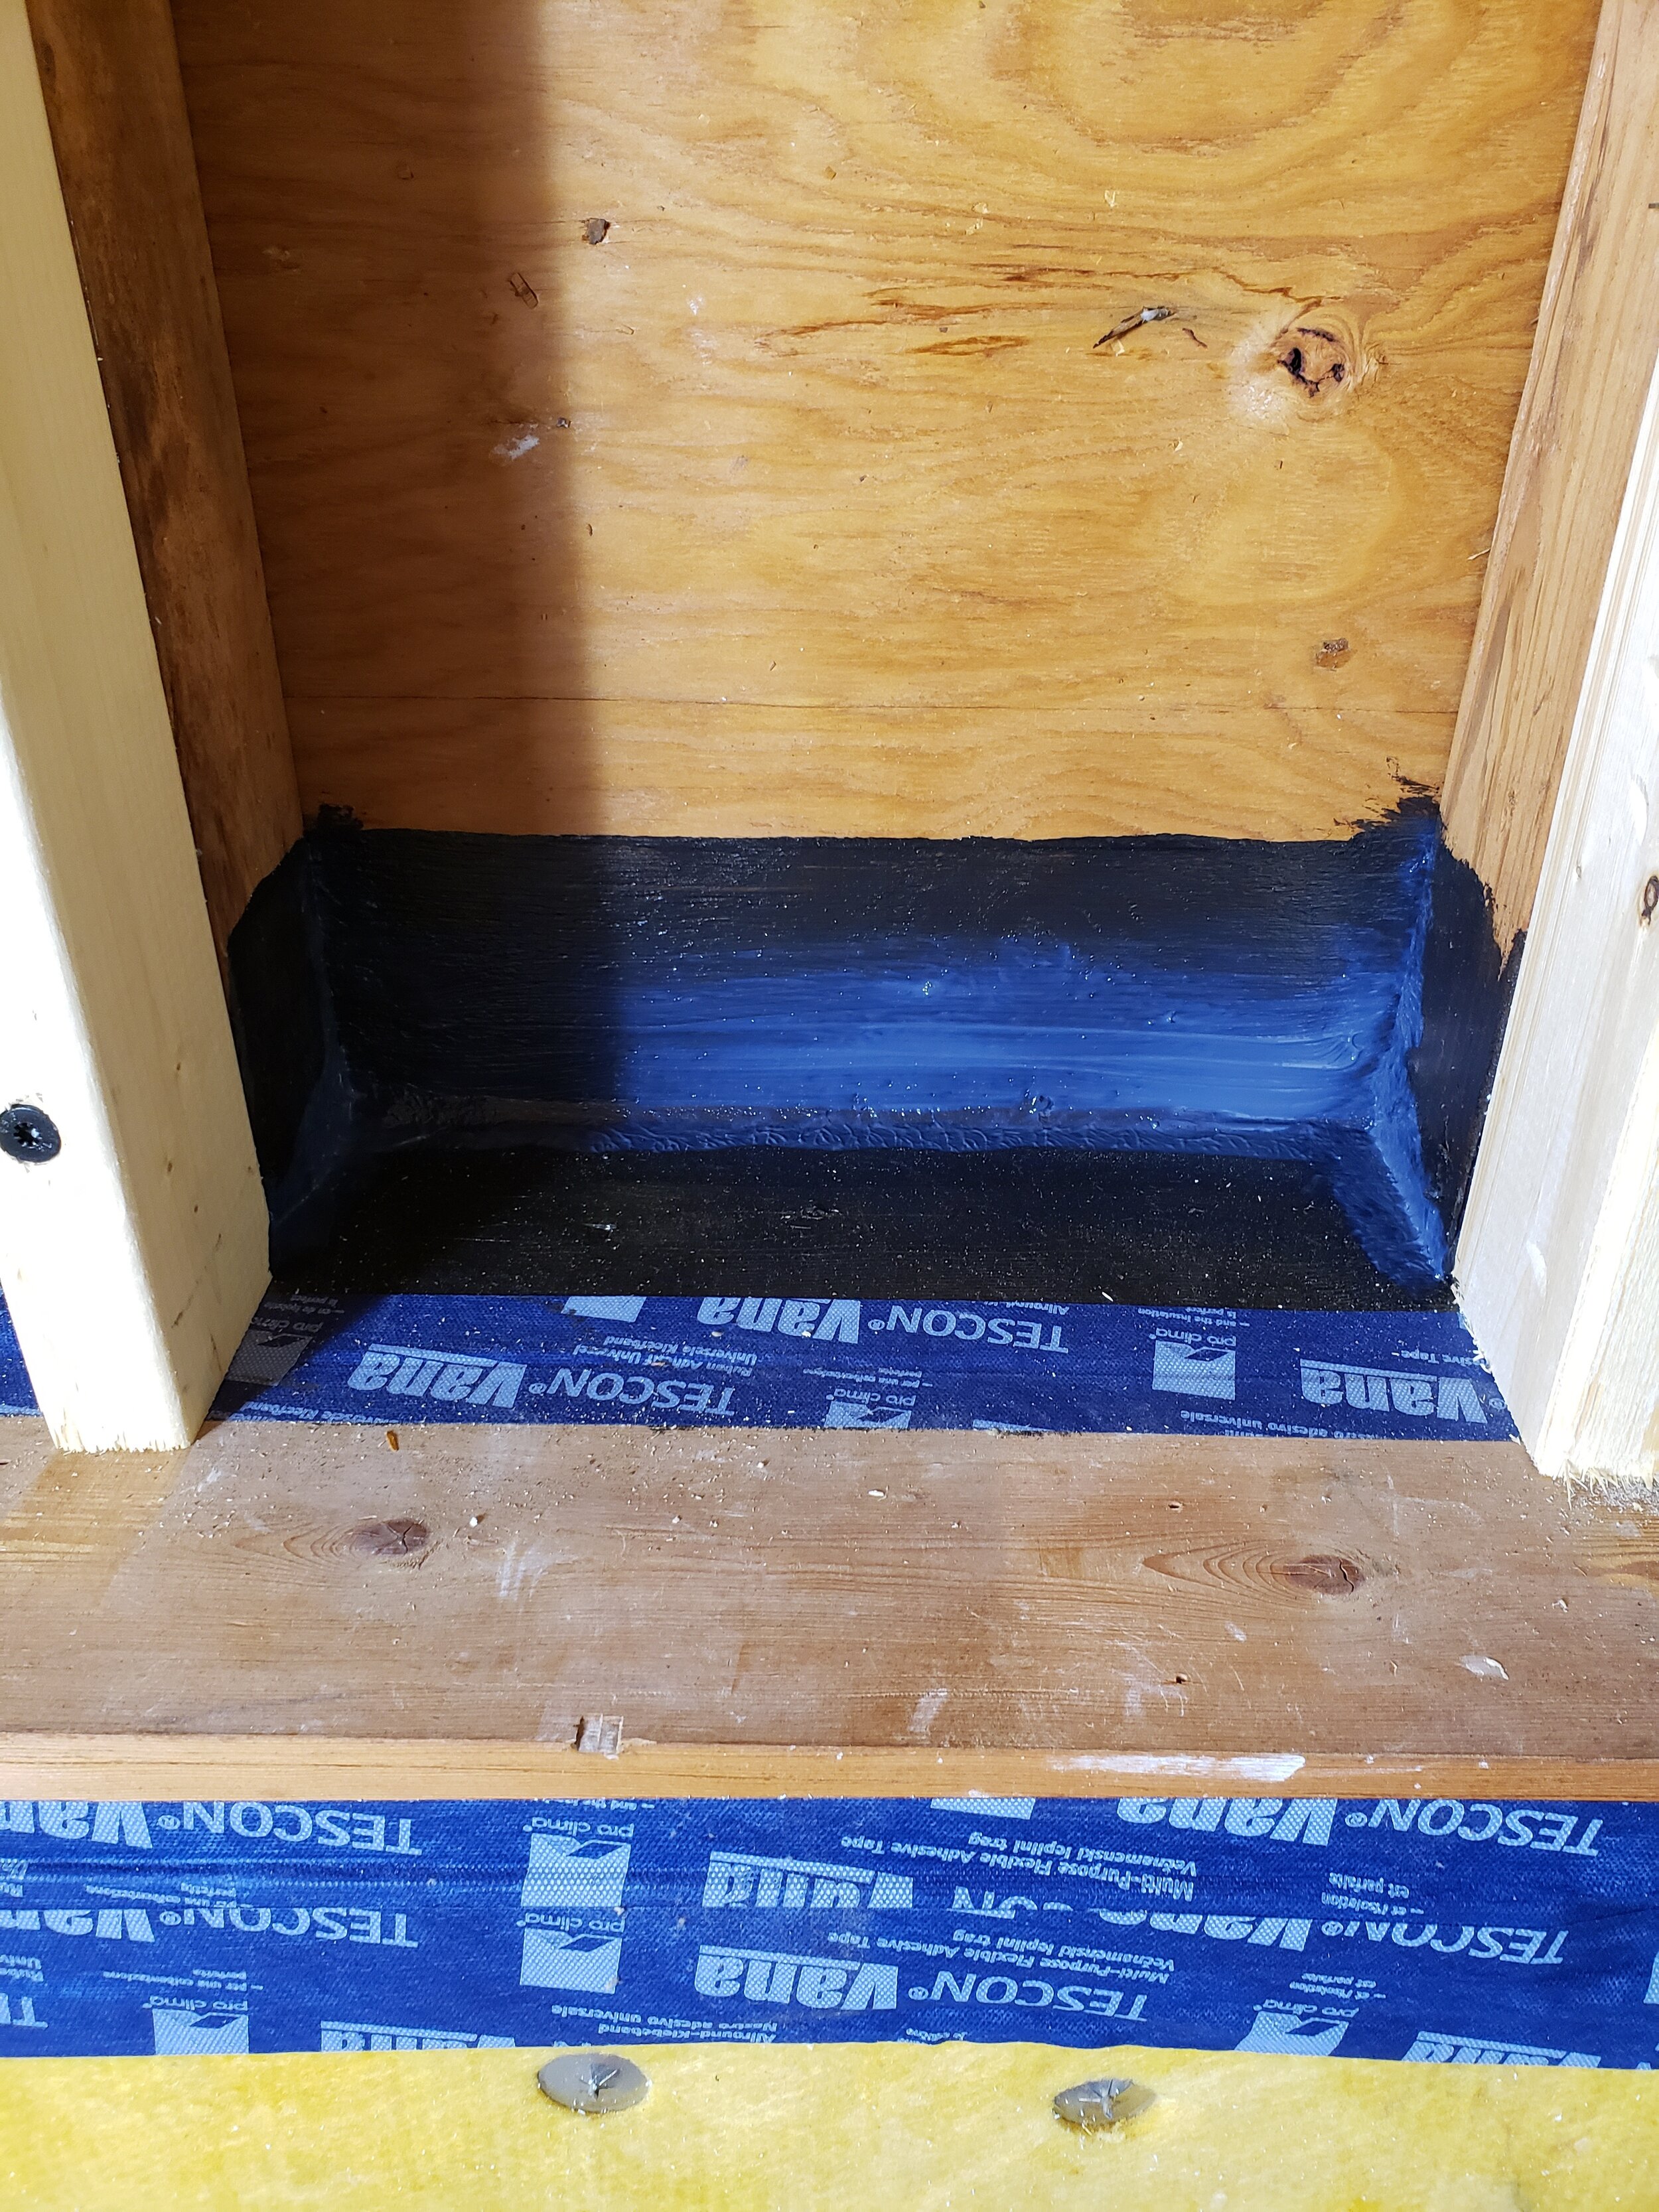
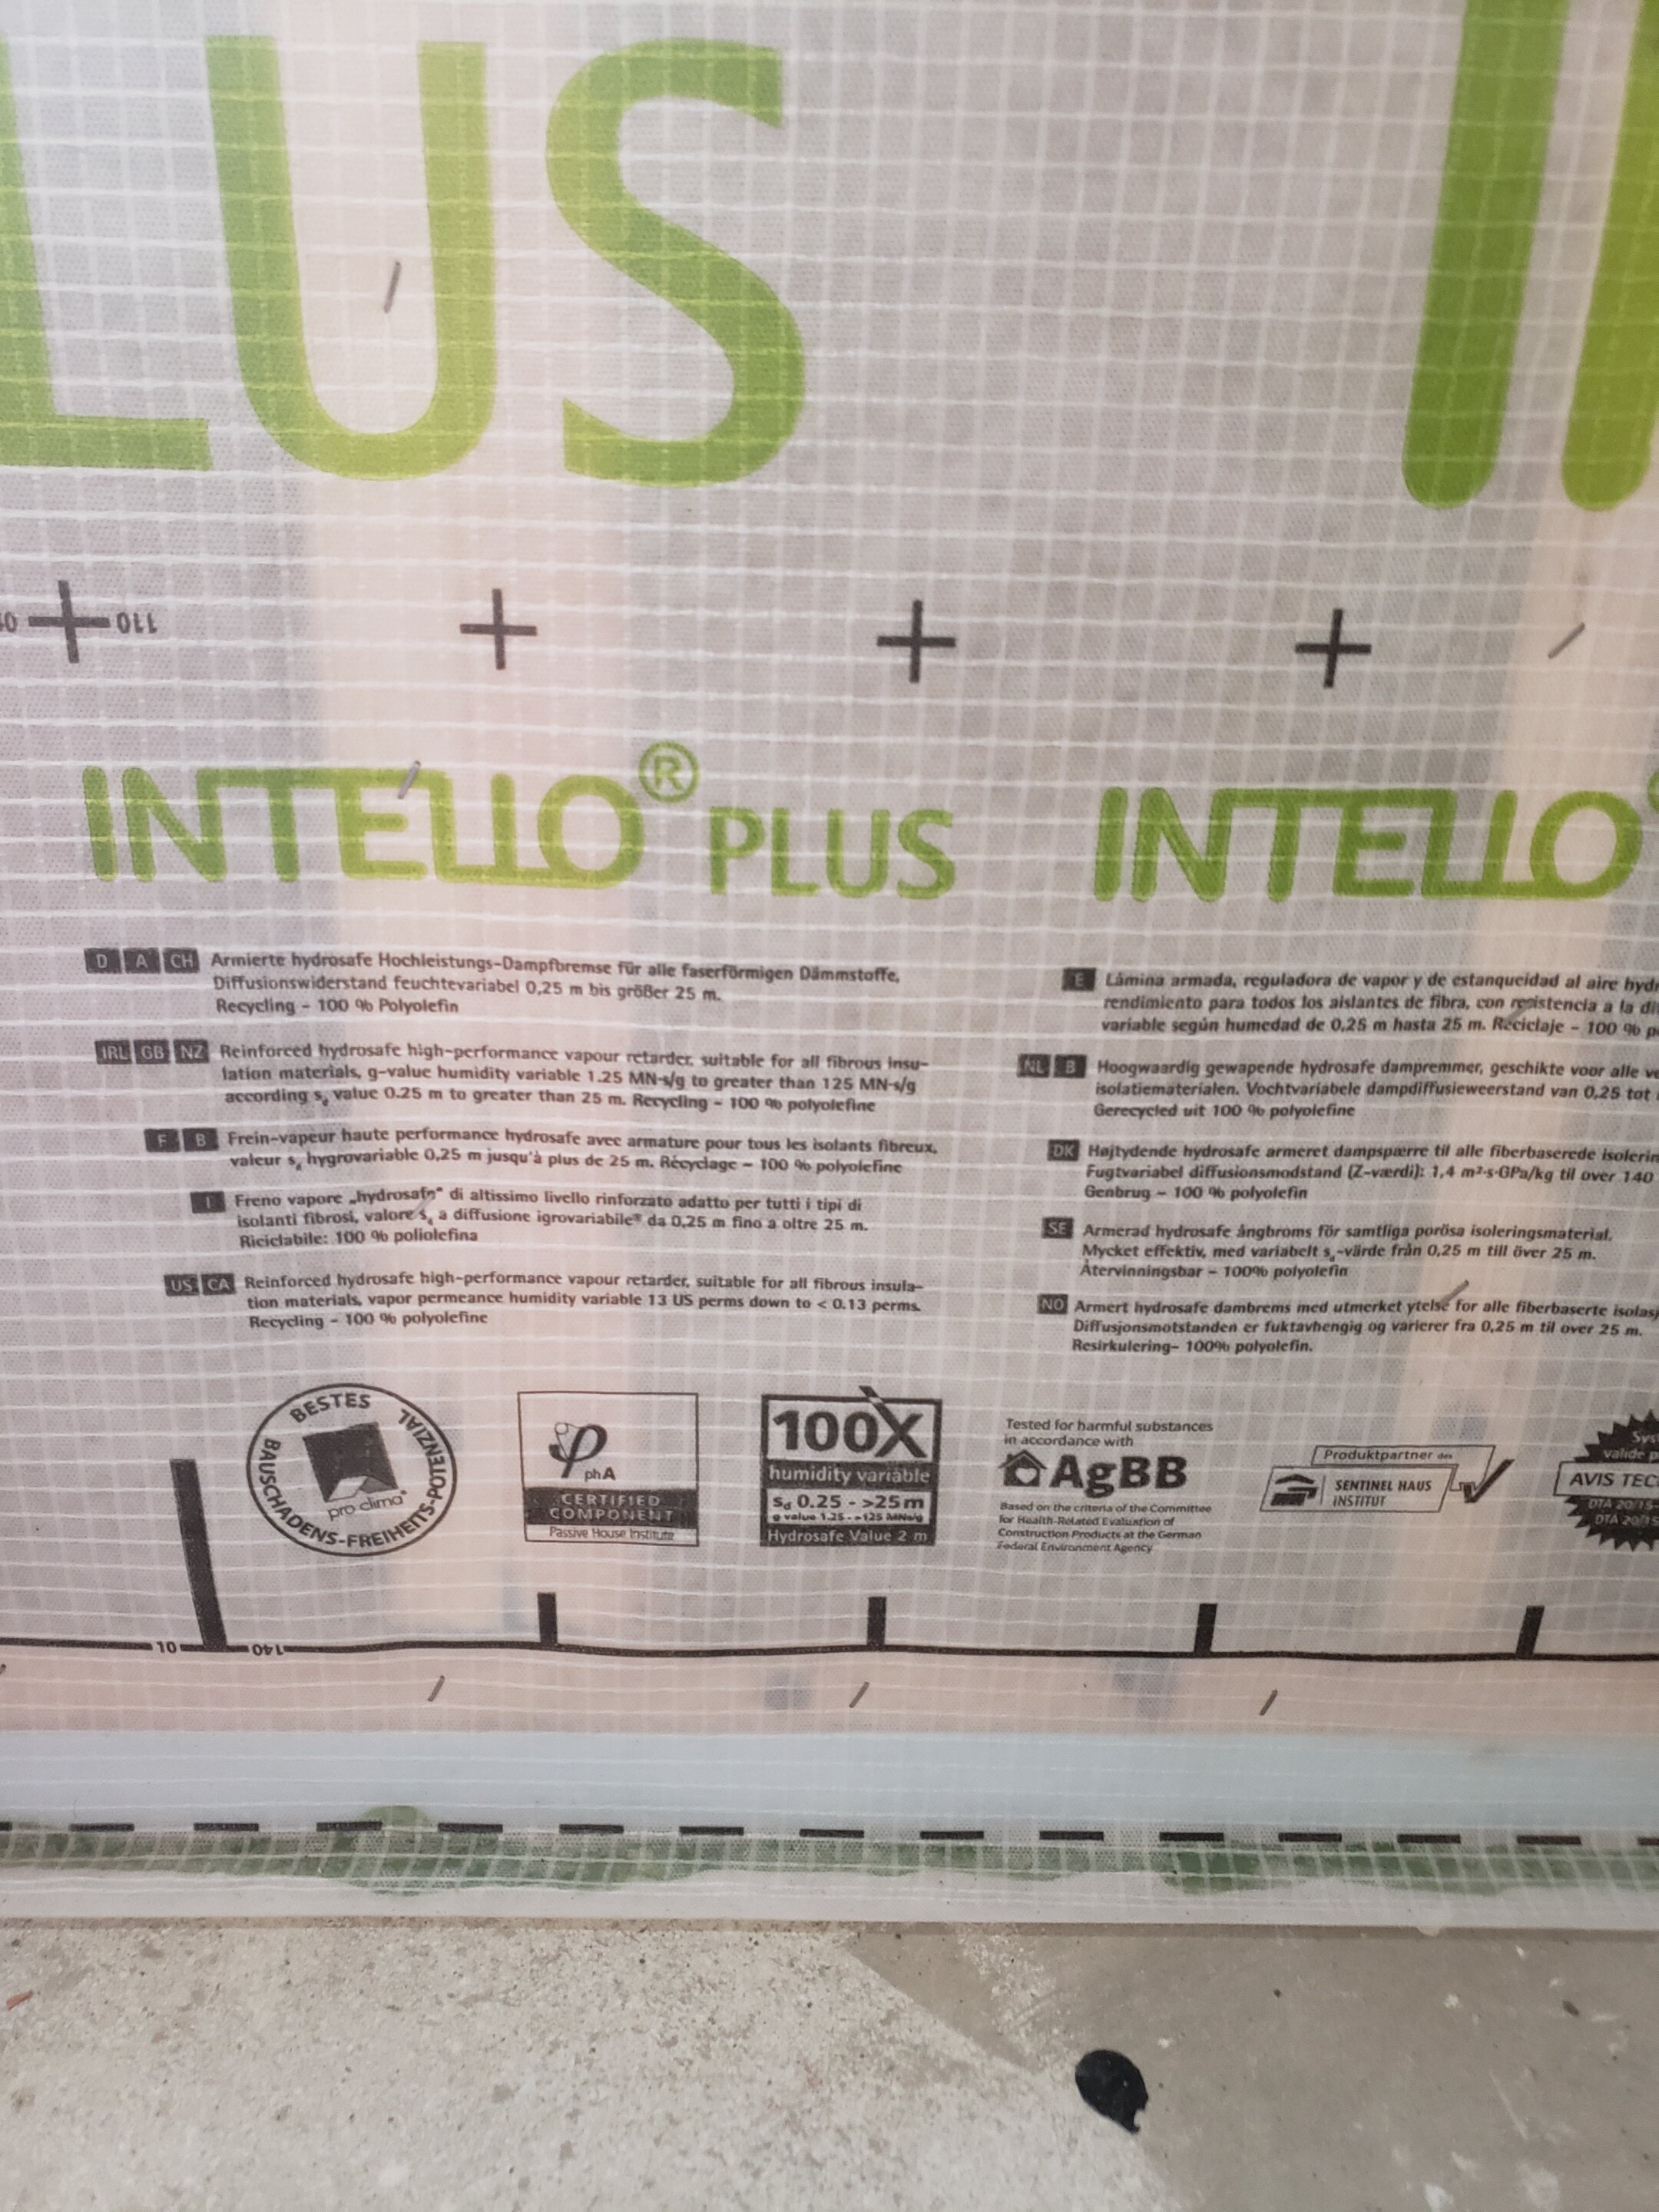
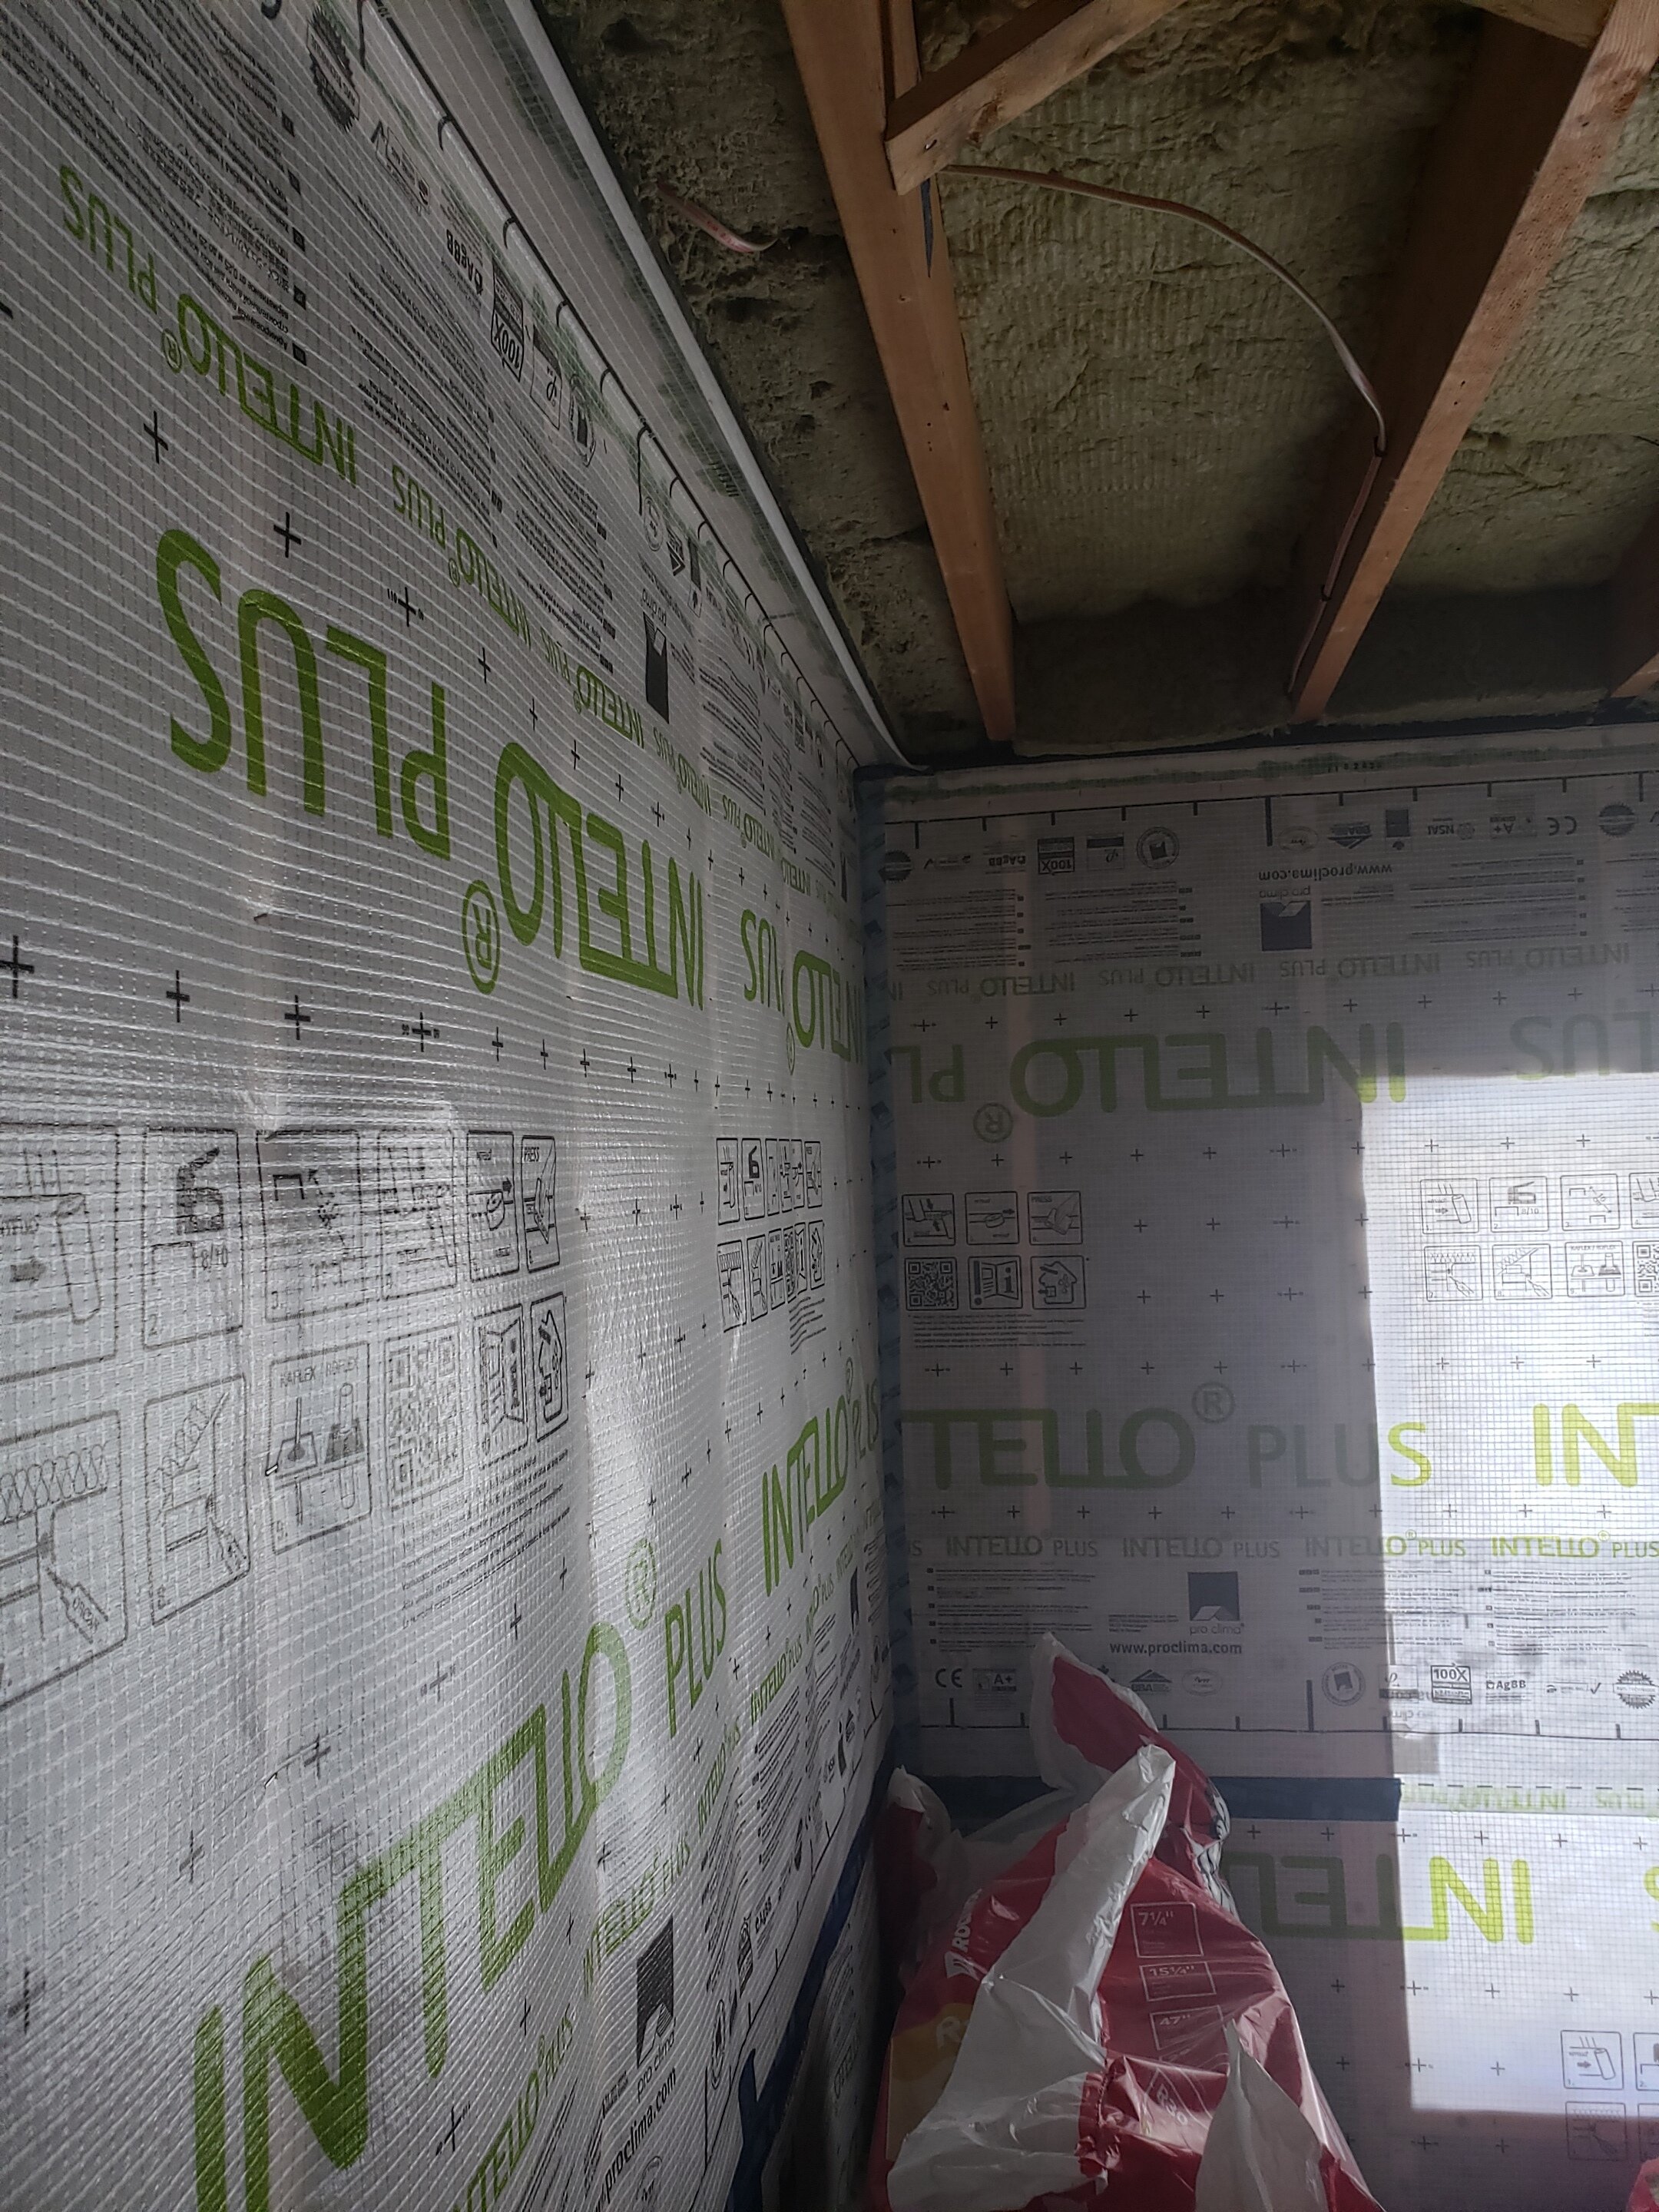
AFTER THAT - We used a lot of products from 475 High Performance Building Supply including Visconn liquid-applied air barrier, Tescon Vana air sealing and waterproofing tape, Lessco air-vapor barrier box for outlets in locations that interrupt interior airtight layers, and a few others which will eventually be capped off by Intello high performance smart vapor retarder. (By the way, 475 has a really interesting blog that you should follow if you like to geek out on building science.)
AND THEN - We utilized Rockwool insulation (even up into the rim joists), and with this approach, we have been able to increase the value of the exterior insulation from R-7.4 to R-32 in the new depth stud bay and upwards of R-60 in the rim joist space. Not to mention the multiple added benefits from all of the additional air-sealing measures we included. That’s more than a 400% increase in insulation value and the air sealing takes it to another immeasurable level of tightness.


So what are the key take-aways that we learned from this part of the project?
-You never know what type of hidden disasters you are going to find until you really rip into something and you may have to pivot (hard) to get things back on track, but in the end you know that everything is done right and there are (hopefully!) no surprises that will creep up later on down the line.
-It’s gonna take one more dumpster than you thought.
-It’s gonna be dusty.
-Oh, and contingency… Always have a contingency allowance. Renovation work is not cheap nor easy. Once things are exposed, you find out often that you need to spend more time and/or money on a particular condition or detail. This is the only time we plan to have these walls open, so regardless of what it is, we need to commit to it.

Up next in our spring blog:
Bye bye, yellow bathroom…Hello orange? Green? Blue? Pink? We don’t know, but we are excited to figure it out and share our decision. One thing is for certain: we will try to keep it MCM.
Please do continue to follow along as we document our journey of restoring, rebuilding, and breathing new life into this gem of a home. If you know others who might find this interesting or helpful or would like to talk about your own renovation work, steps, ideas…GET IN TOUCH. We love chatting about design, craft, and renovations.
As a reminder, we invite you to join our Facebook group called Mid-Century Modern Homes of CT. This is a forum for Connecticut mid-century modern homeowners, admirers, enthusiasts, etc to share information regarding the appreciation and upkeep of our unique homes. Please feel free to join (even if you aren’t in CT, but are a fellow MCM admirer)! We are looking forward to seeing this group grow into a community of like-minded individuals where we can talk shop about all things MCM.
Treasures We Found During Demolition

A mummified snake

A joker card

A heart-shaped rock
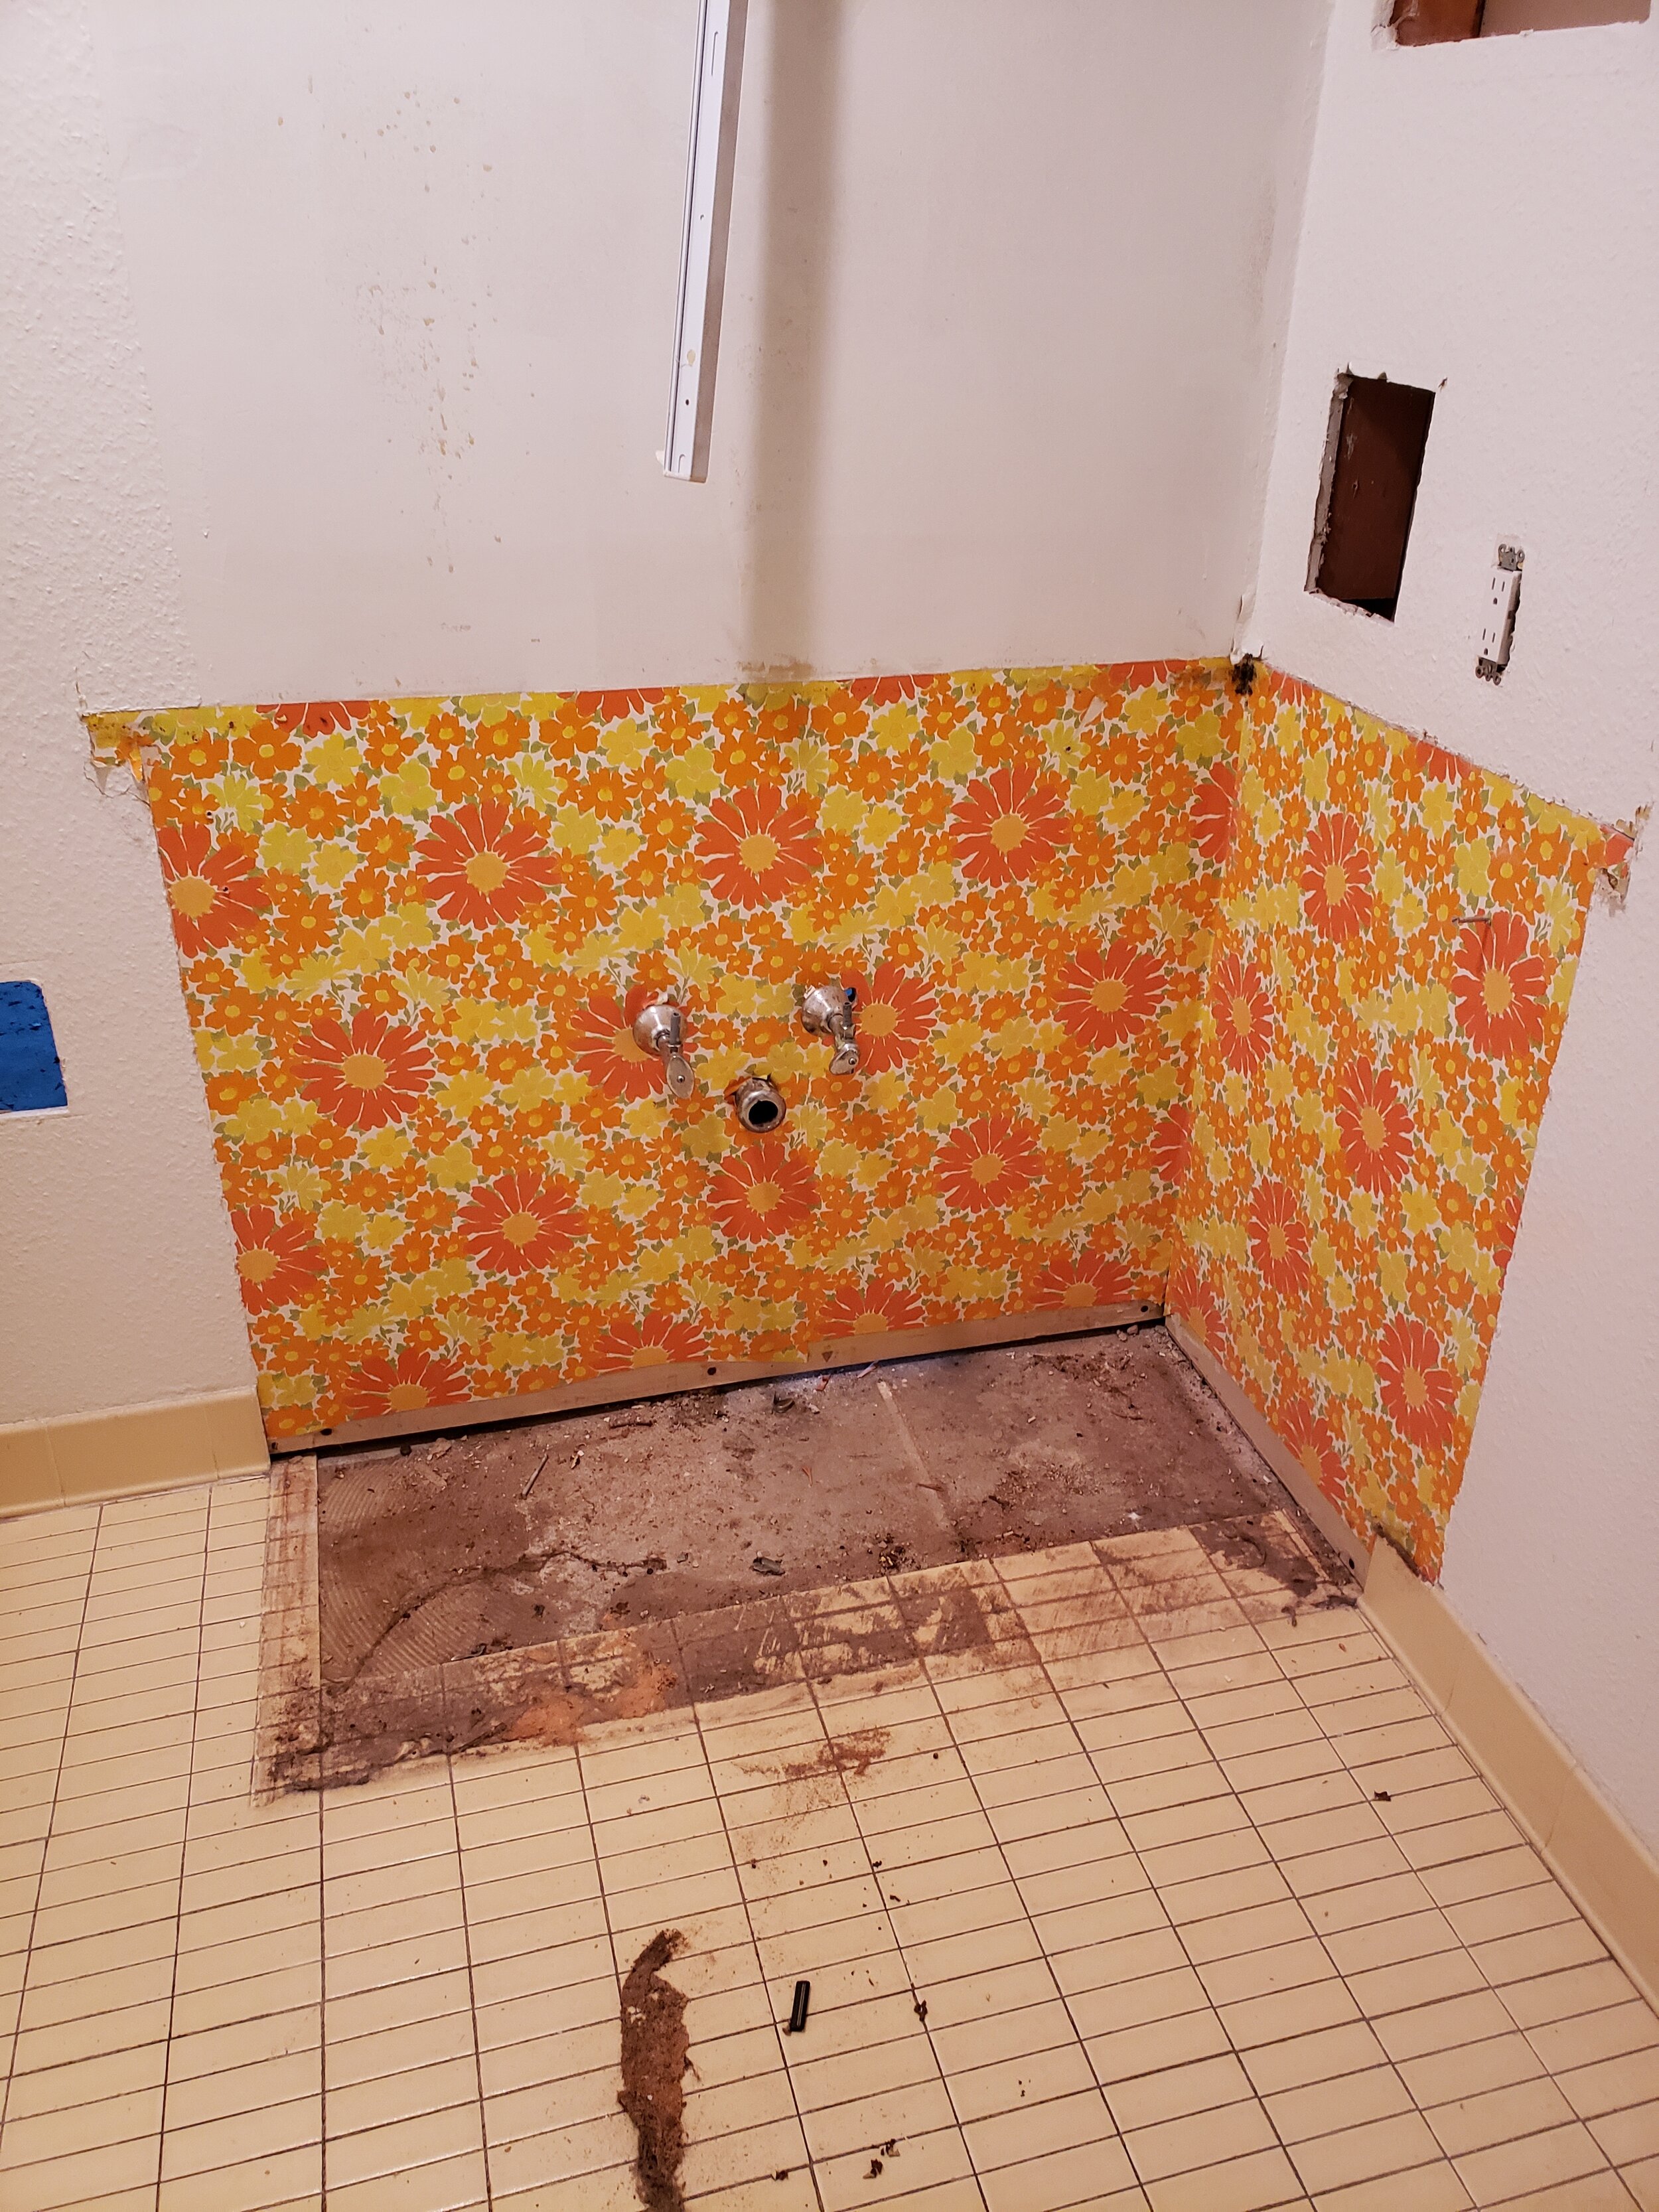
Amazing hidden wallcovering
January’s architecturally-significant birthday… a reach deep into the 1800s

An architect / interior designer from Boston, Ogden Codman Jr co-authored in 1897 (alongside Edith Wharton) a book called “The Decoration of Houses” which became a standard in American interior design.
What’s New in the Studio?
Coming soon! The windows are papered up and the demo is complete at Grassy Roots cafe’s new location in Beverly, MA!


We will be following the construction of this project (design work done as a collaboration with Vance Architects) and are anxiously awaiting their opening this spring. Stay tuned for more progress photos as things develop!

Matthew Varley, AIA, NCARB Jillian Welenc, NCIDQ, LEED AP, IIDA
REGISTERED ARCHITECT / FOUNDER LICENSED CERTIFIED INTERIOR DESIGNER
p.s. hugs and kisses (socially distanced, of course)